1. Introducción
The MARATHON 100 Hour Direct Entry Digital Tabletop Timer is designed to assist with precise time management for various tasks. Featuring a large, easy-to-read LCD display and a direct entry keypad, this timer offers both countdown and count-up functionalities, a clock mode, and memory presets for repetitive events. Its robust design includes a magnetic back and an integrated kickstand for versatile placement.
2. Producto terminadoview
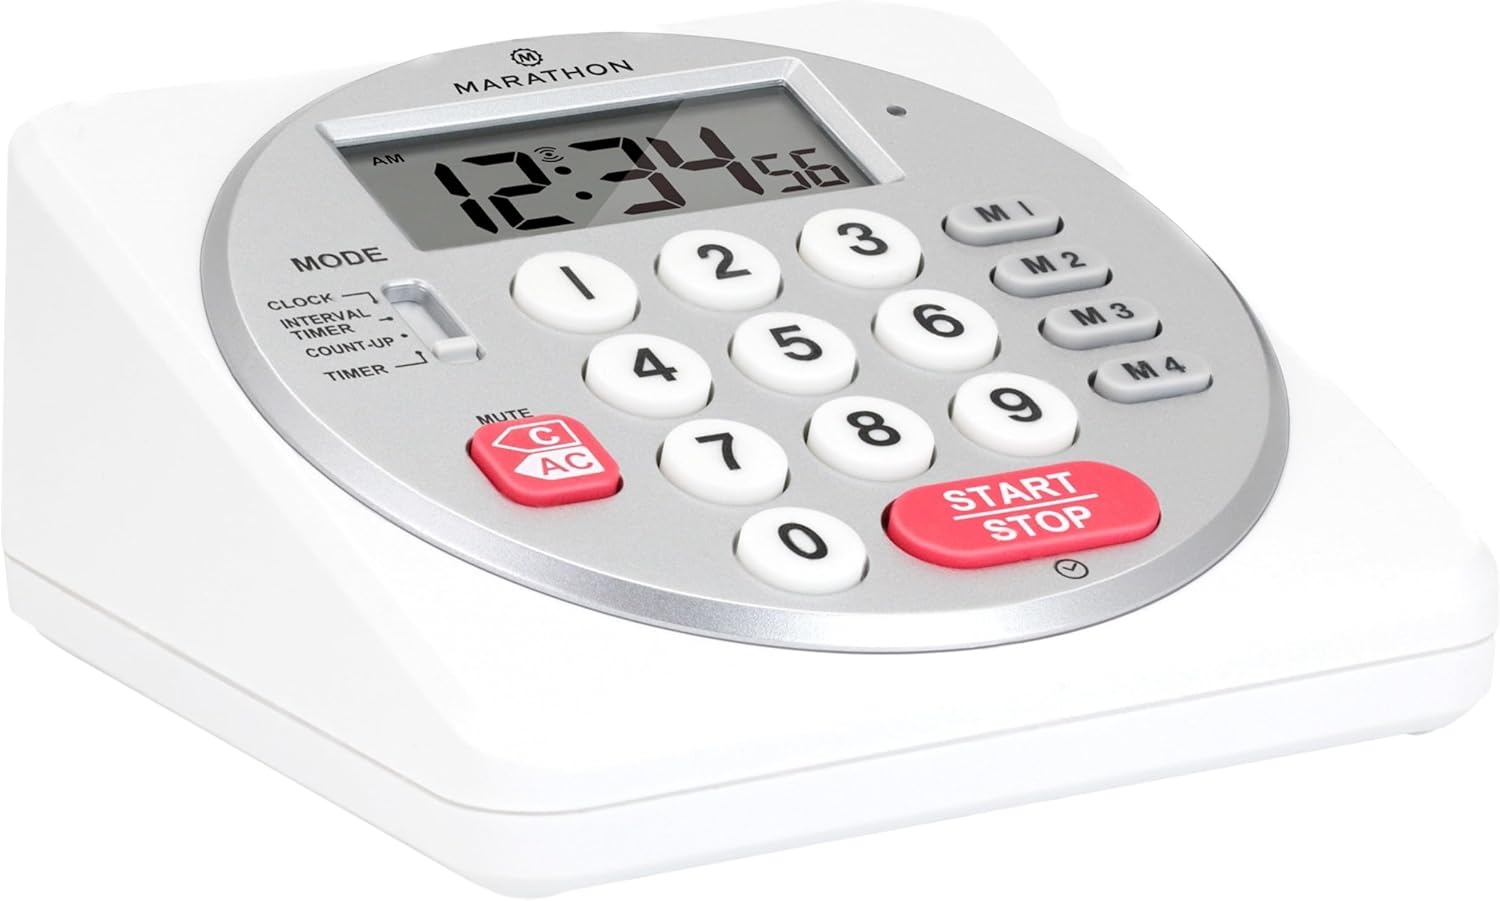
Figura 1: Frente view of the Marathon Digital Timer.
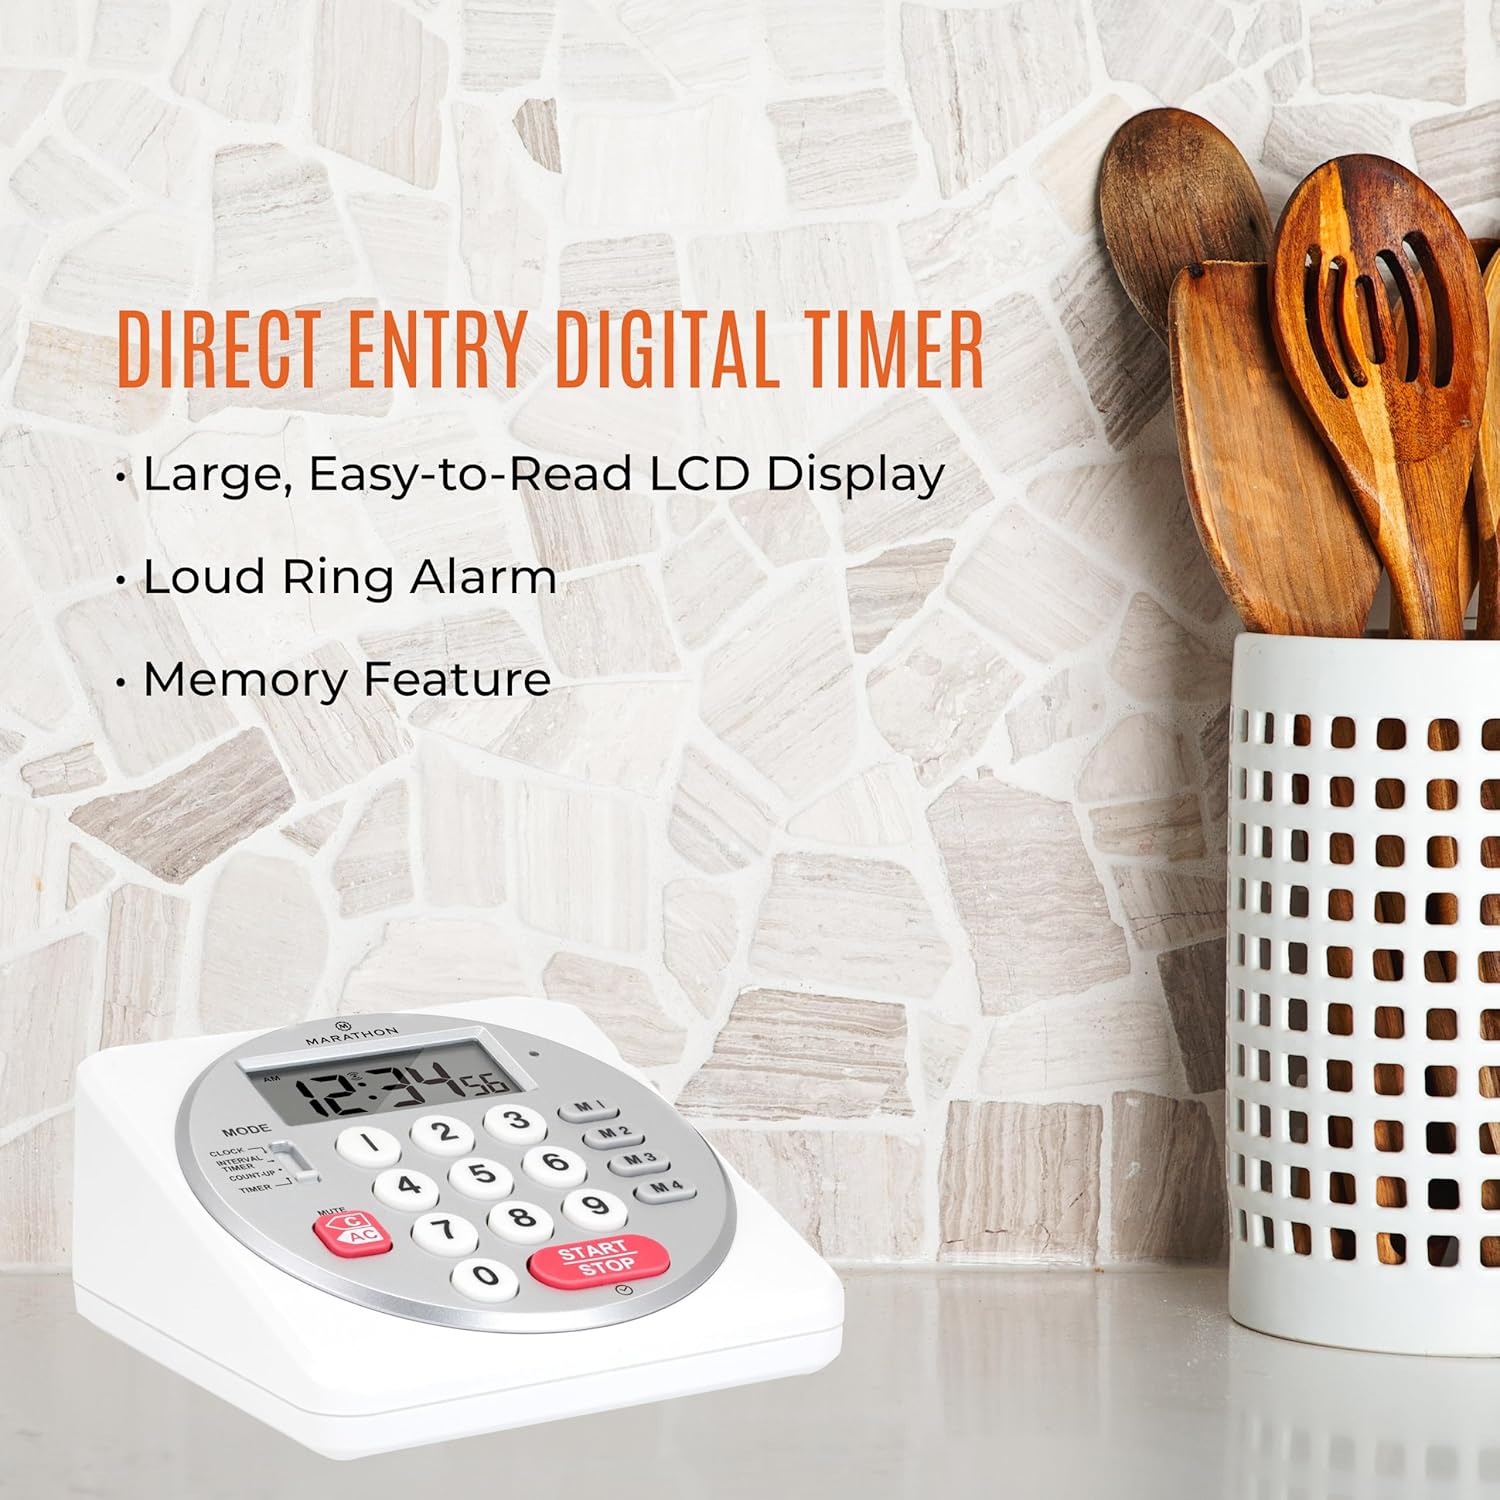
Figure 2: Timer on a kitchen counter, highlighting large display and loud alarm.

Figure 3: Timer showcasing dual function, included batteries, and versatile memory.
Características principales:
- Direct Entry Keypad: For quick and precise time setting.
- Gran pantalla LCD: Easy-to-read numbers for clear visibility.
- Dual Function Alarm: Supports both countdown and count-up timing up to 99 hours, 59 minutes, and 59 seconds.
- Loud Ring Alarm: Audible across a room.
- Indicador LED: Flashing light for silent alarm or hearing impairment assistance.
- Clock Feature: Displays time in 12-hour or 24-hour format when not in timer mode.
- Built-in Memory Function: Stores up to four consecutive times for interval timing and four memory presets for repetitive events.
- Colocación versátil: Integrated kickstand for tabletop use and magnetic back for attachment to metal surfaces.
- Pilas incluidas: Viene con 2 pilas AA.
3. Configuración
3.1. Instalación de la batería
- Localice la tapa del compartimiento de la batería en la parte posterior del temporizador.
- Deslice la tapa para abrirla.
- Insert two (2) AA batteries, ensuring correct polarity (+/-) as indicated inside the compartment. The timer comes with batteries included.
- Vuelva a colocar la tapa del compartimiento de la batería de forma segura.

Figura 4: Atrás view with battery compartment and kickstand.
4. Instrucciones de funcionamiento
4.1. Selección de modo
Utilice el MODO switch located on the side of the timer to select between different functions:
- RELOJ: Muestra la hora actual.
- INTERVAL TIMER: For setting multiple consecutive timers.
- COUNT-UP: Functions as a stopwatch.
- MINUTERO: For setting a single countdown timer.

Figure 5: MODE switch for function selection.
4.2. Puesta en hora del reloj
- Deslice el MODO cambiar a RELOJ.
- Mantenga pulsado el COLOCAR Botón hasta que los dígitos de la hora comiencen a parpadear.
- Use the number keypad (0-9) to enter the desired time (HH:MM).
- Prensa COLOCAR nuevamente para confirmar y salir del modo de configuración del reloj.
- Para cambiar entre el formato de 12 horas y 24 horas, presione el botón 12/24 horas button (if available, or refer to specific model instructions).
4.3. Setting a Countdown Timer (TIMER Mode)
- Deslice el MODO cambiar a MINUTERO.
- Use the number keypad (0-9) to directly enter the desired countdown time (HH:MM:SS). The timer supports up to 99 hours, 59 minutes, 59 seconds.
- Presione el INICIAR/DETENER Botón para iniciar la cuenta regresiva.
- To pause the timer, press INICIAR/DETENER de nuevo. Presiónelo una vez más para reanudar.
- When the countdown reaches zero, the alarm will sound, and the LED indicator will flash. The timer will then automatically begin counting up to show elapsed time since the alarm.
- To stop the alarm and clear the display, press the CLARO botón.
4.4. Using the Count-Up Timer (COUNT-UP Mode)
- Deslice el MODO cambiar a CONTAR HASTA.
- Asegúrese de que la pantalla muestre 00:00:00. Si no es así, presione CLARO.
- Presione el INICIAR/DETENER Botón para comenzar a contar hacia arriba.
- Para pausar el conteo progresivo, presione INICIAR/DETENER de nuevo. Presiónelo una vez más para reanudar.
- To reset the count-up timer to zero, press CLARO.
4.5. Using Memory Functions (M1-M4 Presets)
The timer features four memory buttons (M1, M2, M3, M4) for storing and recalling frequently used times or for interval timing.
- In MINUTERO mode, enter the desired time using the number keypad.
- Press and hold one of the memory buttons (M1-M4) until the display confirms the time has been saved.
- To recall a saved time, simply press the corresponding memory button (M1-M4). The saved time will appear on the display, ready to start.
- For interval timing, set the first interval, save it to M1. Then set the second interval, save it to M2, and so on. You can then cycle through these presets as needed.
4.6. Ajuste del volumen de la alarma
The timer features a volume switch, typically located on the side or back, allowing you to select between different alarm levels (e.g., High, Low, Mute) or a flashing LED indicator for silent operation.
5. Mantenimiento
- Limpie el temporizador con un paño suave yamp Paño. No utilice limpiadores abrasivos ni sumerja la unidad en agua.
- Evite exponer el temporizador a temperaturas extremas o a la luz solar directa durante períodos prolongados.
- If the display becomes dim or the alarm weakens, replace the batteries promptly.
6. Solución de problemas
| Problema | Posible causa | Solución |
|---|---|---|
| El temporizador no se enciende. | Las baterías están agotadas o instaladas incorrectamente. | Verifique la polaridad de la batería o reemplácela con baterías AA nuevas. |
| La pantalla es tenue. | Batería baja. | Reemplace las baterías. |
| La alarma no suena. | Alarm volume is set to mute or low. | Check the alarm volume switch and adjust as needed. |
| El temporizador no responde al presionar los botones. | Unit may be in a locked state (if applicable) or requires a reset. | Remove and reinsert batteries to perform a hard reset. Check for any lock switches. |
7. Especificaciones
- Modelo: TI030018WH
- Marca: MARATHON
- Material: Plástico
- Dimensiones: 4.45 x 2.64 x 4.45 pulgadas
- Peso del artículo: 7.1 onzas
- Fuente de energía: 2 pilas AA (incluidas)
- Max Timer Duration: 99 horas, 59 minutos, 59 segundos
- Características: Direct Entry, Dual Function (Count-up/Count-down), Clock, Memory Presets, LED Indicator, Magnetic Back, Kickstand
- Código postal: 063442000342

Figura 6: Dimensiones del producto.
8. Garantía y soporte
Para obtener información sobre la garantía o asistencia técnica, consulte el sitio web oficial del fabricante. webSitio web o contacte con el departamento de atención al cliente. Conserve su recibo de compra como comprobante.


