1. Configuración y primer uso
This section guides you through the initial setup of your NEC VersaPro VK26TX-G laptop.
1.1 Desembalaje e inspección
Carefully remove the laptop and all accessories from the packaging. Verify that all components are present and undamaged. The standard package includes the laptop, AC adapter, and power cord.
1.2 Conexión de la alimentación
- Connect the AC adapter to the power input port on the side of the laptop.
- Conecte el cable de alimentación al adaptador de CA y luego a una toma de pared.
- Deje que la batería se cargue durante al menos 30 minutos antes del uso inicial o hasta que el indicador de batería muestre una carga suficiente.

Image 1.1: The NEC VersaPro VK26TX-G laptop in an open position, displaying the Windows 10 desktop environment. This view shows the screen, keyboard, and touchpad, ready for initial setup.
1.3 Arranque inicial y configuración de Windows
Press the power button located above the keyboard to turn on the laptop. Follow the on-screen instructions to complete the Windows 10 Pro setup process. This typically involves selecting your region, language, creating a user account, and connecting to a Wi-Fi network.
1.4 Conexión de periféricos
Su computadora portátil cuenta con varios puertos para conectar dispositivos externos:
- Puertos USB: Para ratones, teclados, almacenamiento externo y otros dispositivos USB.
- Puerto VGA: Para conectar a monitores o proyectores externos.
- Puerto LAN: Para conexiones de red por cable.
- Conectores de audio: Para auriculares o altavoces externos.

Imagen 1.2: A view of the left side of the laptop, highlighting various connectivity ports such as USB, VGA, and the LAN port, essential for connecting external devices and networks.

Imagen 1.3: A view of the right side of the laptop, showing additional USB ports and the integrated DVD-ROM drive, useful for optical media.
2. Operación de su computadora portátil
This section covers the basic operation of your NEC VersaPro VK26TX-G.
2.1 Encendido/apagado y modo de suspensión
- Encendido: Presione el botón de encendido.
- Cerrar: Haga clic en el botón Inicio y luego en Energía > Apagar.
- Reanudar: Haga clic en el botón Inicio y luego en Energía > Reiniciar.
- Dormir: Haga clic en el botón Inicio, luego en Energía > Suspender, o cierre la tapa de la computadora portátil.
2.2 Teclado y panel táctil
La computadora portátil cuenta con un teclado de tamaño completo y un panel táctil multitáctil para navegación.
- Teclado: Standard QWERTY layout with function keys (F1-F12) for various shortcuts (e.g., volume, brightness).
- Panel táctil: Supports gestures like scrolling (two fingers), zooming (pinch), and right-click (two-finger tap or press bottom-right).
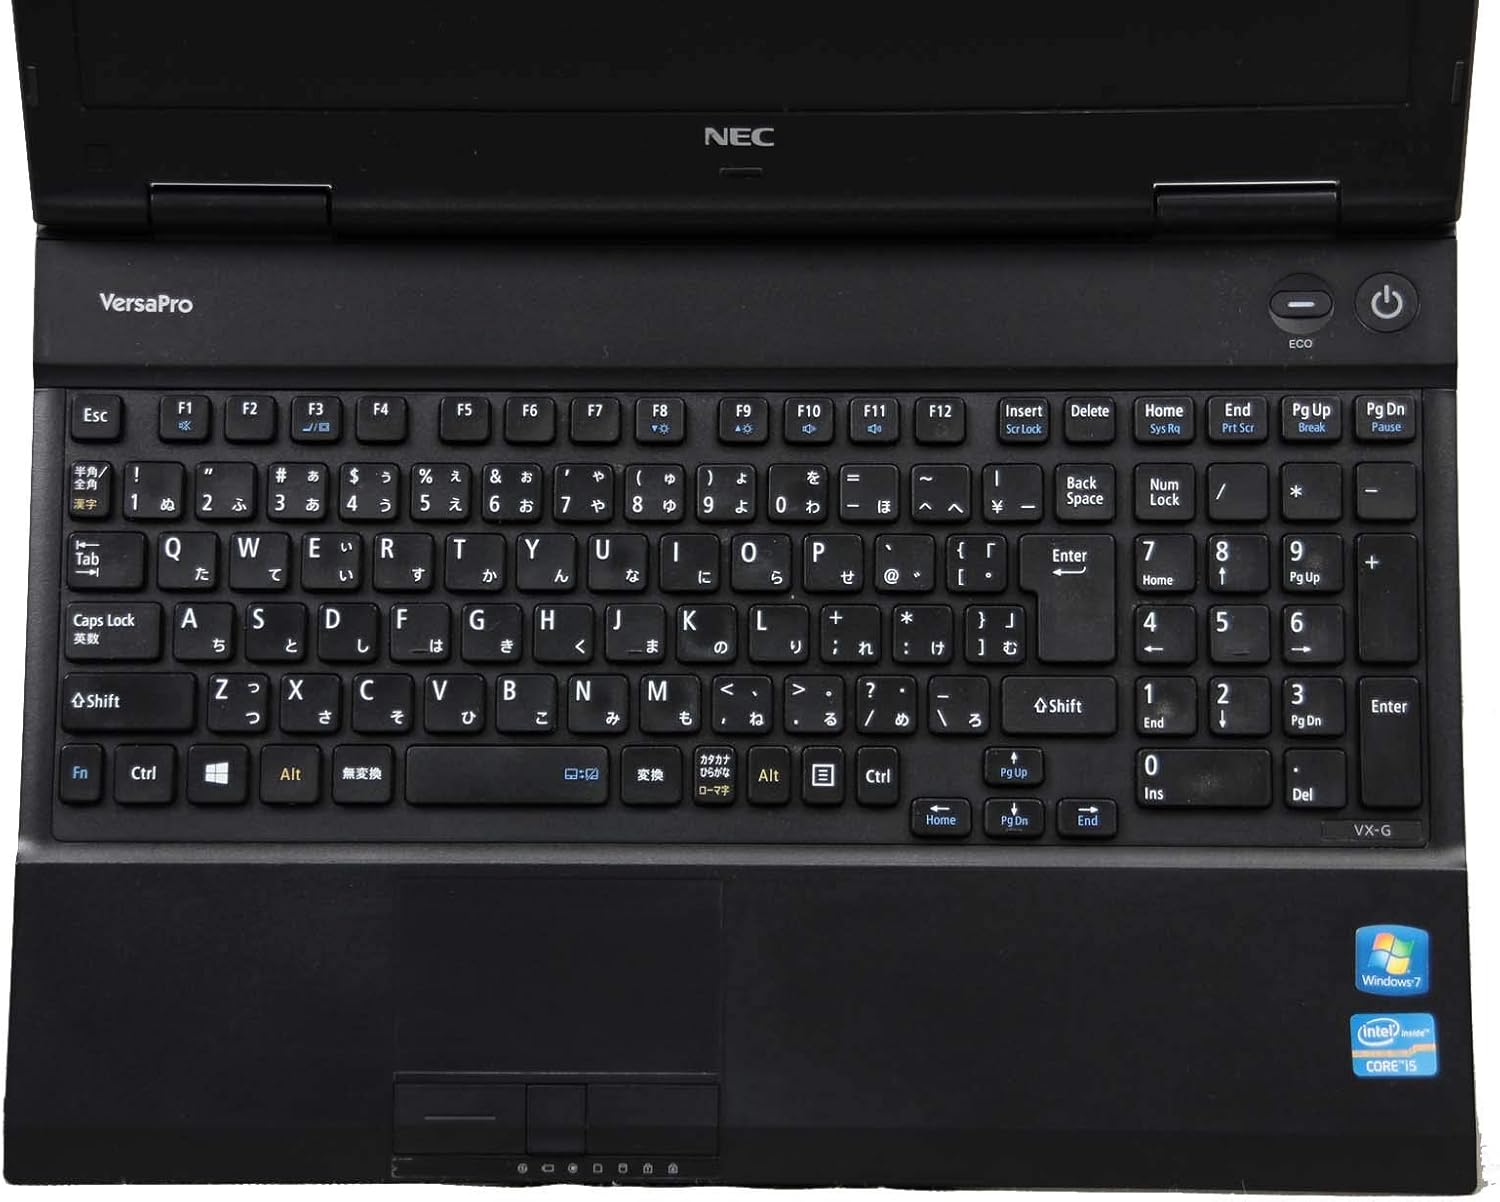
Imagen 2.1: Una vista de arriba hacia abajo view of the laptop's keyboard and touchpad, illustrating the layout and input areas for user interaction.
2.3 Conexión a wifi
- Haga clic en el icono de Wi-Fi en la bandeja del sistema (esquina inferior derecha de la pantalla).
- Seleccione la red que desee de la lista.
- Ingrese la clave de seguridad de red (contraseña) si se le solicita y luego haga clic en "Conectar".
2.4 Using the DVD-ROM Drive
The integrated DVD-ROM drive allows you to read optical discs. To open the tray, press the eject button located on the drive itself. Insert a disc, then gently push the tray back in. Windows will typically detect the disc automatically.
2.5 Windows 10 Pro and WPS Office
Your laptop comes pre-installed with Windows 10 Pro, offering advanced features for productivity and security. It also includes Oficina de WPS, a suite of applications compatible with Microsoft Office formats, for document creation, spreadsheets, and presentations.
3. Mantenimiento y cuidado
Un mantenimiento adecuado garantiza la longevidad y el rendimiento óptimo de su computadora portátil.
3.1 Instrucciones de limpieza
- Pantalla: Utilice un paño suave y sin pelusa diseñado específicamente para dispositivos electrónicos. Dampen it slightly with water or a screen cleaner. Do not spray liquid directly onto the screen.
- Teclado y chasis: Utilice un paño suave, ligeramente húmedo.ampened with water or a mild cleaning solution. For dust in crevices, use compressed air.
- Siempre apague y desenchufe la computadora portátil antes de limpiarla.
3.2 Cuidado de la batería
- Evite temperaturas extremas.
- For optimal battery life, avoid constantly keeping the laptop plugged in at 100% charge. Occasionally allow the battery to discharge to around 20-30% before recharging.
- Si va a guardar la computadora portátil durante un período prolongado, asegúrese de que la batería esté cargada entre el 50 y el 60 % aproximadamente.
3.3 Actualizaciones de software
Regularly update your Windows operating system and device drivers to ensure security, stability, and performance. Windows Update can be accessed via Settings > Update & Security > Windows Update.
3.4 Copia de seguridad de datos
It is highly recommended to regularly back up your important data to an external drive or cloud storage to prevent data loss.
4. Solución de problemas comunes
Esta sección proporciona soluciones a problemas comunes que puede encontrar.
4.1 La computadora portátil no se enciende
- Asegúrese de que el adaptador de CA esté conectado de forma segura tanto a la computadora portátil como a una toma de corriente que funcione.
- Verifique que la toma de corriente funcione enchufando otro dispositivo.
- Si la batería está completamente agotada, déjela cargar durante unos minutos antes de intentar encenderla.
4.2 No hay visualización en la pantalla
- Compruebe si el portátil está encendido.
- Adjust the screen brightness using the function keys (e.g., Fn + F2/F3).
- If an external monitor is connected, try disconnecting it or switching display modes (e.g., Fn + F7).
4.3 Problemas de conexión Wi-Fi
- Ensure Wi-Fi is enabled (check the Wi-Fi icon in the system tray).
- Reinicie su enrutador y módem.
- Olvídese de la red y vuelva a conectarse, volviendo a ingresar la contraseña.
- Run the Windows Network Troubleshooter (Settings > Network & Internet > Status > Network troubleshooter).
4.4 Rendimiento lento
- Cierre las aplicaciones innecesarias que se ejecutan en segundo plano.
- Busque e instale cualquier actualización de Windows pendiente.
- Run a disk cleanup and defragmentation (for HDD models).
- Analizar en busca de malware o virus.
5. Especificaciones
Detailed technical specifications for the NEC VersaPro VK26TX-G laptop.
| Característica | Especificación |
|---|---|
| Marca | Comité ejecutivo nacional |
| Nombre del modelo | VersaPro VK26TX G |
| Factor de forma | Computadora portátil |
| Tamaño de pantalla | 15.6 pulgadas |
| Resolución | 1366 x 768 pixels (Full WXGA) |
| Marca de CPU | Intel |
| Tipo de CPU | Núcleo i5 |
| Velocidad de la CPU | 2.6 GHz |
| Capacidad de RAM | 4 GB |
| Capacidad del disco duro | 250 GB |
| Tipo de disco duro | Disco duro |
| Comunicación | Wifi |
| Sistema operativo | Windows 10 Pro |
| Unidad óptica | DVD ROM |
6. Garantía y soporte
Information regarding your product's warranty and available support services.
6.1 Garantía del producto
Este producto normalmente incluye un Garantía de 90 días from the date of purchase. This warranty covers manufacturing defects and hardware malfunctions under normal use. Please refer to your purchase documentation for specific terms and conditions. Note that battery remaining capacity is generally not covered under warranty.

Image 6.1: An informational graphic highlighting the 90-day warranty period and the inclusion of a legitimate Windows OS license.
6.2 Atención al cliente
A dedicated support system is in place to assist you with any issues or inquiries. If you encounter a problem with the product, professional staff are available to help diagnose the situation, investigate the cause, and propose appropriate solutions, including exchanges or repairs if necessary.
For inquiries regarding the usage of software or applications, or for specific malfunctions, please contact the manufacturer's official support channels directly.
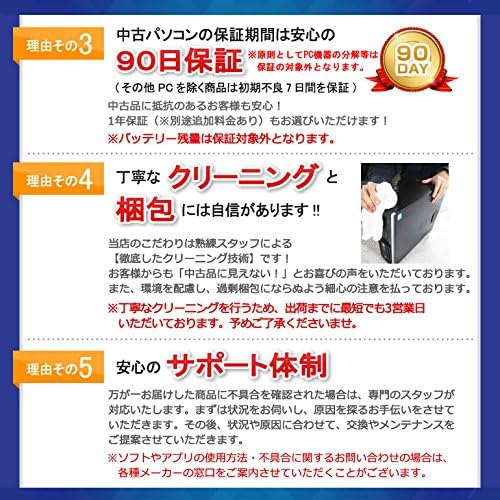
Image 6.2: An informational graphic outlining the comprehensive customer support system, including professional staff assistance for product issues.


