Información de seguridad
Read and understand all instructions before beginning installation. Failure to follow these instructions could result in electric shock, fire, or serious personal injury.
- Asegúrese de que el sitio de instalación sea estructuralmente sólido y pueda soportar el peso del ventilador (aproximadamente 21 libras).
- Todo el cableado debe cumplir con los códigos eléctricos nacionales y locales. Si no está familiarizado con el cableado, consulte a un electricista cualificado.
- Desconecte la energía en el disyuntor o la caja de fusibles antes de comenzar la instalación o realizar cualquier mantenimiento.
- No opere el ventilador con las aspas o la carcasa dañadas.
- Mantenga una distancia mínima de 7 pies desde el piso hasta el borde inferior de las aspas del ventilador.
- Este ventilador está diseñado solo para uso en interiores.
Configuración e instalación
This section guides you through the assembly and installation process of your Hunter ceiling fan.
1. Desembalaje e inspección
Carefully remove all components from the packaging. Inspect all parts for any damage. Do not discard packaging materials until assembly is complete and the fan is operating correctly.
2. Montaje del ventilador
The fan uses a standard profile mounting with included 3-inch and 2-inch downrods. Choose the appropriate downrod length for your ceiling height. Ensure the electrical box is securely mounted and capable of supporting the fan.

Image: Hunter 46-inch ceiling fan installed in a living space, demonstrating typical mounting.
- Asegure el soporte de montaje a la caja eléctrica del techo.
- Feed electrical wires through the downrod and canopy.
- Conecte la varilla descendente a la carcasa del motor.
- Lift the fan assembly and hang it on the mounting bracket.
3. Conexiones eléctricas
Ensure power is OFF at the circuit breaker before making any electrical connections. Connect the fan's wires to the household wiring according to the wiring diagram provided in the full installation guide (not included here). This fan operates on 120 Volts AC.
4. Colocación de las aspas del ventilador
The fan includes 5 reversible Medium Density Fiberboard (MDF) blades with Warm Grey Oak and Greyed Walnut finishes. Choose your preferred finish before attaching the blades.

Imagen: Primer plano view of the fan's motor housing with the Hunter logo and a blade arm attached, showing the connection point.
- Attach each blade to a blade arm using the provided screws.
- Secure the blade arms to the motor housing.

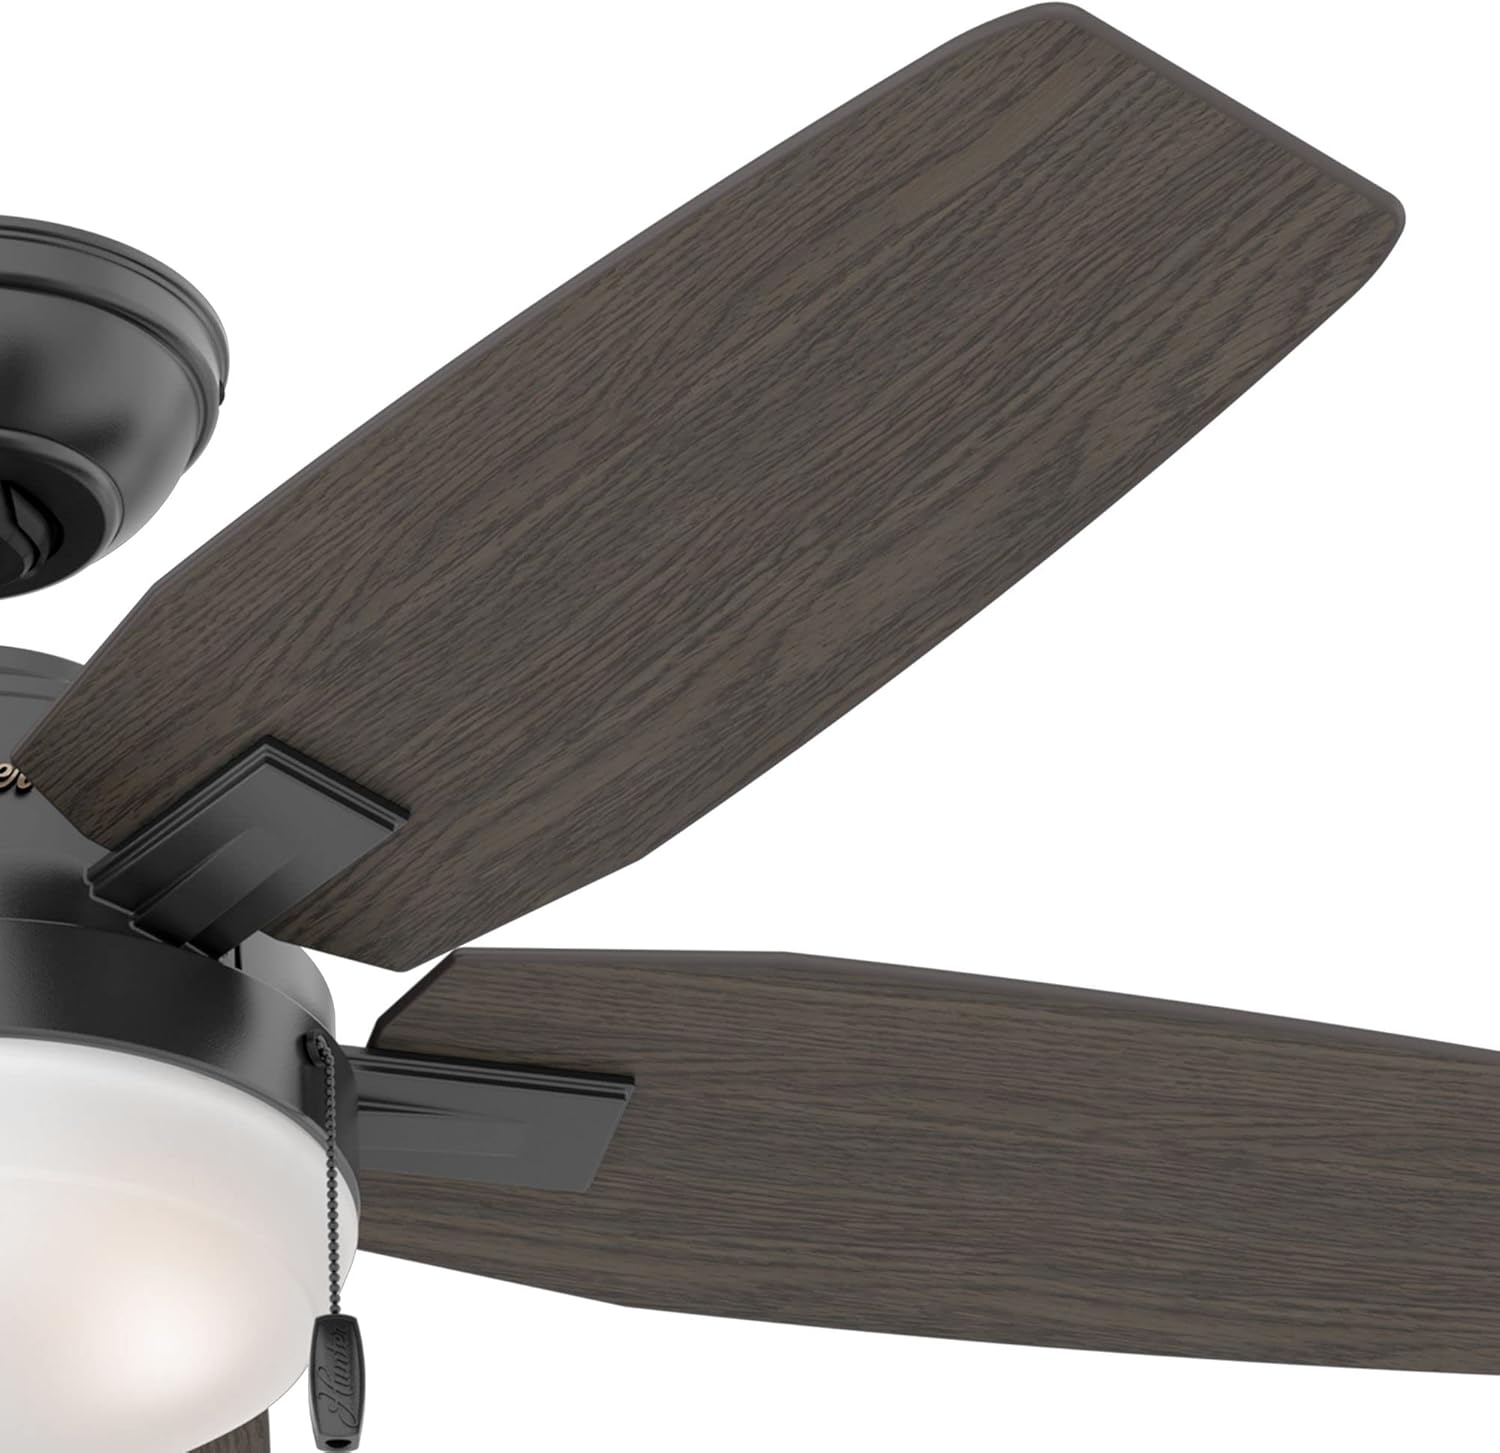
Image: Left shows the Warm Grey Oak side of a fan blade. Right shows the Greyed Walnut side of a fan blade, demonstrating the reversible design.
5. Instalación del kit de iluminación
The fan includes an integrated light kit with premium painted cased white glass shading and two 9-watt energy-efficient, dimmable LED bulbs (E26/A19 base).

Image: Close-up of the fan's light kit, showing the frosted white glass shade and the two pull chains for fan speed and light control.
- Connect the light kit wires to the fan motor wires.
- Secure the light kit assembly to the fan motor housing.
- Install the LED bulbs into the sockets.
- Attach the glass shade to the light kit.
Instrucciones de funcionamiento
Your Hunter ceiling fan is controlled by pull chains for both fan speed and light operation.
Control de velocidad del ventilador
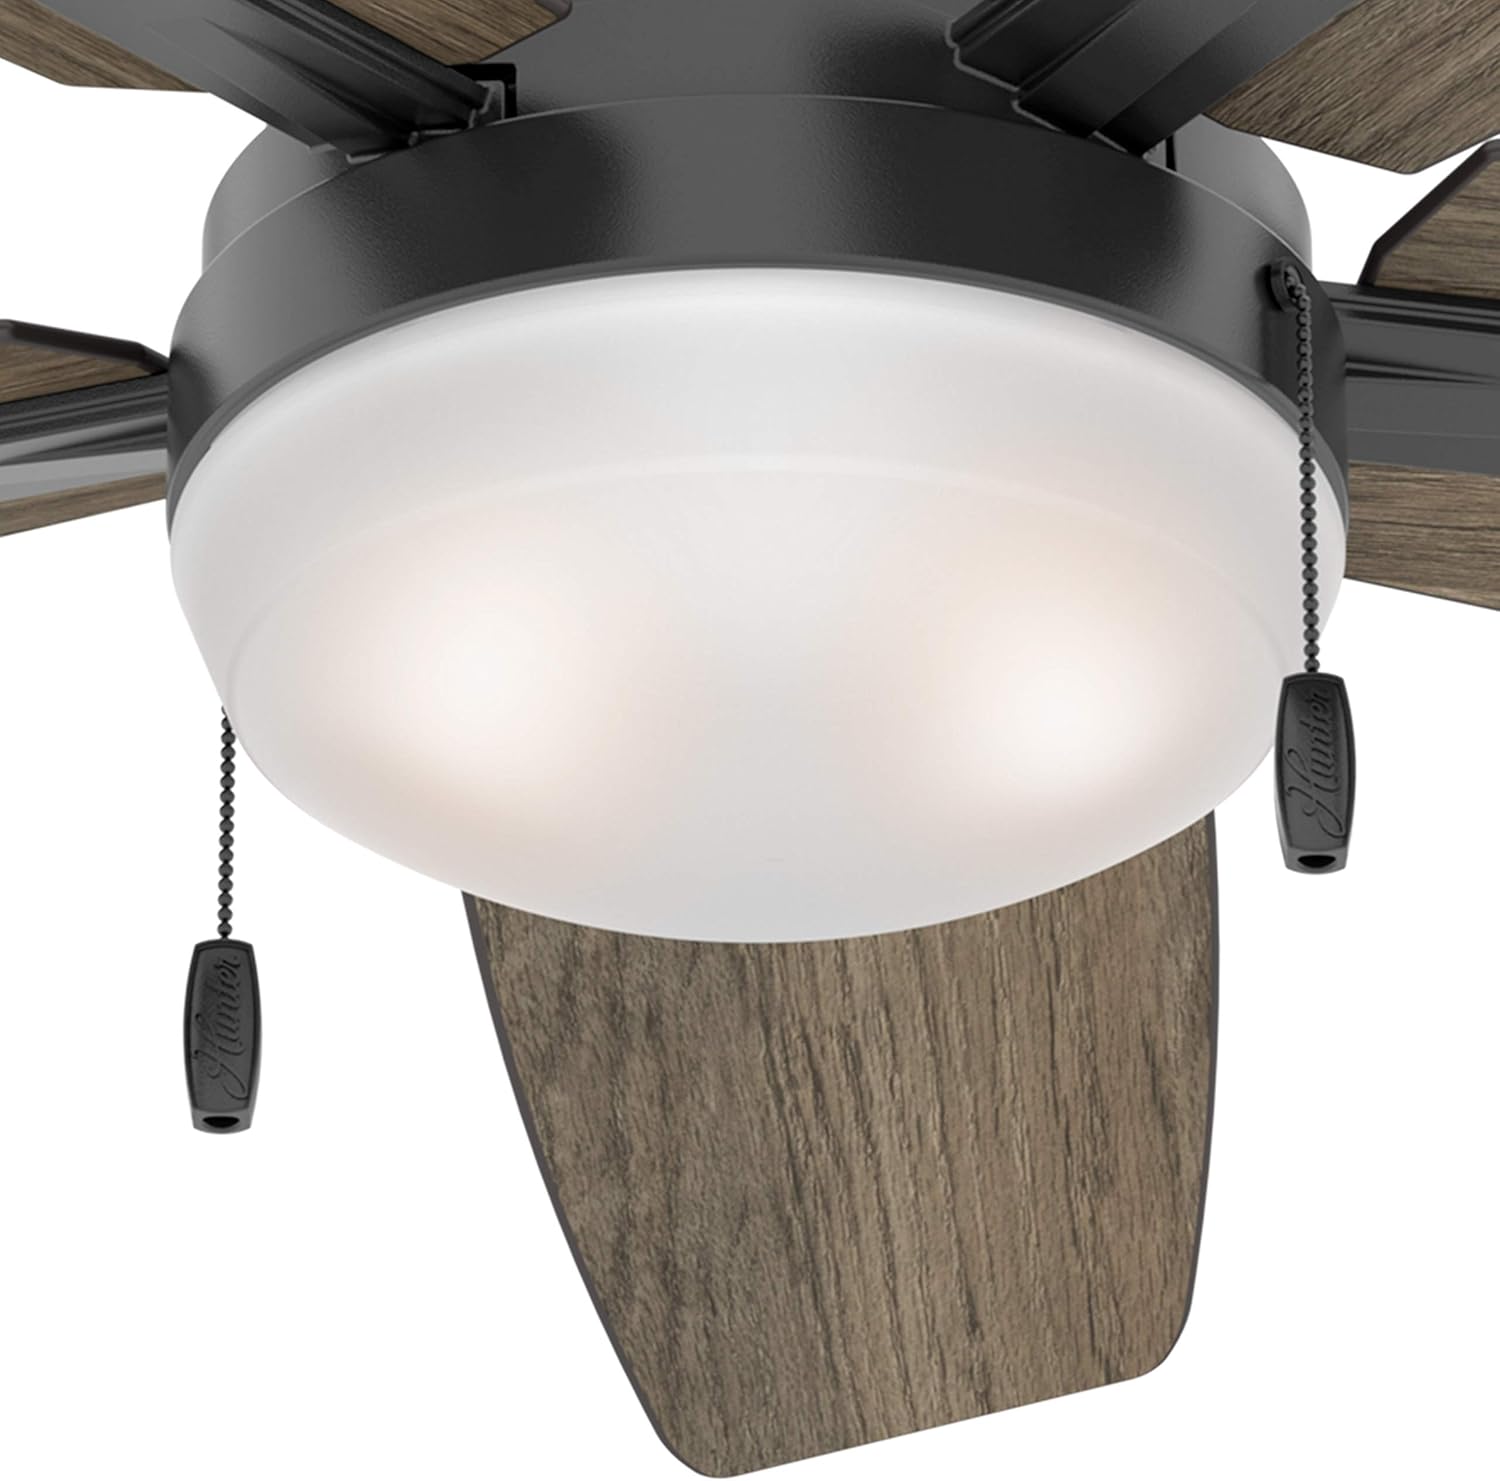
Imagen: Detallada view of the fan's light kit, highlighting the two pull chains. One chain controls the fan speed, and the other controls the light.
- Locate the pull chain designated for fan speed (often marked with a fan icon or a shorter chain).
- Pull the chain once for High speed.
- Pull the chain a second time for Medium speed.
- Pull the chain a third time for Low speed.
- Tire de la cadena una cuarta vez para apagar el ventilador.
Control de luz
- Locate the pull chain designated for light control (often marked with a light bulb icon or a longer chain).
- Pull the chain once to turn the light ON.
- Pull the chain a second time to turn the light OFF.
- To dim the light, pull and hold the light chain. Release when the desired brightness is reached.
Reversible Blade Operation (Seasonal Use)
Your fan features reversible blades and a reversible motor for year-round comfort. A switch on the fan motor housing allows you to change the direction of blade rotation.
- Operación de verano: Ajuste el interruptor para que las aspas giren en sentido antihorario. Esto crea un flujo de aire descendente, lo que produce un efecto refrescante.
- Operación de invierno: Set the switch to make the blades rotate clockwise. This creates an upward airflow, recirculating warm air from the ceiling without creating a direct draft.
- Siempre apague el ventilador y espere a que las aspas se detengan por completo antes de cambiar el interruptor de dirección.
Mantenimiento
El mantenimiento regular garantiza la longevidad y el rendimiento óptimo de su ventilador de techo.
- Limpieza: Limpie periódicamente las aspas del ventilador y la carcasa del motor con un paño suave.amp Paño. No utilice limpiadores abrasivos ni disolventes, ya que pueden dañar el acabado.
- Tornillos de ajuste: Check all screws on the fan blades, blade arms, and mounting hardware at least twice a year. Tighten any loose screws to prevent wobbling and noise.
- Reemplazo de bombilla: If a light bulb needs replacement, ensure the power is off. Use only 9-watt LED bulbs with an E26/A19 base, or equivalent.
- No requiere lubricación: El motor del ventilador está lubricado permanentemente y no requiere lubricación.
Solución de problemas
If you experience issues with your fan, refer to the following common problems and solutions before contacting support.
El ventilador no arranca
- Comprobar potencia: Ensure the circuit breaker is ON and the wall switch (if applicable) is ON.
- Conexiones de cableado: Verify all electrical connections are secure and correctly wired according to the installation instructions.
- Cadena de tracción: Ensure the fan pull chain has been pulled to an ON position.
El ventilador se tambalea
- Tornillos de la cuchilla: Compruebe que todos los tornillos de la cuchilla estén bien apretados.
- Blade Arms: Ensure blade arms are securely attached to the motor.
- Montaje: Verify the mounting bracket and downrod are securely fastened to the ceiling and electrical box.
- Equilibrio de la cuchilla: Uneven blade weight can cause wobbling. Use a balancing kit (often sold separately) if necessary.
La luz no funciona
- Instalación de la bombilla: Asegúrese de que las bombillas estén bien atornilladas.
- Bulb Functionality: Test bulbs in a known working fixture or replace with new ones.
- Alambrado: Verifique las conexiones del cableado del kit de luces.
- Cadena de tracción: Ensure the light pull chain is in the ON position.
Operación ruidosa
- Tornillos flojos: Tighten all screws on the fan.
- Montaje: Ensure the fan is securely mounted and not touching any part of the ceiling.
- Pantalla de cristal: Check if the glass shade is securely fastened and not rattling.
- Espacio libre de la hoja: Ensure blades are not hitting anything.
Presupuesto

Image: Energy Guide label showing estimated yearly energy cost ($10) and airflow (3,133 Cubic Feet Per Minute) for the fan.
| Marca | Cazador |
| Número de modelo | CC5C95C84 |
| Dimensiones del producto | 46" de largo x 46" de ancho x 14.51" de alto |
| Peso del artículo | 21.05 libras |
| Color | Negro mate |
| Material | Metal (Housing), MDF (Blades), Glass (Shade) |
| Número de cuchillas | 5 (Reversible: Warm Grey Oak / Greyed Walnut) |
| Tipo de fuente de luz | LED integrado |
| Bombillas incluidas | 2 x 9 Watt, Dimmable LED (E26/A19 base) |
| Brillo | 800 Lumens (Light Output Maximum) |
| Método de control | Control de cadena de tracción |
| Velocidades del ventilador | 3 |
| Tipo de montaje | Downrod Mount (3" and 2" downrods included) |
| Uso en interiores y exteriores | Solo en interiores |
| Volumentage | 120 voltios |
| Capacidad de flujo de aire | 2635 pies cúbicos por minuto |
| Eficiencia | Energy Efficient, ETL Certified |
Garantía y soporte
For specific warranty information regarding your Hunter ceiling fan, please refer to the documentation included with your purchase or visit the official Hunter Fan Company websitio.
If you require technical assistance or have questions not covered in this manual, please contact Hunter Customer Support:
- Hunter Fan Company Official Websitio: www.hunterfan.com
- Servicio al cliente: Consulte la webSitio para métodos de contacto actuales (teléfono, correo electrónico, chat).
Please have your model number (CC5C95C84) and date of purchase available when contacting support.


