1. Introducción
This manual provides instructions for the installation, operation, and maintenance of your Hunter Builder Plus 51111 52-inch Indoor Ceiling Fan with LED Lights. This traditional ceiling fan is designed to complement various room aesthetics while providing efficient air circulation and lighting. It features a Whisper Wind motor for quiet performance and dimmable LED bulbs for adjustable ambiance. The fan includes a three-position mounting system for versatile installation and reversible blades for seasonal use.

Figure 1: Hunter Builder Plus 51111 52-inch Ceiling Fan. An overhead view of the Hunter Builder Plus 51111 ceiling fan, showcasing its brushed nickel motor housing, five light wood-grain blades, and three frosted glass light shades.
2. Información de seguridad
Read and understand all instructions before beginning installation. Failure to follow these instructions may result in electric shock, fire, or personal injury.
- Seguridad eléctrica: Always disconnect power at the main circuit breaker or fuse box before starting installation or performing any maintenance. Ensure all electrical connections comply with local codes and ordinances. If you are unfamiliar with electrical wiring, consult a qualified electrician.
- Montaje: The fan must be mounted to a structurally sound ceiling joist or an outlet box rated for fan support (at least 35 lbs). Ensure the mounting location can support the fan's weight.
- Espacio libre de la hoja: Maintain a minimum clearance of 7 feet from the floor to the bottom edge of the fan blades. Ensure there is adequate clearance from walls and other obstructions to prevent injury or damage.
- Operación del ventilador: No inserte objetos en el camino de las aspas del ventilador mientras éste esté en funcionamiento.
- Kit de iluminación: Utilice únicamente el tipo de bombilla y el agua especificados.tage. Allow bulbs to cool before replacing.
3. Contenido del paquete
Verify that all components listed below are included in your package before beginning installation. If any parts are missing or damaged, contact Hunter customer support.
- Ensamblaje de la carcasa del motor
- 5 Fan Blades (reversible finish)
- Soportes de hoja
- Light Kit Assembly with 3 Frosted Glass Shades
- LED Light Bulbs (3 included)
- Toldo y soporte de montaje
- Varilla de bajada de 2 pulgadas
- Varilla de bajada de 3 pulgadas
- Paquete de hardware (tornillos, arandelas, tuercas para cables)
- Cadenas de tracción (para controlar la velocidad del ventilador y la luz)
4. Configuración e instalación
Siga estos pasos para instalar correctamente su ventilador de techo. Se recomienda que lo hagan dos personas.
- Apagar la energía: Before starting, ensure power is disconnected at the circuit breaker or fuse box to prevent electrical shock.
- Instale el soporte de montaje: Secure the mounting bracket to the ceiling outlet box. Ensure the outlet box is rated for ceiling fan support (minimum 35 lbs) and is securely fastened to a building structure.
- Ensamblar la varilla bajante: Choose the appropriate downrod (2-inch or 3-inch) for your ceiling height. Feed the electrical wires from the fan motor through the downrod.
- Montaje del ventilador colgante: Carefully lift the fan motor assembly and place the downrod ball into the mounting bracket. Ensure the tab in the mounting bracket aligns with the slot in the downrod ball.
- Conecte el ventilador: Connect the electrical wires from the fan to the house wiring according to the wiring diagram provided in the full instruction manual (not included here). Ensure all connections are secure with wire nuts.
- Toldo seguro: Deslice el dosel hasta el techo y fíjelo al soporte de montaje con los tornillos provistos.
- Coloque las aspas del ventilador: Attach each fan blade to its blade bracket using the provided screws. Then, attach the blade assemblies to the motor housing. The blades feature a reversible finish (light wood-grain and darker wood-grain); choose your preferred side.
- Instalar el kit de luz: Connect the light kit wiring to the fan motor wiring. Secure the light kit assembly to the bottom of the fan motor housing. Install the three LED bulbs and then attach the frosted glass shades.
- Fijar cadenas de tracción: Thread the decorative pull chains through the designated holes in the light kit.
- Restaurar energía: Una vez completada la instalación, restablezca la energía en el disyuntor.

Figure 2: Fan installed in a bedroom. The Hunter Builder Plus 51111 ceiling fan mounted in a modern bedroom setting, demonstrating its aesthetic integration and size within a living space.

Figure 3: Fan installed in a living room. The Hunter Builder Plus 51111 ceiling fan installed in a spacious living room, highlighting its suitability for larger common areas.
5. Instrucciones de funcionamiento
Your Hunter Builder Plus 51111 ceiling fan is designed for ease of use with pull chain controls.
Control de velocidad del ventilador
The fan speed is controlled by one of the pull chains. Each pull will cycle through the available speeds (High, Medium, Low, Off). Pull the chain until you reach your desired fan speed.
Control de luz
The light kit is controlled by the other pull chain. Pull the chain to turn the lights On or Off. The included LED bulbs are dimmable, allowing you to adjust the light intensity (dimming functionality may require specific wiring or a compatible dimmer switch, consult a qualified electrician if unsure).
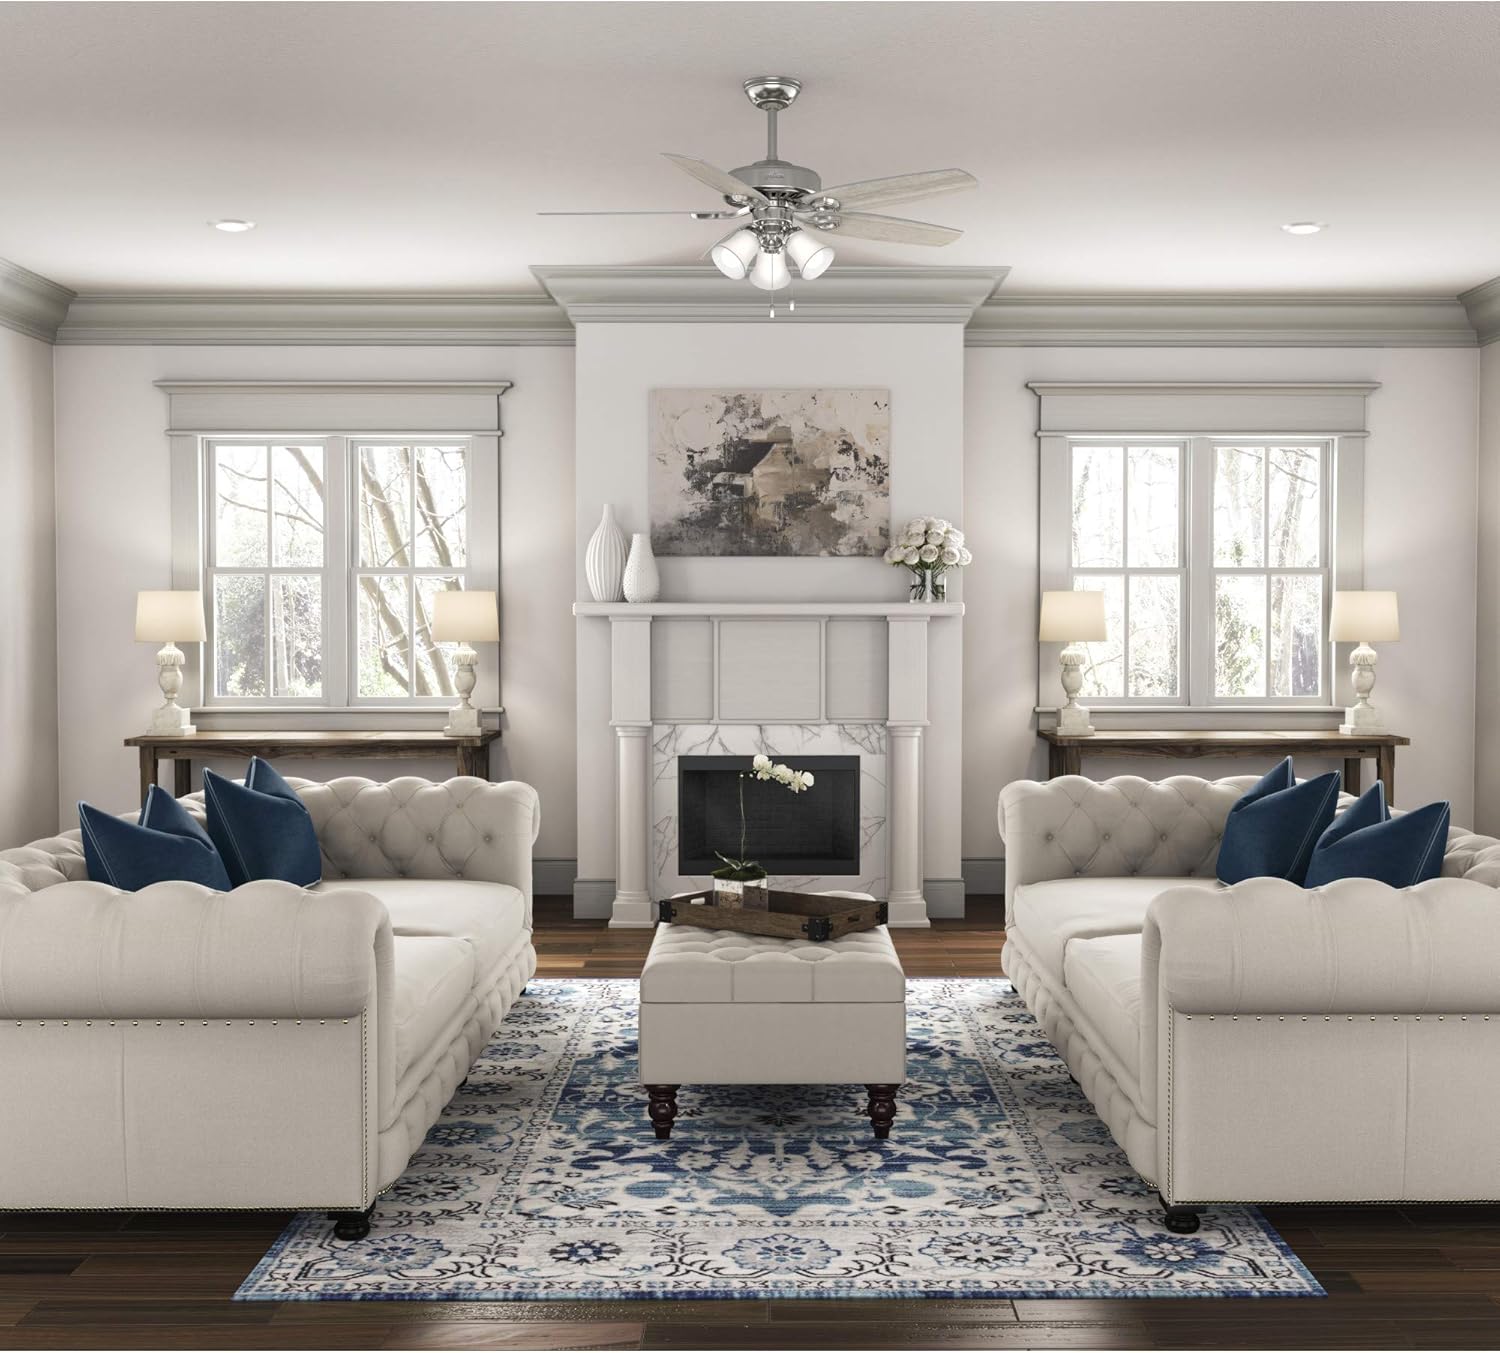
Figure 4: Close-up of fan controls. A detailed view of the central motor housing and light kit of the Hunter Builder Plus 51111 fan, showing the brushed nickel finish, frosted glass shades, and the two pull chains for fan speed and light control.
Función motora reversible
The fan features a reversible motor for year-round comfort. A switch on the fan motor housing allows you to change the direction of blade rotation.
- Summer Operation (Downdraft): Set the switch to allow the blades to rotate counter-clockwise, creating a downdraft that produces a cooling breeze.
- Winter Operation (Updraft): Set the switch to allow the blades to rotate clockwise, creating an updraft that circulates warm air trapped near the ceiling, helping to warm the room.
Always turn off the fan and wait for the blades to stop completely before changing the direction of the motor.

Figure 5: Light wood-grain blade finish. A close-up image of one of the fan blades, featuring a light wood-grain texture on one side.

Figure 6: Dark wood-grain blade finish. A close-up image of one of the fan blades, featuring a darker wood-grain texture on the reverse side, indicating reversible blade finishes.
6. Mantenimiento
El mantenimiento regular garantiza un rendimiento óptimo y la longevidad de su ventilador de techo.
- Limpieza: Para limpiar el ventilador, límpielo con un paño suave y seco.amp Paño. No utilice limpiadores abrasivos ni disolventes, ya que pueden dañar el acabado.
- Limpieza de cuchillas: Limpie periódicamente las aspas del ventilador para evitar la acumulación de polvo, que puede afectar el equilibrio y el rendimiento del ventilador.
- Reemplazo de bombilla: Ensure power is off before replacing LED bulbs. Allow bulbs to cool completely. Replace with LED bulbs of the same type and wattage (6.5 watts, 1800 lumens, 3000 Kelvin, 120 volts).
- Apretar los sujetadores: Periodically check and tighten all screws and fasteners on the fan blades and mounting hardware to ensure secure operation.
7. Solución de problemas
Si tiene problemas con su ventilador de techo, consulte los siguientes problemas y soluciones comunes:
| Problema | Posible causa | Solución |
|---|---|---|
| El ventilador no arranca | No power to the fan; Loose wire connections; Motor switch not engaged. | Check circuit breaker/fuse; Ensure all wire connections are secure; Verify the motor reverse switch is fully engaged in either direction. |
| El ventilador se bambolea | Tornillos de cuchilla sueltos; cuchillas desequilibradas; soporte de montaje suelto. | Tighten all blade screws; Use a balancing kit (sold separately) to balance blades; Ensure mounting bracket is securely fastened to the ceiling joist. |
| La luz no funciona | Bombilla suelta; Bombilla defectuosa; Conexión de cable suelta en el kit de luz. | Ensure bulbs are screwed in tightly; Replace bulbs; Check light kit wiring connections. |
| Operación ruidosa | Tornillos flojos; Zumbido del motor; Aspas golpeando una obstrucción. | Tighten all screws; Ensure canopy is not vibrating against the ceiling; Check for any obstructions in the blade path. |
8. Especificaciones
| Marca | Cazador |
| Nombre del modelo | Constructor Plus |
| Número de modelo | 51111 |
| Dimensiones del producto | 52" de profundidad x 52" de ancho x 18.06" de alto |
| Color | Brushed Nickel finish |
| Número de cuchillas | 5 |
| Tipo de interruptor | Tirar de la cadena |
| Fuente de poder | AC |
| Volumentage | 120 voltios |
| Quétage (Kit de iluminación) | 6.5 vatios (por bombilla) |
| Flujo luminoso | 1800 lúmenes |
| Tipo de bombilla | CONDUJO |
| Uso en interiores y exteriores | Interior |
| Peso del artículo | 18.96 libras |
| Código Postal | 049694511119 |
9. Información de garantía
Your Hunter Builder Plus 51111 ceiling fan comes with a Limited Lifetime Motor Warranty. This warranty is backed by Hunter Fan Company, a manufacturer with over 130 years of experience in the fan business. For specific terms and conditions, please refer to the warranty documentation included with your product or visit the official Hunter websitio.
10. Atención al cliente
For further assistance, troubleshooting, or to inquire about replacement parts, please contact Hunter customer support. You can find contact information on the official Hunter websitio o dentro de los materiales de embalaje.
Visit the official Hunter store for more information: Tienda de Hunter Fan Company


