1. Introducción
The TELLUR Dash Patrol DC2 is a Full HD 1080P car camera designed to record your driving journeys and provide enhanced security for your vehicle. This manual provides essential information for the proper installation, operation, and maintenance of your device. Please read it carefully before use.
2. Contenido del paquete
Verifique que todos los artículos estén presentes y en buenas condiciones al desembalar.
- TELLUR Dash Patrol DC2 Car Camera
- Car Mount (Magnetic)
- Cable USB
- Cargador de coche

Imagen: Explotada view of the Dash Patrol DC2 showing the camera, magnetic mount, and key features like GPS, Magnetic Charging, Wi-Fi, and Full HD recording.
3. Producto terminadoview
Familiarize yourself with the components of your Dash Patrol DC2 camera.
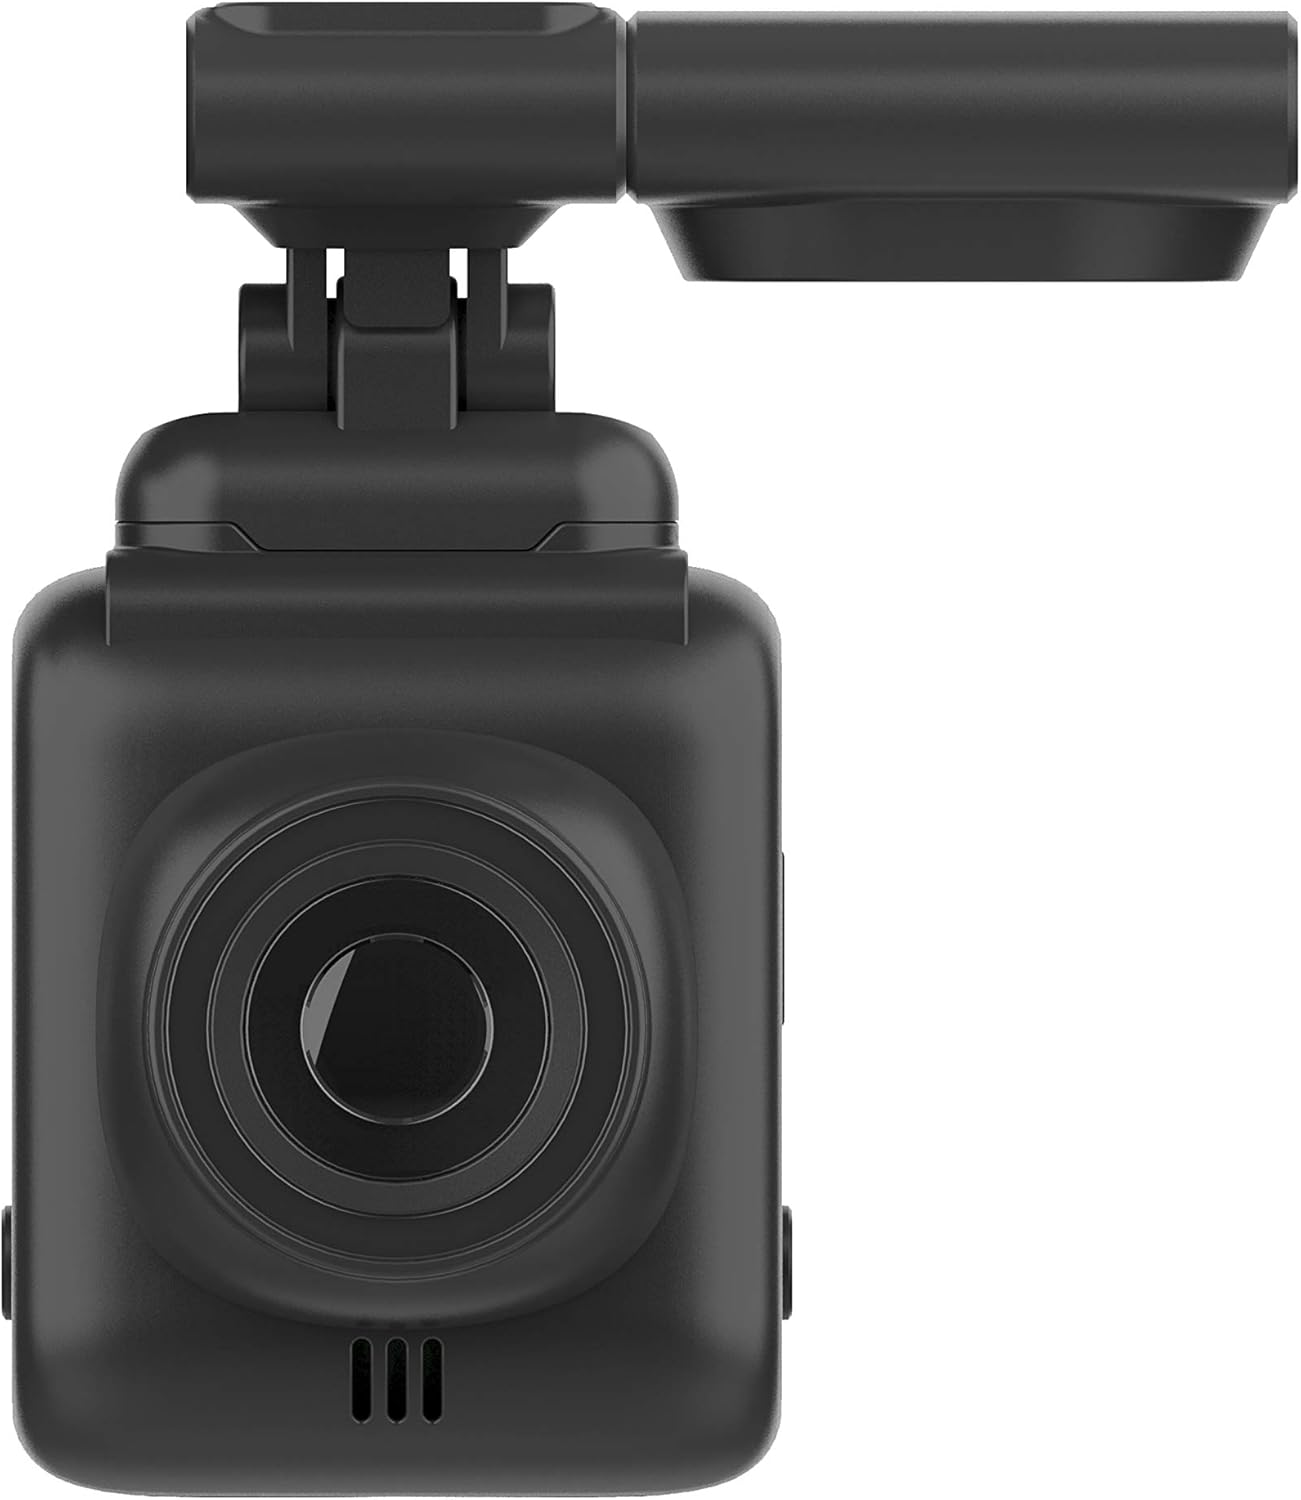
Imagen: Frente view of the Dash Patrol DC2, highlighting the camera lens.
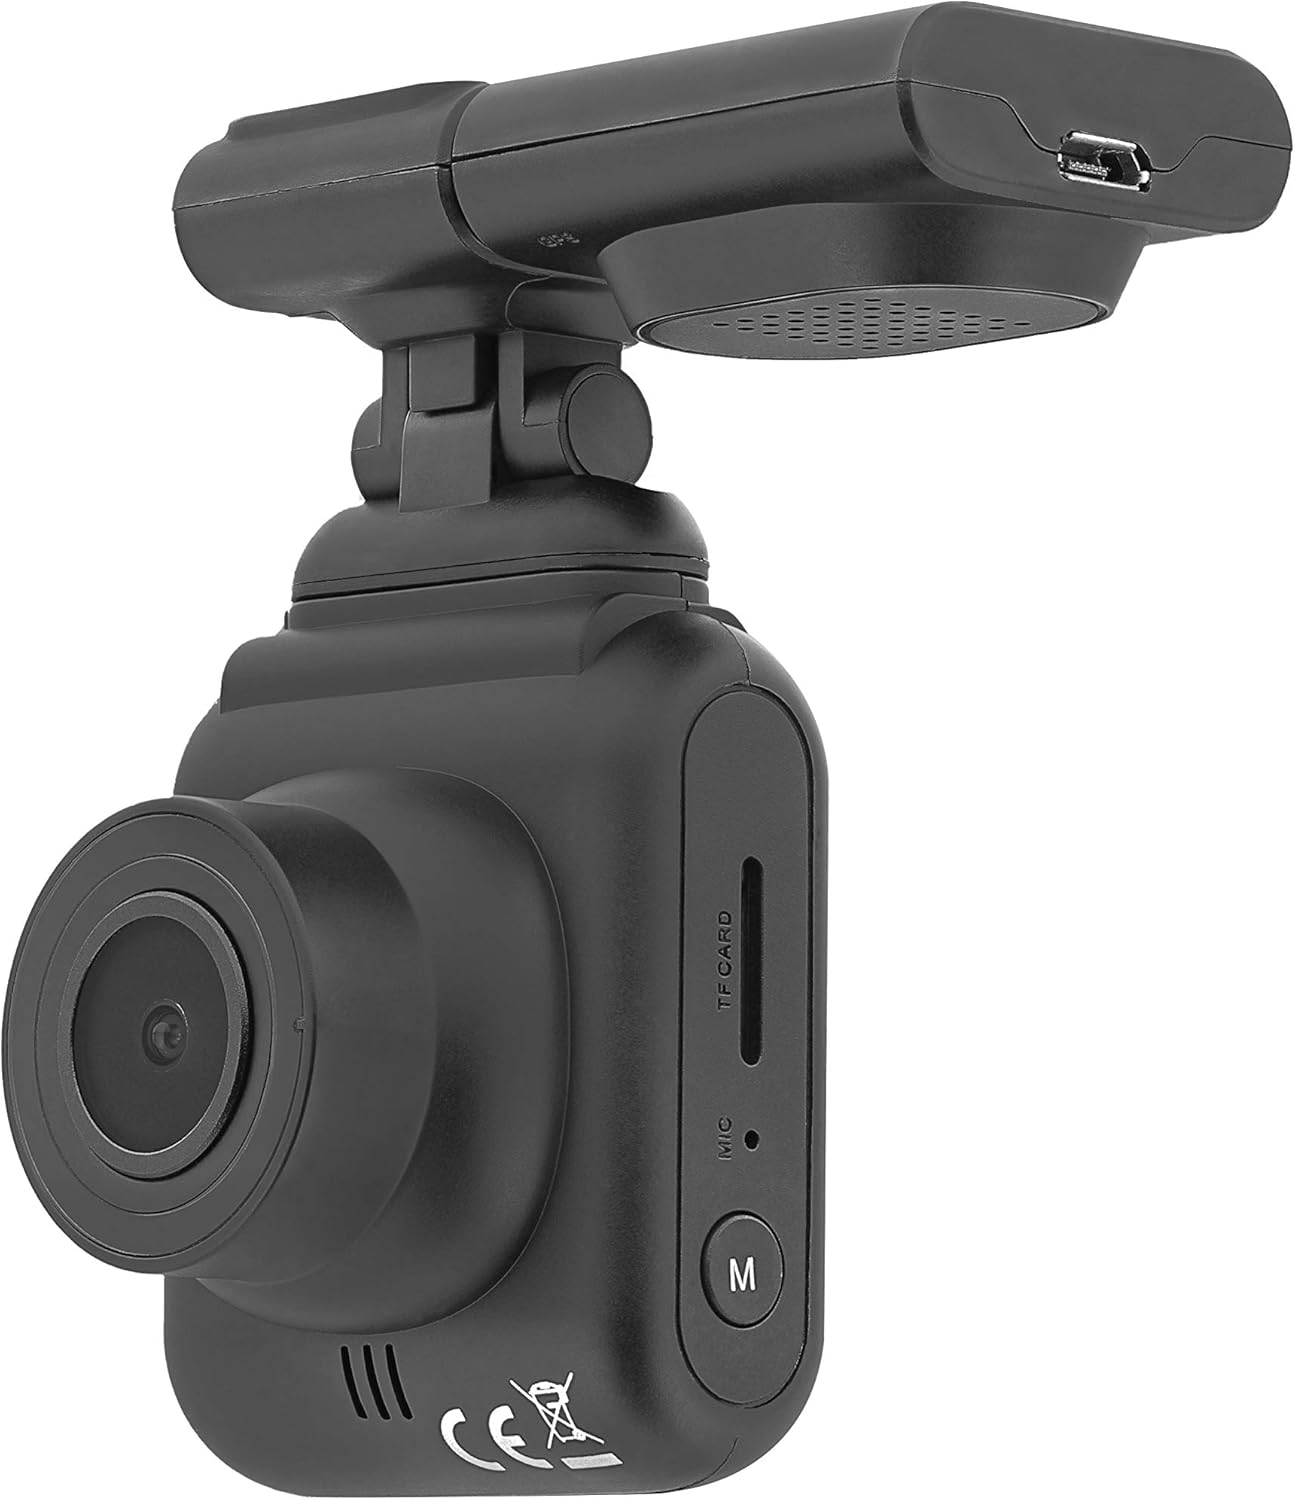
Imagen: Lateral view of the Dash Patrol DC2, showing the TF card slot, microphone, and 'M' button.

Imagen: Trasera view of the Dash Patrol DC2, displaying the screen, navigation buttons, USB port, Reset button, and Power button.
Componentes clave:
- Lente de la cámara: Captura vídeo footage.
- Pantalla de 2.7 pulgadas: Para viewing vivir footage, reproducción y navegación del menú.
- Ranura para tarjetas TF: Insert MicroSD card for storage.
- Micrófono: Records audio (can be disabled in settings).
- Botón 'M': Mode button to switch between video, photo, and playback modes.
- Botones de navegación (arriba/abajo): For menu navigation and specific functions.
- Botón OK: Confirma selecciones e inicia/detiene la grabación.
- Botón de encendido: Enciende/apaga el dispositivo.
- Botón de reinicio: For factory reset (use a thin object to press).
- Puerto USB: Para suministro de energía y transferencia de datos.
- Magnetic Mount Connector: For attaching the camera to the car mount.
4. Configuración
4.1 Instalación de la tarjeta MicroSD
- Asegúrese de que la cámara esté apagada.
- Insert a Class 10 or higher MicroSD card (up to 64GB, not included) into the TF card slot until it clicks into place.
- Para quitarla, empuje suavemente la tarjeta hasta que salga.
4.2 Montaje de la cámara
- Limpie el área del parabrisas donde desea montar la cámara.
- Attach the magnetic car mount to the windshield using its adhesive or suction cup. Ensure it does not obstruct your view.
- Align the camera with the magnetic connector on the mount until it securely attaches.
- Ajuste el ángulo de la cámara para garantizar una imagen clara. view del camino por delante.
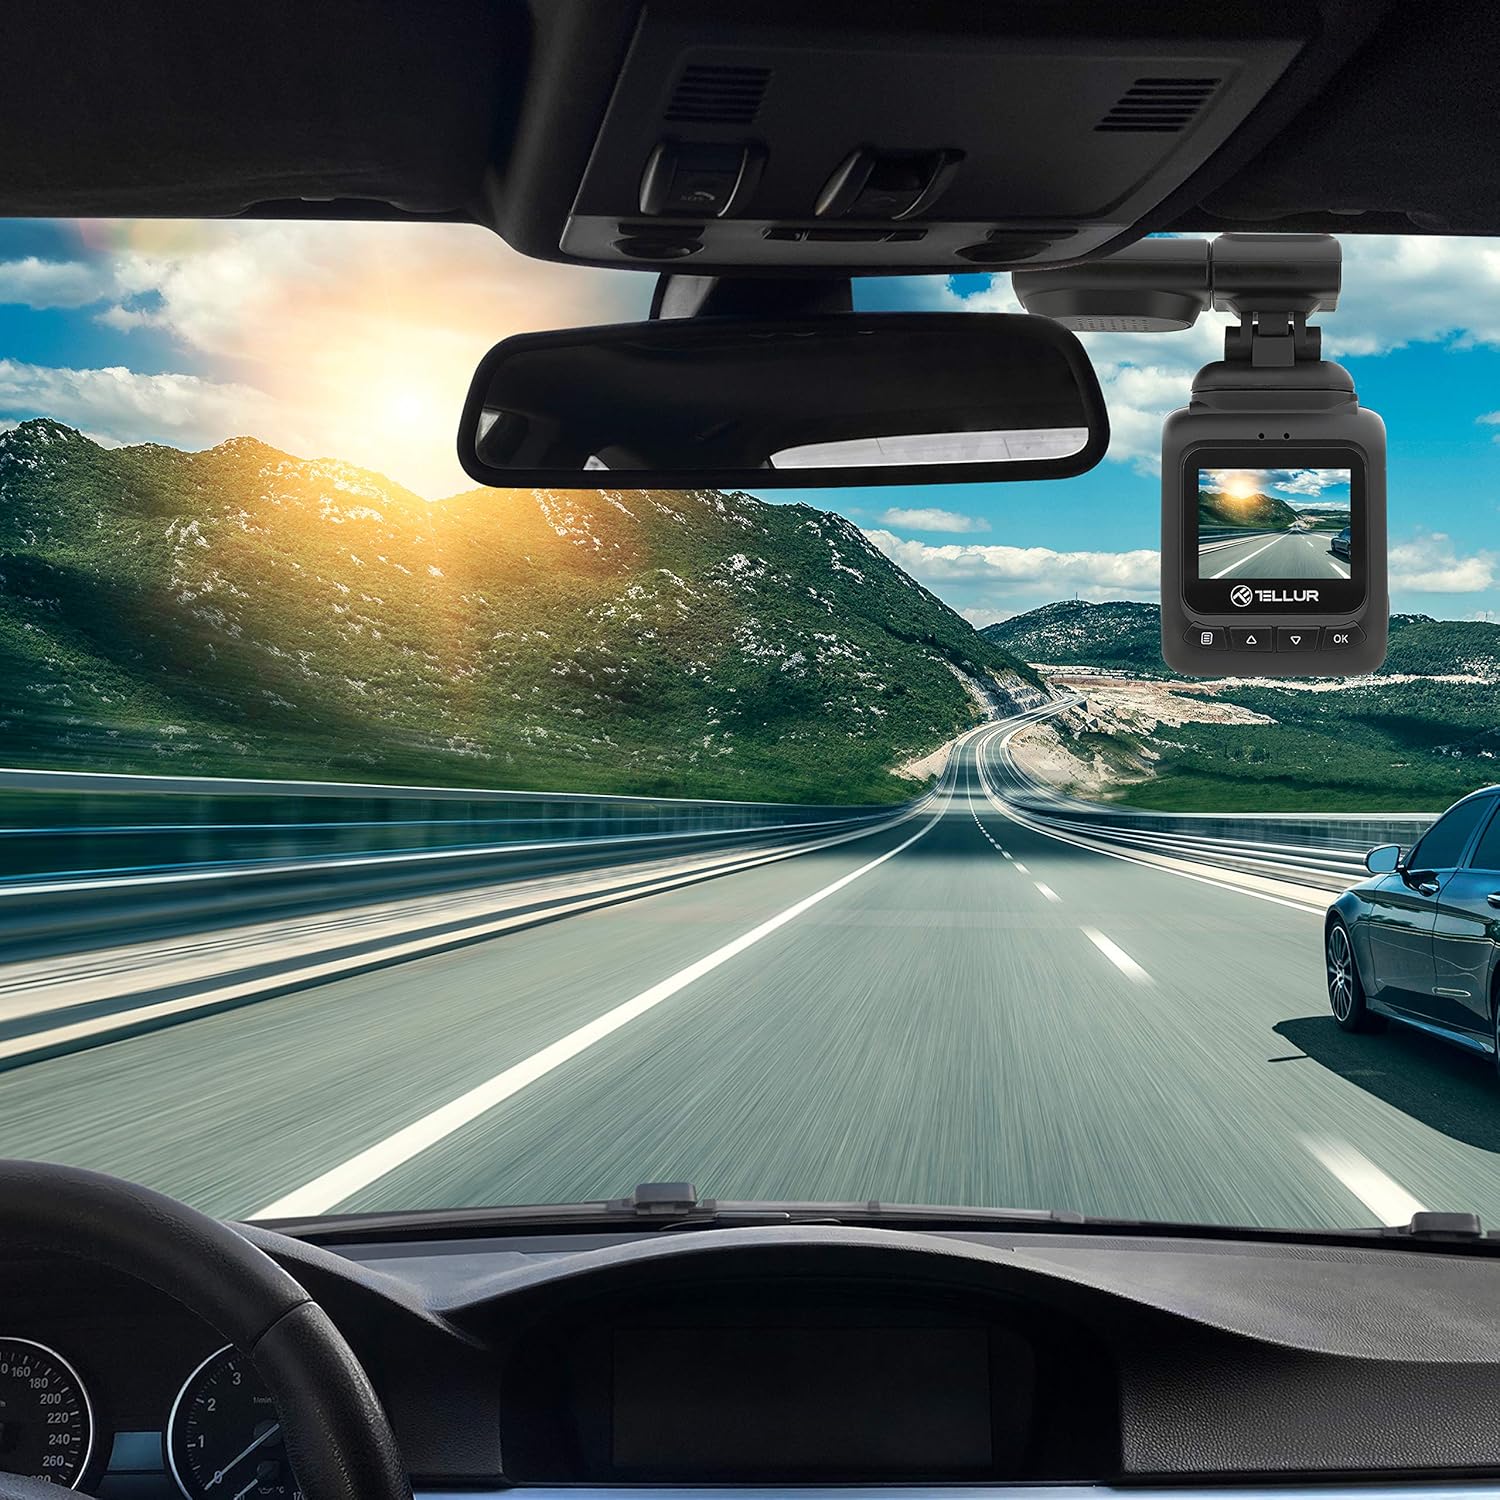
Image: The Dash Patrol DC2 camera mounted on a car windshield, showing its position relative to the rearview mirror for optimal road visibility.
4.3 Encendido de la cámara
- Conecte el cargador de automóvil a la toma de corriente de 12 V de su vehículo (toma del encendedor de cigarrillos).
- Connect the other end of the USB cable to the camera's USB port.
- The camera will automatically power on and begin recording when your vehicle starts. It will power off shortly after the vehicle is turned off.
4.4 Ajustes iniciales
Upon first use, or after a reset, you may need to set the date and time. Navigate through the menu using the Up/Down buttons and confirm with the OK button.
5. Instrucciones de funcionamiento
5.1 Grabación básica
The camera automatically starts loop recording when powered on. Older files are overwritten when the memory card is full, except for locked files.
5.2 G-Sensor (Automatic Incident Detection)
The built-in G-sensor detects sudden impacts or collisions. When an event is detected, the current video segment is automatically locked to prevent it from being overwritten during loop recording.

Image: Illustration of the G-sensor function, showing the camera recording and a lock icon appearing when a collision is detected, indicating the video is protected.
5.3 Parking Monitor Function
When enabled, the parking monitor function allows the camera to automatically record when motion or impact is detected while the vehicle is parked and the engine is off. This provides surveillance even when you are away from your vehicle.

Image: Diagram illustrating the parking monitor function, where the dashcam automatically records when motion is detected around a parked car.
5.4 Funcionalidad GPS
The integrated GPS module records your vehicle's speed and location data alongside the video footagmi. Esta información puede ser viewed during playback using compatible software on a computer.
5.5 Wi-Fi Connectivity and App
The Dash Patrol DC2 features Wi-Fi connectivity, allowing you to connect to a smartphone app for live view, video playback, and settings adjustment. The compatible app is typically named GoPlus Cam.
- Descargar el GoPlus Cam aplicación desde la tienda de aplicaciones de tu teléfono inteligente.
- Turn on the Dashcam.
- Press and hold the 'Down' button on the camera until the Wi-Fi symbol appears on the screen.
- On your smartphone, go to Wi-Fi settings and connect to the camera's Wi-Fi network (SSID usually starts with 'TELLUR' or similar).
- Open the GoPlus Cam app to manage your camera.

Image: Icon for the GoPlus Cam mobile application, used for connecting to the dashcam via Wi-Fi.
6. Mantenimiento
6.1 Gestión de tarjetas MicroSD
- Regularly format the MicroSD card (at least once a month) to ensure optimal performance and prevent data corruption. This can usually be done through the camera's menu settings.
- Reemplace la tarjeta MicroSD si nota errores frecuentes o un rendimiento degradado.
6.2 Limpieza
- Utilice un paño suave y seco para limpiar la lente y la pantalla de la cámara. Evite materiales abrasivos o limpiadores químicos.
- Mantenga la cámara libre de polvo y residuos.
7. Solución de problemas
If you encounter issues with your Dash Patrol DC2, refer to the following common solutions:
| Problema | Posible solución |
|---|---|
| La cámara no se enciende. |
|
| Camera turns on but screen is white/blank. |
|
| Camera stops recording or records intermittently. |
|
| Problemas de conexión Wi-Fi. |
|
| GPS data not showing speed on screen. |
|
8. Especificaciones
| Característica | Detalle |
|---|---|
| Marca | TELUR |
| Modelo | TLL711002 |
| Resolución de captura de video | 1080p (FullHD) |
| Tamaño de pantalla de pie | 2.7 pulgadas |
| Actual Viewángulo de ing | 140 grados |
| Tipo de memoria flash | MicroSD (up to 64GB, Class 10 or higher recommended) |
| Características especiales | Automatic Incident Detection (G-Sensor), Parking Monitor Function, Built-in GPS, Wi-Fi Connectivity |
| Tipo de montaje | Dashboard Mount (Magnetic Car Mount) |
| Dimensiones del producto | 50 x 50 x 28 cm |
| Peso del artículo | 270 gramos |
9. Garantía y soporte
For warranty information or technical support, please refer to the documentation provided with your purchase or visit the official TELLUR webSitio. Conserve su comprobante de compra para cualquier reclamación de garantía.


