1. Introducción
Thank you for choosing the MAXXMEE Cordless Screwdriver Model 2112. This manual provides essential information for the safe and efficient operation, maintenance, and troubleshooting of your new tool. Please read these instructions carefully before first use and keep them for future reference.
2. Instrucciones de seguridad
Observe siempre las precauciones básicas de seguridad al utilizar herramientas eléctricas para reducir el riesgo de incendio, descarga eléctrica y lesiones personales.
- Seguridad en el área de trabajo: Mantenga su área de trabajo limpia y bien iluminada. Las áreas desordenadas u oscuras pueden provocar accidentes. No opere herramientas eléctricas en atmósferas explosivas, como en presencia de líquidos, gases o polvo inflamables.
- Seguridad eléctrica: Evite el contacto corporal con superficies conectadas a tierra, como tuberías, radiadores, estufas y refrigeradores. No exponga las herramientas eléctricas a la lluvia ni a la humedad.
- Seguridad personal: Use siempre protección para los ojos. Use equipo de seguridad adecuado, como mascarillas antipolvo, calzado de seguridad antideslizante, casco o protección auditiva, cuando sea necesario. Vístase adecuadamente; evite ropa holgada o joyas.
- Uso y cuidado de herramientas: No fuerce la herramienta eléctrica. Utilice la herramienta eléctrica correcta para su aplicación. Desconecte el enchufe de la fuente de alimentación o la batería de la herramienta eléctrica antes de realizar cualquier ajuste, cambiar accesorios o guardar la herramienta eléctrica.
- Seguridad de la batería: This tool contains an integrated rechargeable battery. Do not incinerate the battery even if it is severely damaged or completely worn out. Batteries can explode in a fire. Do not short-circuit the battery.
3. Contenido del paquete
Por favor, compruebe que todos los artículos estén presentes y en buen estado:
- 1 x MAXXMEE Cordless Screwdriver Model 2112
- 1 x 30-piece Bit Set (various screwdriver bits and drill bits)
- 1 x cable de carga (USB)
- 1 x Manual de usuario

Figura 3.1: The included 30-piece bit set, featuring various screwdriver and drill bits for diverse applications.
4. Producto terminadoview
Familiarize yourself with the components of your MAXXMEE Cordless Screwdriver.
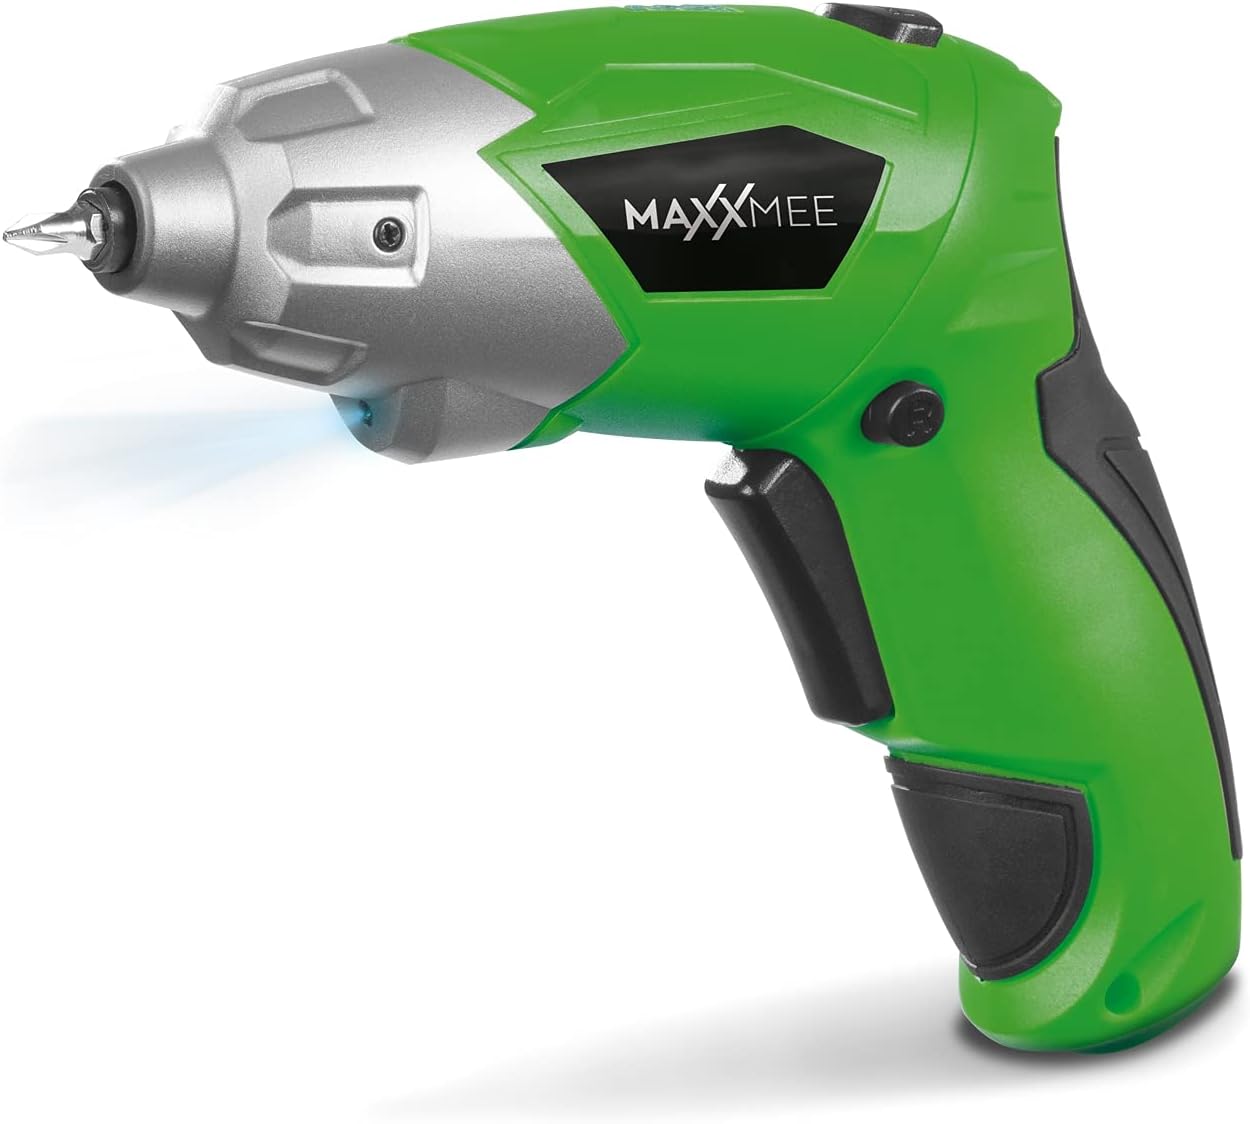
Figura 4.1: Frente view of the MAXXMEE Cordless Screwdriver, highlighting its compact design.

Figura 4.2: The cordless screwdriver demonstrating its flexible handle position, integrated LED light, and forward/reverse rotation switch.
- Bit Holder (Magnetic)
- Luz de trabajo LED
- Interruptor de rotación de avance/retroceso
- Flexible Handle Release Button
- El interruptor de disparo
- Puerto de carga
- Indicador de nivel de batería
5. Configuración
5.1. Carga del destornillador
Before first use, fully charge the screwdriver's integrated battery. The battery is not fully charged at the time of purchase.
- Connect the provided charging cable to the charging port on the screwdriver.
- Connect the other end of the USB charging cable to a suitable USB power adapter (not included) or a powered USB port.
- The battery indicator lights will show the charging status. Allow several hours for a full charge.
- Una vez que esté completamente cargado, desconecte el cable de carga.
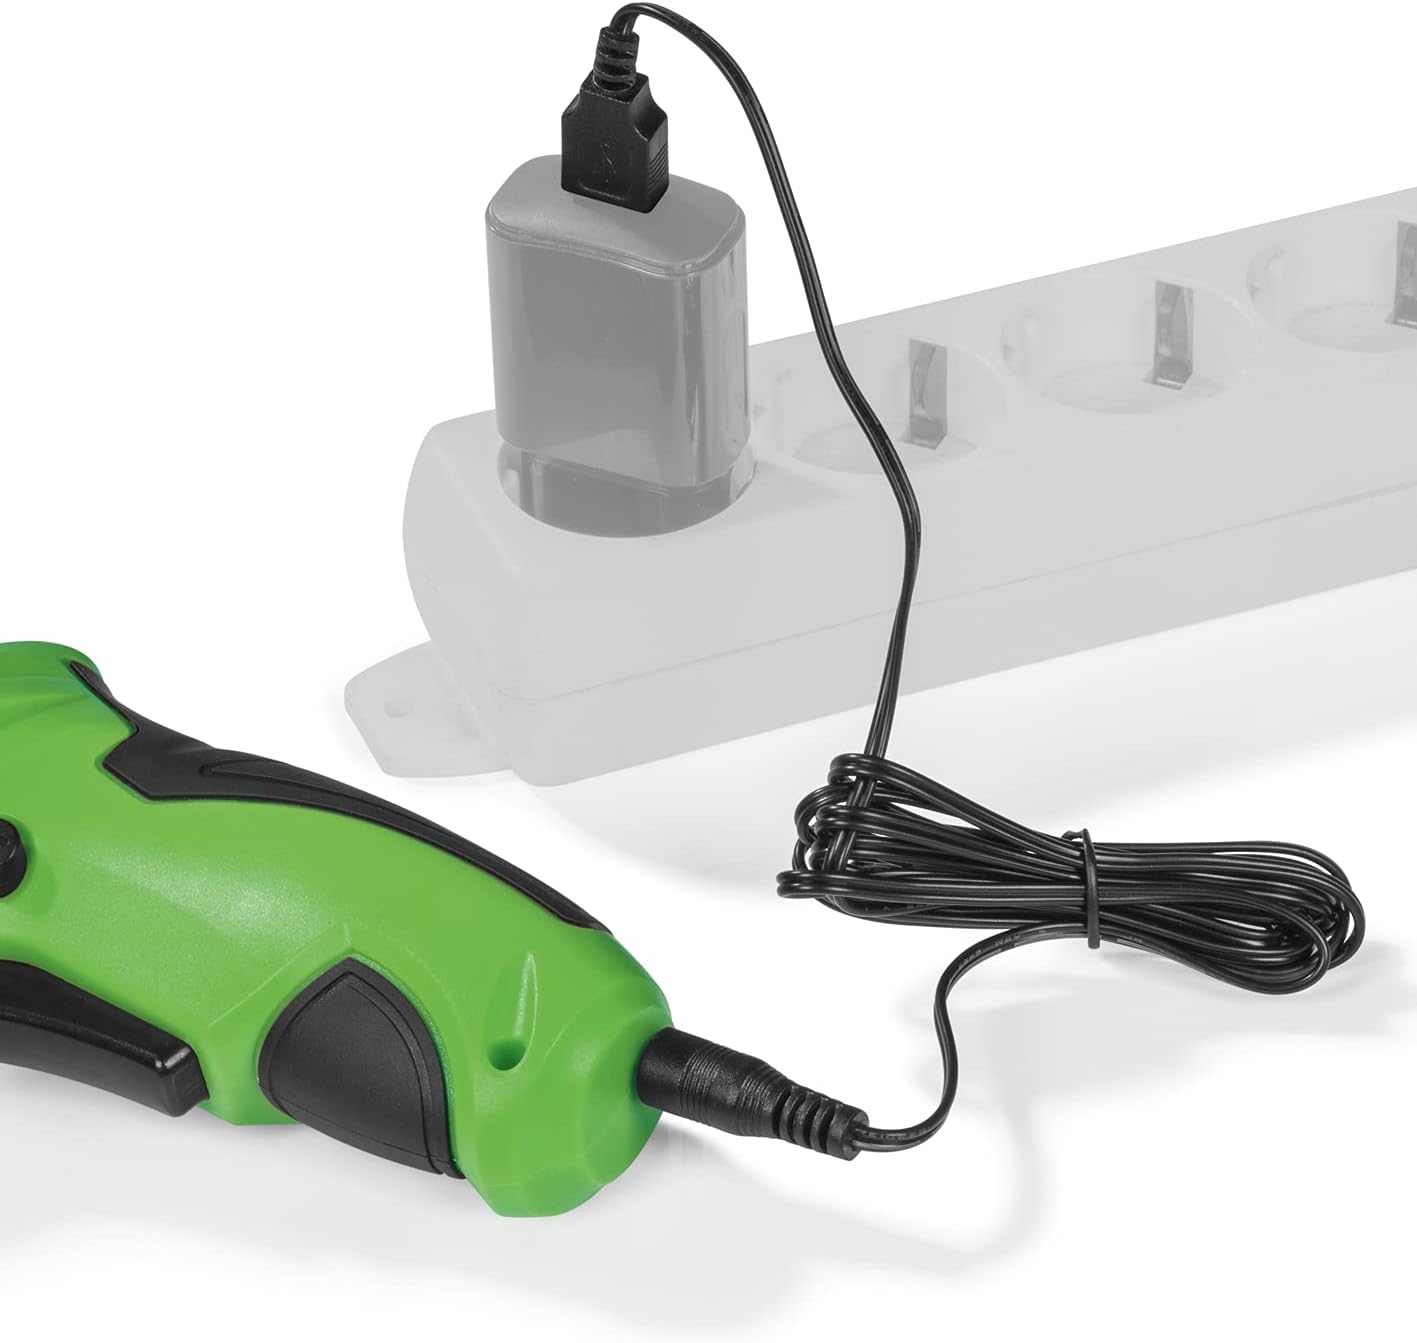
Figura 5.1: Connecting the charging cable to the screwdriver and a power source.
5.2. Inserción de puntas de destornillador
The screwdriver features a magnetic bit holder for quick and easy bit changes.
- Ensure the screwdriver is turned off and the forward/reverse switch is in the neutral (locked) position.
- Select the appropriate bit from the 30-piece set.
- Insert the bit firmly into the magnetic bit holder until it is securely seated.
- Para quitarlo, simplemente tire de la broca hacia afuera.
6. Instrucciones de funcionamiento
6.1. Powering On/Off and Rotation Direction
The trigger switch activates the screwdriver, and the forward/reverse switch controls the rotation direction.
- To drive screws (forward rotation), push the forward/reverse switch to the left.
- To remove screws (reverse rotation), push the forward/reverse switch to the right.
- To lock the trigger and prevent accidental activation, place the switch in the center position.
- Press the trigger switch to operate the screwdriver. Release to stop.
6.2. Adjusting the Flexible Handle
The screwdriver features a variable curved handle for optimal comfort and access in different working conditions.
- Asegúrese de que el destornillador esté apagado.
- Press the flexible handle release button (refer to Figure 4.2 for location).
- Adjust the handle to the desired position (straight or pistol grip).
- Release the button to lock the handle in place. Ensure it is securely locked before use.
6.3. Uso de la luz de trabajo LED
The integrated LED work light illuminates the work area for improved visibility, especially in dark or confined spaces.
- The LED light automatically activates when the trigger switch is pressed.
- Se apaga cuando se suelta el gatillo.
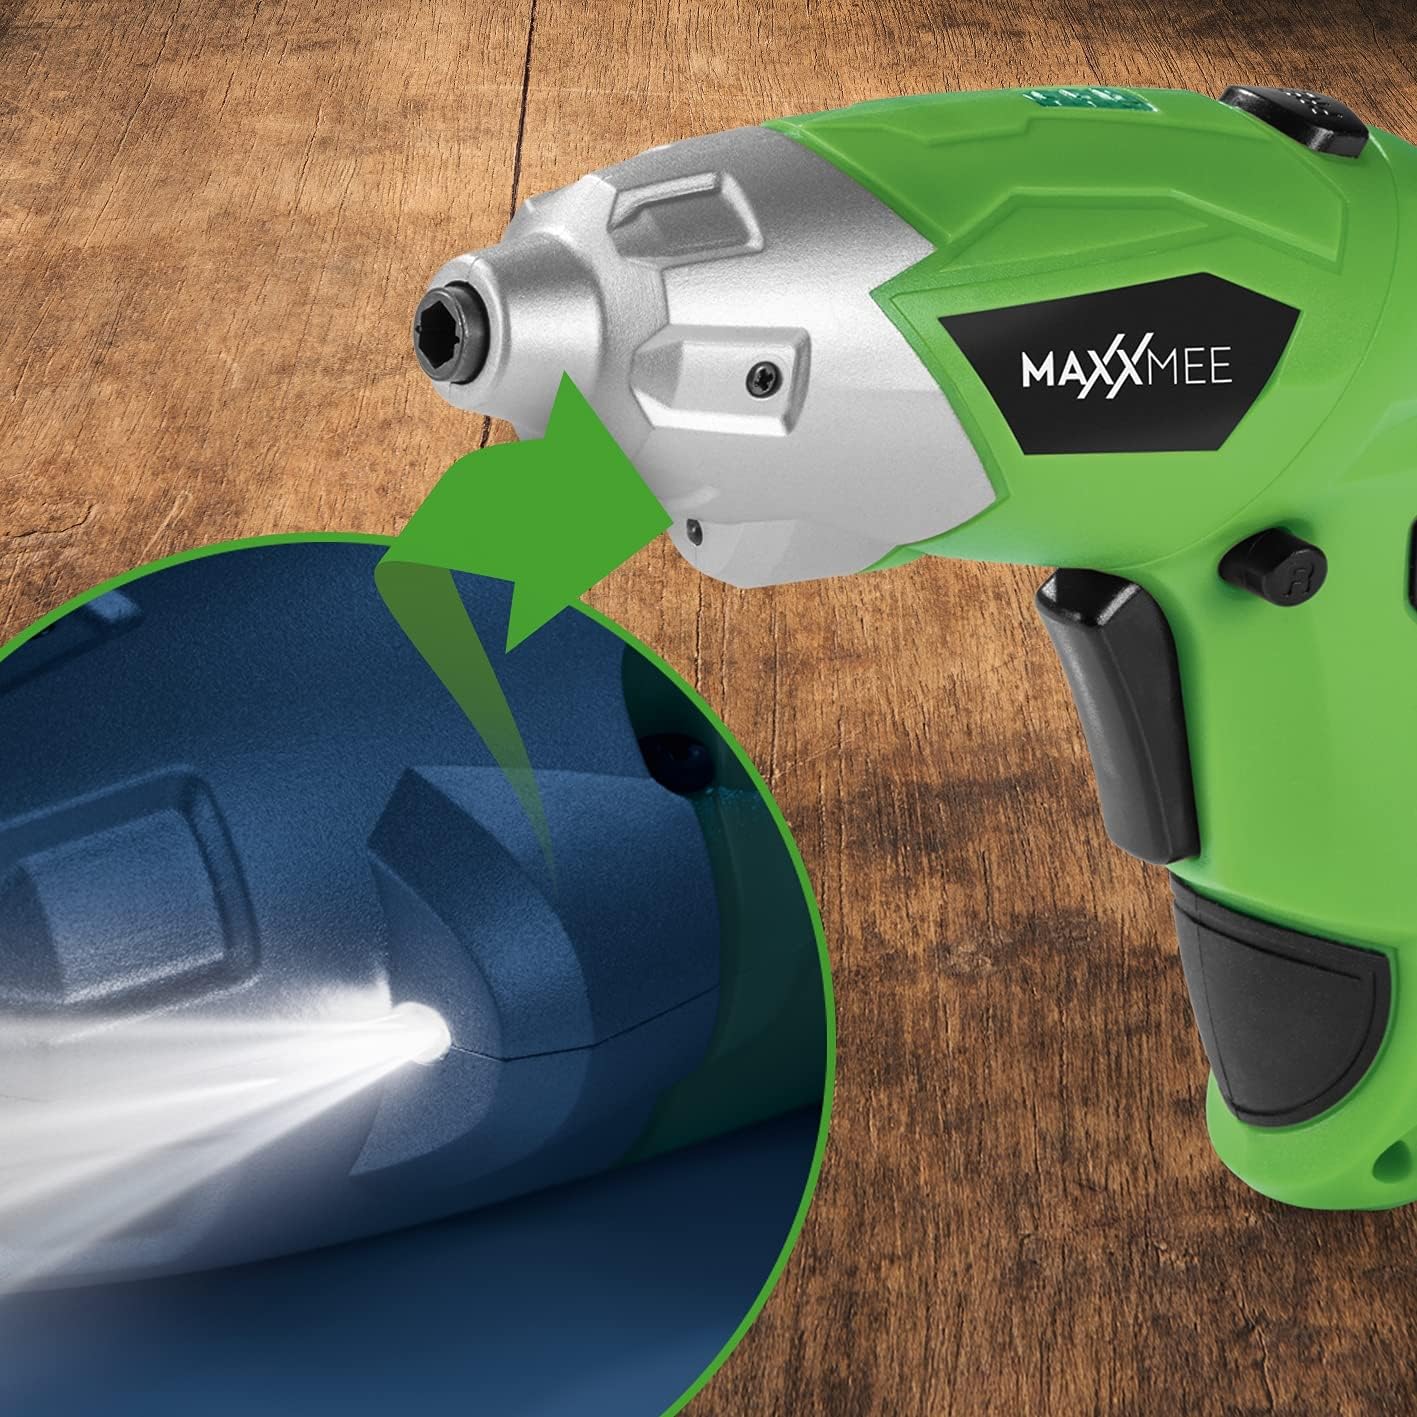
Figura 6.1: De cerca view of the LED work light illuminating the work surface.
6.4. Indicador de nivel de batería
The battery level indicator provides a visual representation of the remaining battery charge.
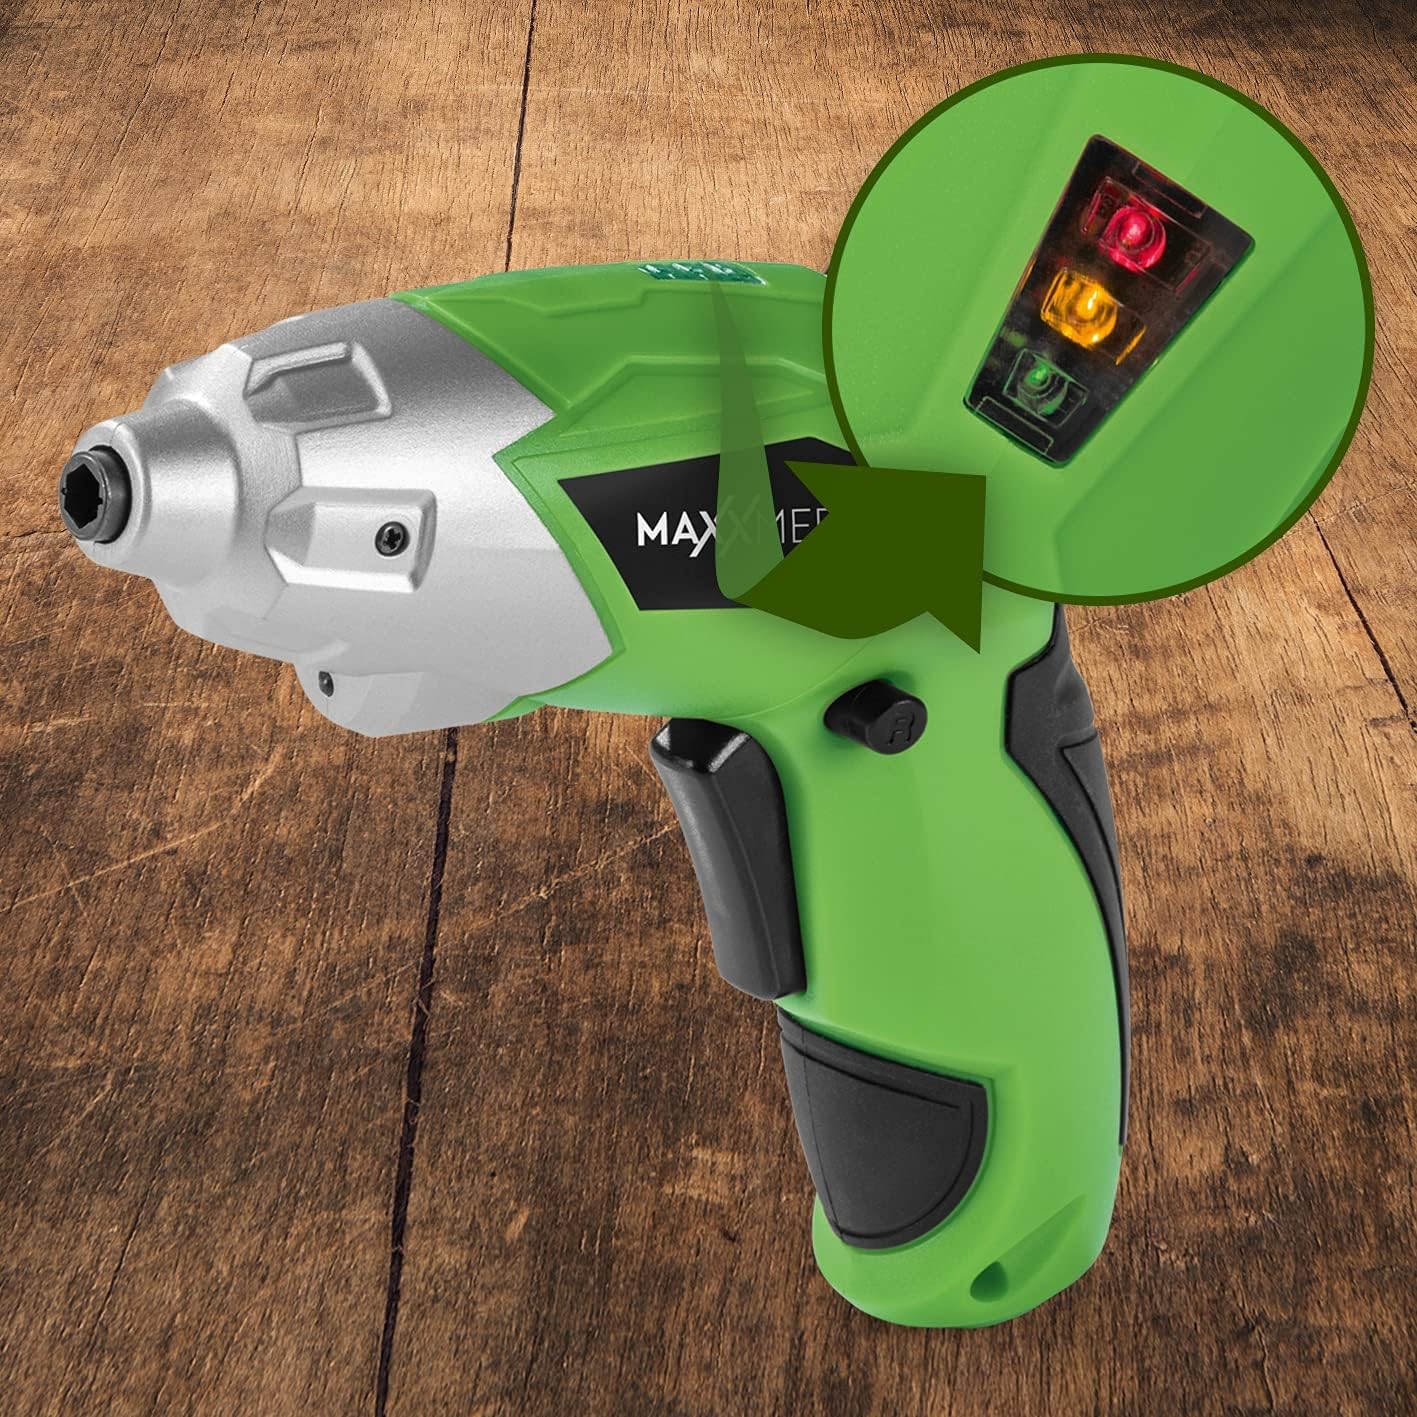
Figura 6.2: The battery level indicator showing the charge status with colored lights.
- Green light: High charge.
- Yellow light: Medium charge.
- Red light: Low charge, recharge soon.
For optimal performance, recharge the screwdriver when the indicator shows a low charge.
7. Mantenimiento
Un mantenimiento adecuado garantiza la longevidad y el rendimiento óptimo de su destornillador.
- Limpieza: Always disconnect the screwdriver from any power source before cleaning. Use a soft, damp cloth to wipe down the exterior. Do not use harsh chemicals or abrasive cleaners. Keep ventilation openings free from dust and debris.
- Almacenamiento: Store the screwdriver and its accessories in a dry, cool place, away from direct sunlight and moisture. Keep it out of reach of children.
- Cuidado de la batería: Para el almacenamiento a largo plazo, se recomienda cargar la batería aproximadamente al 50 % cada pocos meses para mantener su salud.
8. Solución de problemas
Si tiene problemas con su destornillador, consulte los siguientes problemas y soluciones comunes:
| Problema | Posible causa | Solución |
|---|---|---|
| El destornillador no se enciende. | La batería está descargada. | Cargue la batería completamente. |
| El destornillador carece de potencia. | Carga de batería baja. | Recargar la batería. |
| La broca está suelta o se cae. | La broca no está completamente insertada o el tamaño de broca es incorrecto. | Ensure the bit is fully inserted into the magnetic holder. Use appropriate bit size. |
| Handle does not lock in place. | Release button not fully engaged or debris preventing lock. | Ensure the release button is fully pressed and released. Check for obstructions. |
Si el problema persiste después de probar estas soluciones, comuníquese con el servicio de atención al cliente.
9. Especificaciones
| Característica | Especificación |
|---|---|
| Número de modelo | 2112 |
| Marca | MAXXMEE |
| Volumentage | 3.6 voltios |
| Par máximo | 4 Nm |
| Fuente de poder | Alimentado por batería (recargable) |
| Material | Metal |
| Características especiales | Cordless, Flexible Handle, LED Work Light |
| Componentes incluidos | 1 Cordless Screwdriver, 30-piece Bit Set, Charging Cable |
| Dimensiones del paquete | 15 x 15 x 7.2 cm |
| Peso | 800 gramos |
10. Garantía y soporte
MAXXMEE products are manufactured to high-quality standards. In the unlikely event of a defect or malfunction, please refer to your purchase documentation for warranty details. For technical support, spare parts, or service inquiries, please contact your retailer or the MAXXMEE customer service department. Please have your model number (2112) and purchase date available when contacting support.


