Introducción
This manual provides detailed instructions for the installation, operation, and maintenance of your Morimoto M LED 2.0 Bi-LED Projector. Designed for custom automotive retrofits, this universal projector lens offers both low beam and high beam functionality with an ECE-compliant RHD (Right-Hand Drive) beam pattern and cutoff. Please read this manual thoroughly before beginning any installation or operation to ensure proper function and safety.
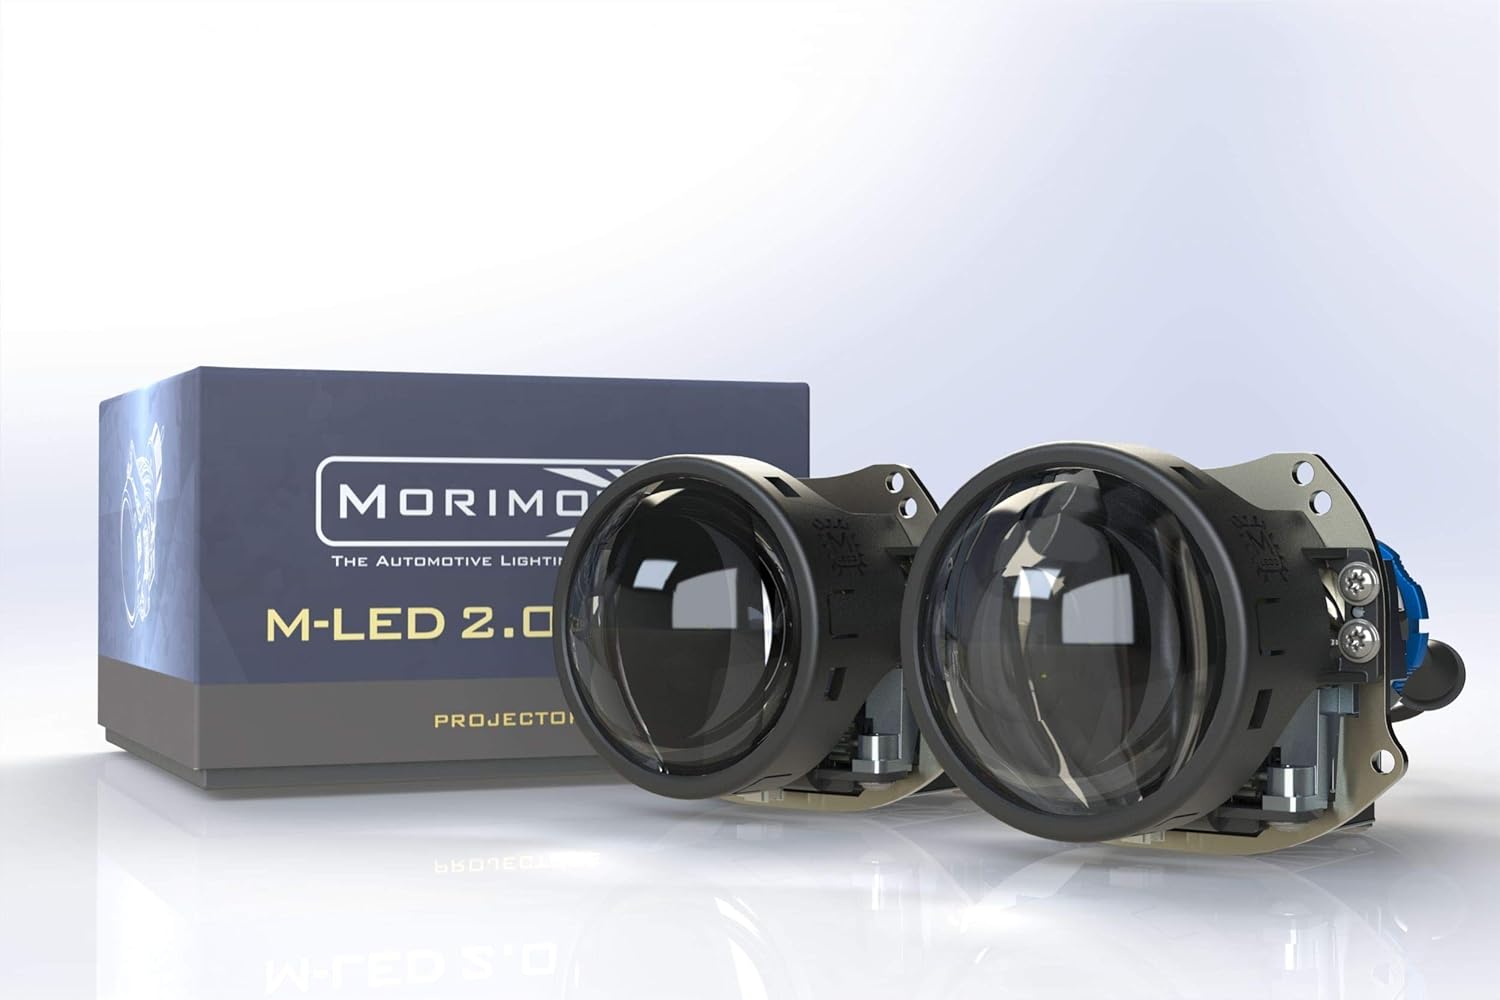
Image: The Morimoto M LED 2.0 Bi-LED Projectors, showcasing the compact design and the product packaging.
Qué incluye
Verifique que todos los componentes estén presentes y sin daños antes de continuar con la instalación.
- Proyector: 1x Morimoto M LED 2.0 Bi-LED RHD Projector
- Conductor: 1x M LED 1.0 Driver
- Hardware: 1x Threaded shaft with lock ring
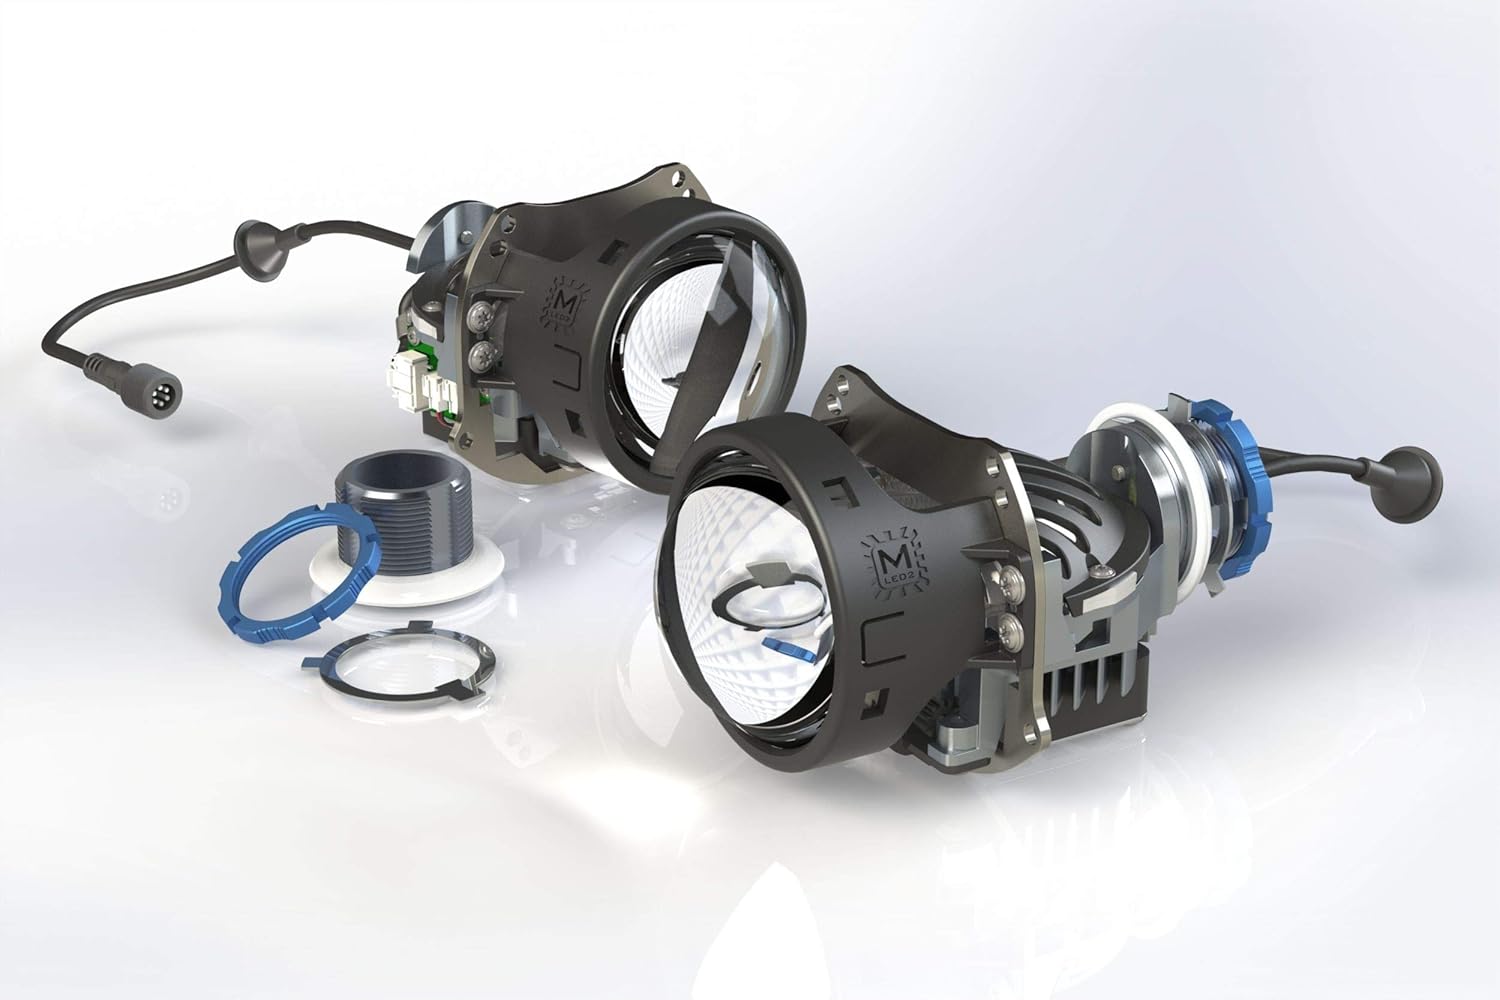
Imagen: Explotada view of the projector components, illustrating the lens, housing, and associated hardware.
Configuración e instalación
The Morimoto M LED 2.0 Bi-LED Projector is designed for universal fitment in custom automotive retrofit applications. Due to the specialized nature of headlight retrofitting, professional installation is highly recommended. This section provides general guidance.
Comprobaciones previas a la instalación
- Ensure the vehicle's battery is disconnected before starting any electrical work.
- Confirm the projector fits within the intended headlight housing.
- Inspeccione todos los componentes para detectar cualquier signo de daño.
Montaje del proyector
The projector utilizes a threaded shaft for secure mounting. This allows for precise adjustment and locking into place within the headlight assembly.
- Carefully insert the projector into the headlight housing opening.
- Secure the projector using the provided threaded shaft and lock ring from the rear of the housing.
- Ensure the projector is oriented correctly for the RHD beam pattern.
Conexiones eléctricas
Connect the M LED 1.0 Driver to the projector and then to the vehicle's electrical system. The system operates on a 9-30V DC input.
- Connect the projector's cable to the input port on the M LED 1.0 Driver.
- Connect the driver's power input to the vehicle's low beam and high beam wiring. Consult a vehicle-specific wiring diagram if unsure.
- Asegúrese de que todas las conexiones estén seguras y adecuadamente aisladas para evitar cortocircuitos.

Image: The M LED 2.0 Bi-LED drivers, essential components for power regulation and function of the projectors.
Operación
The Morimoto M LED 2.0 is a Bi-LED projector, meaning it provides both low beam and high beam functionality from a single projector unit. The transition between low and high beam is controlled by an internal cutoff shield mechanism.
Low Beam Function
When the low beams are activated, the internal cutoff shield is in place, creating a sharp, ECE-compliant RHD cutoff line. This prevents glare for oncoming traffic while providing ample illumination of the road ahead.
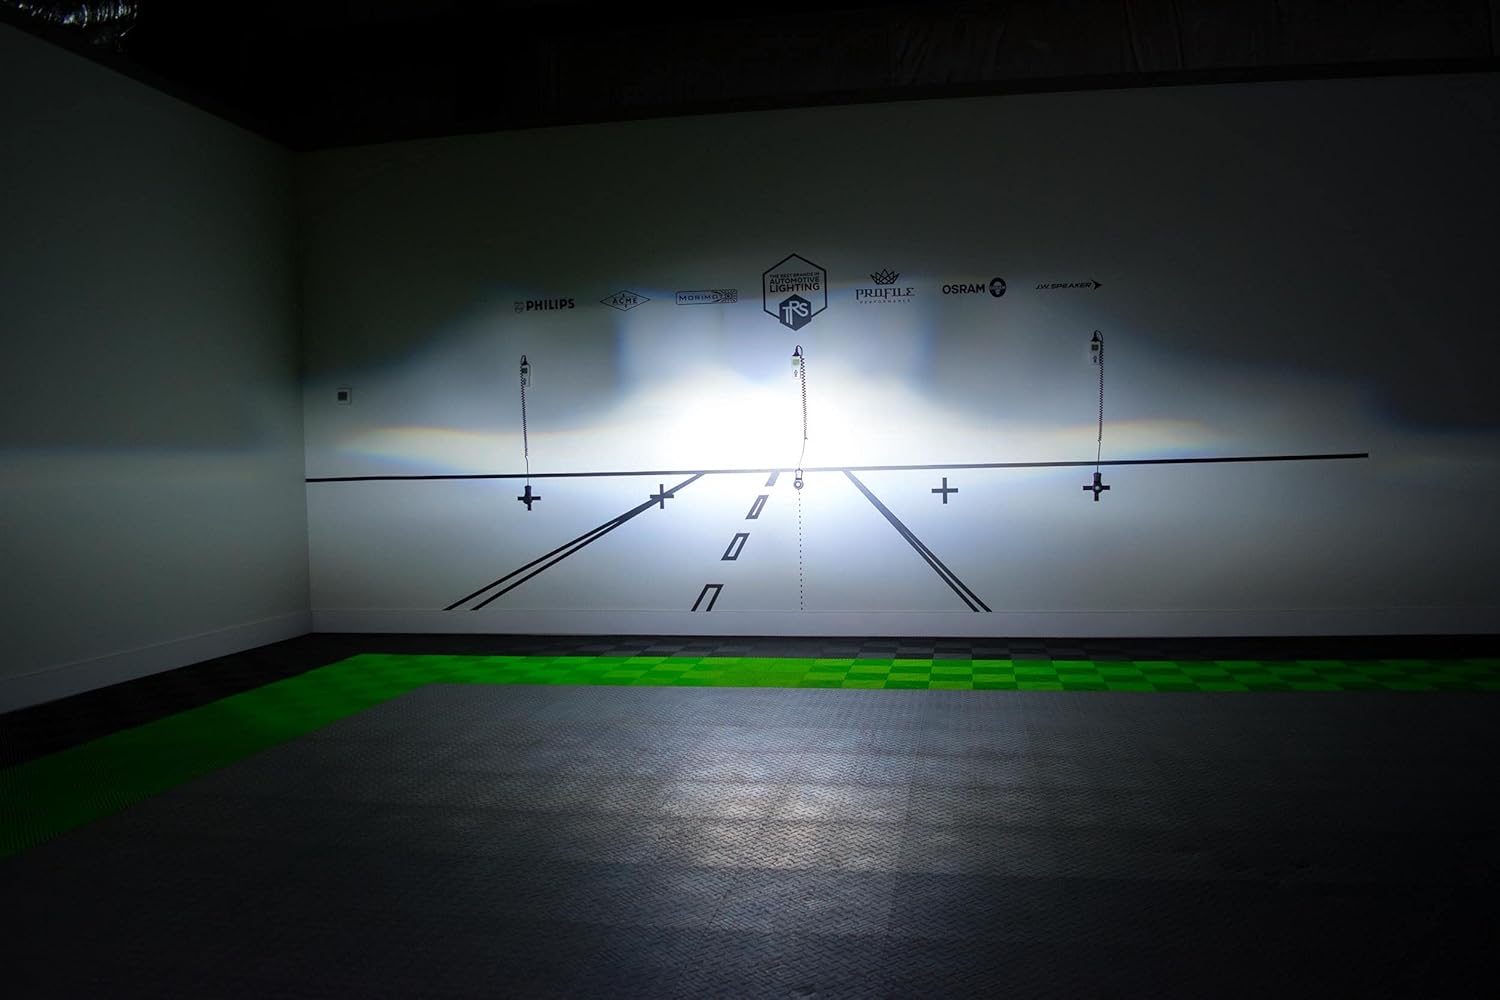
Imagen: Example of the RHD beam pattern with a distinct cutoff line, as projected on a test wall.
High Beam Function
When the high beams are activated, the cutoff shield retracts, allowing the full light output to be projected. This provides maximum illumination for increased visibility during night driving in areas without oncoming traffic.
Light Path and Cutoff Mechanism
The projector utilizes a sophisticated optical system, including a sub-reflector and cutoff shield, to precisely control the light output and beam pattern. The RHD beam pattern ensures proper illumination for right-hand drive vehicles.

Image: Technical diagram explaining the internal optics and how the light is managed to create the desired beam patterns.
Mantenimiento
The Morimoto M LED 2.0 Bi-LED Projector is designed for long-term, maintenance-free operation. However, periodic checks can help ensure optimal performance.
- Limpieza: Keep the exterior lens of the headlight assembly clean from dirt and debris. Use a soft cloth and mild cleaning solution. Do not use abrasive cleaners.
- Inspección: Revise periódicamente las conexiones del cableado para detectar signos de desgaste o corrosión.
- Característica impermeable: The projector is designed to be waterproof. Ensure that the headlight housing itself is properly sealed after installation to protect the internal components from moisture.
Solución de problemas
If you encounter issues with your Morimoto M LED 2.0 Bi-LED Projector, refer to the following common problems and solutions:
| Problema | Posible causa | Solución |
|---|---|---|
| Projector does not illuminate | Sin energía, conexión suelta, controlador defectuoso. | Check all wiring connections. Verify power supply to the driver. Test the driver if possible. |
| High beam not activating | Wiring issue to high beam trigger, faulty driver. | Ensure high beam trigger wire is correctly connected to the driver. Check driver functionality. |
| Improper beam pattern/cutoff | Projector not seated correctly, internal component misalignment. | Re-check projector mounting and orientation. If issue persists, contact support. |
For issues not listed here or if troubleshooting steps do not resolve the problem, please contact Morimoto customer support.
Especificaciones técnicas
| Característica | Detalle |
|---|---|
| Modelo | PR353 |
| Fuente de luz | HML-3 7545 LED |
| Temperatura de color | 6300K |
| Función | Bi-LED (Low Beam & High Beam) |
| Traffic Pattern | RHD (Right-Hand Drive) with ECE Cutoff |
| Intensidad | 70,000 cd |
| Fuerza | 29.5 W |
| Vol de entradatage | 9-30V DC |
| Diámetro de la lente | 3.0 pulgadas |
| Material de la lente | Cristal de zafiro |
| Dimensiones (alto x ancho x profundidad) | 82mm x 95mm x 124mm (150mm with shaft) |
| Diámetro del eje | 35 mm |
| Peso del artículo | 1 libra |
| Características especiales | Impermeable |
| Tipo de ajuste automotriz | Ajuste universal |
Garantía y soporte
Información de garantía
The Morimoto M LED 2.0 Bi-LED Projector comes with a Garantía de 5 años. This warranty covers defects in materials and workmanship under normal use. Please retain your proof of purchase for warranty claims. For full warranty terms and conditions, please refer to the official Morimoto websitio o póngase en contacto con su servicio de atención al cliente.
Atención al cliente
For technical assistance, troubleshooting, or warranty inquiries, please contact Morimoto customer support. You can typically find contact information on the official Morimoto websitio o a través de su distribuidor autorizado.
Recursos en línea: Visita el Morimoto Store on Amazon Para obtener información adicional sobre el producto y recursos.


