1. Introducción
The Keychron Q4 is a fully customizable mechanical keyboard featuring a compact 60% layout. Constructed with a solid full aluminum frame, the Q4 is designed for easy assembly and personalized typing. It supports QMK/VIA for advanced key remapping and macro programming, and includes hot-swappable switches for user-defined switch preferences. The double-gasket design and internal sound-absorbing foams contribute to a refined typing experience.

Image 1.1: Keychron Q4 keyboard highlighting key features like QMK/VIA support, double-gasket design, CNC aluminum body, macOS & Windows compatibility, 1000 Hz polling rate, hot-swappable switches, south-facing RGB, and OSA PBT keycaps.
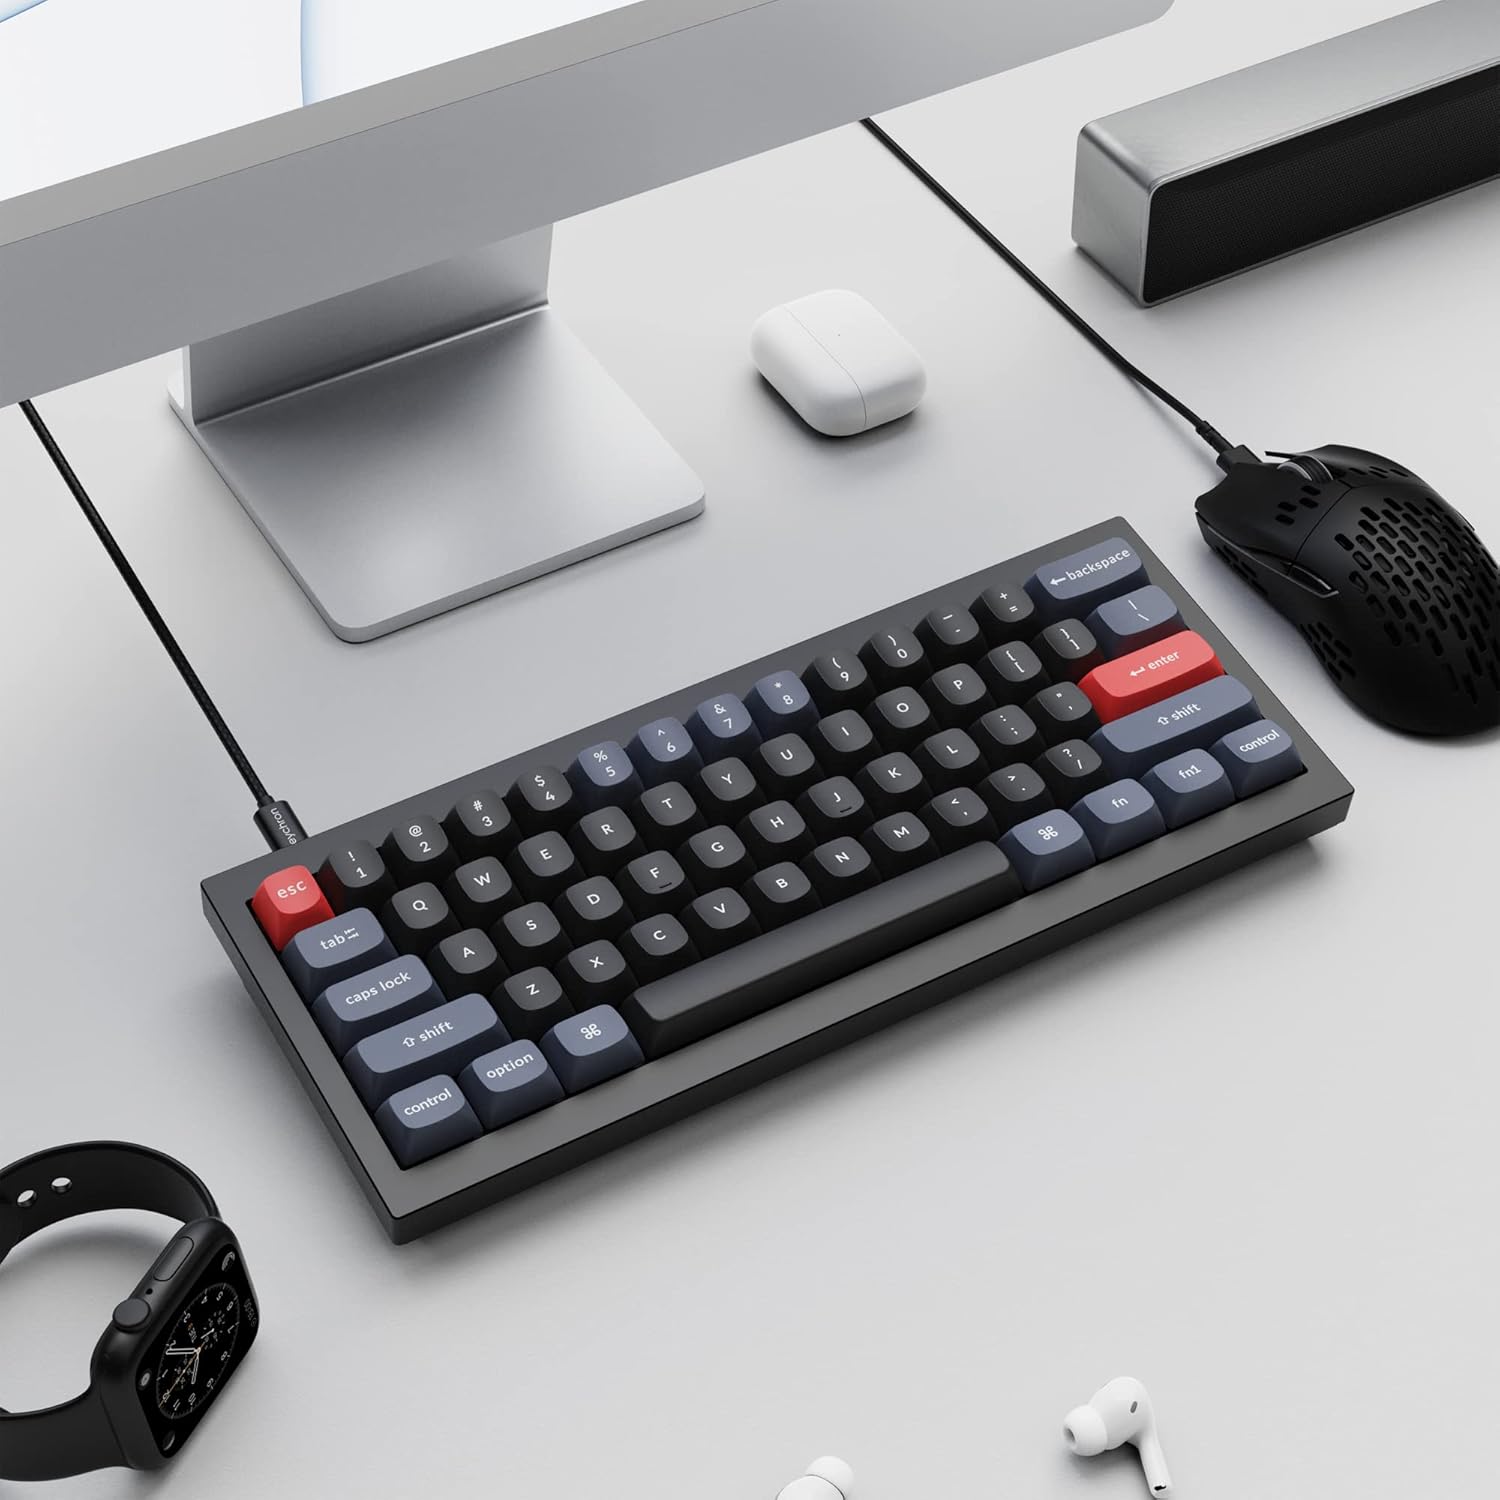
Image 1.2: The Keychron Q4 keyboard integrated into a typical desk setup, connected via USB-C.
2. Configuración
2.1 Contenido del paquete
Before beginning, verify that all components are present in the box:

Image 2.1: Diagram illustrating the contents of the Keychron Q4 package, including the fully assembled keyboard, cables, and tools.
- Teclado: 1x Fully Assembled Keyboard (including 1x Aluminum Case, 1x PCB, 1x Steel Plate, 1x Sound Absorbing Foam, 1x Case Foam, 12x Gaskets (8 Installed and 4 in the Box), 5 sets x Stabilizers, 1 set x Keycaps (Double-Shot PBT), 1 set x Switches (Gateron G Pro))
- Cable: 1x Type-C to Type-C Cable, 1x Type-A to Type-C Adapter
- Herramientas: 1x Switch Puller, 1x Keycap Puller, 1x Screwdriver, 1x Hex Key
Note: All tools are located on the bottom of the box.
2.2 Conectividad
Connect the Keychron Q4 keyboard to your computer using the provided USB-C cable. The keyboard is compatible with both macOS and Windows operating systems.
2.3 Cambio de sistema operativo
The keyboard features a physical switch to toggle between macOS and Windows layouts. Locate the switch on the side or back of the keyboard and set it to your desired operating system.

Image 2.2: Close-up of the physical switch on the keyboard for selecting between Windows and macOS operating system layouts.
3. Operación
3.1 Funciones básicas de las teclas
The Keychron Q4 features a 60% layout, which means some keys may have secondary functions accessed via the 'Fn' key. Refer to the keycap legends for these functions.

Imagen 3.1: Un detalle view of the Keychron Q4's 60% keyboard layout, showing the compact arrangement of keys.
3.2 Retroiluminación RGB orientada al sur
The keyboard is equipped with south-facing RGB LEDs. This design ensures that the backlight effectively illuminates the keycap legends from the typist's perspective, especially with non-shine-through PBT keycaps.

Imagen 3.2: Un primer plano view of the south-facing RGB LED lights illuminating the mechanical switches beneath the keycaps.
4. Personalización
4.1 QMK and VIA Programmability
The Keychron Q4 supports full QMK and VIA functionality, allowing users to program and remap each key and create custom macros. To utilize this feature:
- Connect the Q4 to your device via the USB-C cable.
- Download and install the VIA software.
- Import the Q4 keymap JSON file en el software VIA.
- Use the drag-and-drop interface within VIA to remap keys or assign macro commands for macOS, Windows, or Linux operating systems.
Refer to the official Keychron website for detailed instructions and the latest VIA software and keymap files.

Image 4.1: The Keychron Q4 keyboard displayed alongside the VIA software interface, demonstrating key remapping capabilities.

Imagen 4.2: Un detalle view of the VIA software interface, showing the keymap configuration for the Keychron Q4.
4.2 Conmutadores intercambiables en caliente
The Keychron Q4 features a hot-swappable PCB, allowing you to change mechanical switches without soldering. It supports most 3-pin and 5-pin MX-style mechanical switches (e.g., Cherry, Gateron, Kailh, Panda).
Reemplazo de interruptores:
- Retire con cuidado la tecla utilizando el extractor de teclas proporcionado.
- Use the switch puller to gently grip the switch and pull it straight up from the PCB.
- Alinee los pines del nuevo interruptor con los orificios de la placa de circuito impreso. Asegúrese de que los pines estén rectos para evitar que se doblen.
- Presione el nuevo interruptor firmemente en su lugar hasta que haga clic.
- Reemplace la tecla.

Imagen 4.3: Un primer plano view of the keyboard's PCB with several switches removed, demonstrating the hot-swappable feature.
4.3 Double-Gasket Design and Internal Foams
The Q4 incorporates a double-gasket design, which enhances typing flexibility and improves the overall sound profile. Additionally, sound-absorbing and case foams are installed internally to reduce resonance and noise between metal components. Each keyboard component is designed for easy reassembly, allowing for further customization.

Image 4.4: An exploded diagram showing the various layers of the Keychron Q4, including keycaps, switches, top case, gaskets, plate, PCB, sound absorbing foam, silicone gaskets, case foam, and bottom case.
5. Mantenimiento
5.1 Limpieza del teclado
Para mantener un rendimiento y una apariencia óptimos, se recomienda una limpieza regular:
- Teclas: Use the keycap puller to remove keycaps. Clean them with a mild soap solution and a soft cloth, then rinse thoroughly and allow them to dry completely before reattaching.
- Cuerpo del teclado: Utilice un paño suave y sin pelusa, ligeramente seco.ampened with water or a gentle cleaning solution, to wipe down the aluminum frame. Avoid excessive moisture.
- Entre llaves: Utilice aire comprimido para eliminar el polvo y la suciedad entre los interruptores. También puede usar un cepillo pequeño para eliminar las partículas difíciles.
Avoid using harsh chemicals or abrasive materials, as these can damage the keyboard's finish or components.
6. Solución de problemas
6.1 Las teclas no responden
- Comprobar conectividad: Asegúrese de que el cable USB-C esté bien conectado tanto al teclado como a la computadora. Pruebe con otro puerto o cable USB.
- Verify OS Switch: Confirm the macOS/Windows switch is set to the correct operating system.
- Inspeccionar los interruptores: If individual keys are not responding, carefully remove the keycap and then the switch using the switch puller. Inspect the switch pins for any bends or damage. Straighten bent pins gently with tweezers or replace the switch if damaged. Reinsert the switch firmly.
- QMK/VIA Configuration: If keys are remapped incorrectly, check your keymap configuration in the VIA software.
6.2 Problemas de retroiluminación
- Ajuste de brillo: Ensure the backlight brightness is not set to its lowest level. Use the designated key combinations (often Fn + arrow keys or similar) to adjust brightness.
- Control de software: If using QMK/VIA, verify that lighting settings are correctly configured.
6.3 Keyboard Not Recognized by Computer
- Reiniciar la computadora: Un simple reinicio a menudo puede resolver los problemas de conectividad.
- Pruebe con otra computadora: Test the keyboard on a different computer to determine if the issue is with the keyboard or the original computer's setup.
- Actualización de firmware: Check the Keychron website for any available firmware updates for the Q4 model. Follow the instructions carefully for firmware installation.
7. Especificaciones
| Dimensiones del producto | 11.93 x 4.76 x 0.78 pulgadas (30.3 x 12.1 x 2.0 cm) |
| Peso del artículo | 4.66 libras (2.11 kg) |
| Fabricante | Clavechrono |
| Número de modelo del artículo | Keychron Q4 |
| Dispositivos compatibles | PC (MacOS, Windows, Linux) |
| Tecnología de conectividad | USB-C |
| Descripción del teclado | Mecánico |
| Característica especial | Backlit (South-facing RGB) |
| Color | Black (Gateron G Pro Brown Switch) |
| Material | Aluminum, Polybutylene Terephthalate (PBT) |
| Componentes incluidos | Keyboard, USB-C Cable, Type-A to Type-C Adapter, Switch Puller, Keycap Puller, Screwdriver, Hex Key |
8. Garantía y soporte
Para obtener información sobre la garantía, soporte técnico y recursos adicionales, visite el sitio web oficial de Keychron. website or contact Keychron customer service.
Puede encontrar más información y soporte en Keychron Store.


