1. Introducción
This manual provides detailed instructions for the safe installation, operation, and maintenance of your Crystorama Libby Langdon Sylvan 4 Light Black Forged Lantern Chandelier. Please read all instructions carefully before beginning installation and retain this manual for future reference. Proper installation by a qualified electrician is recommended.
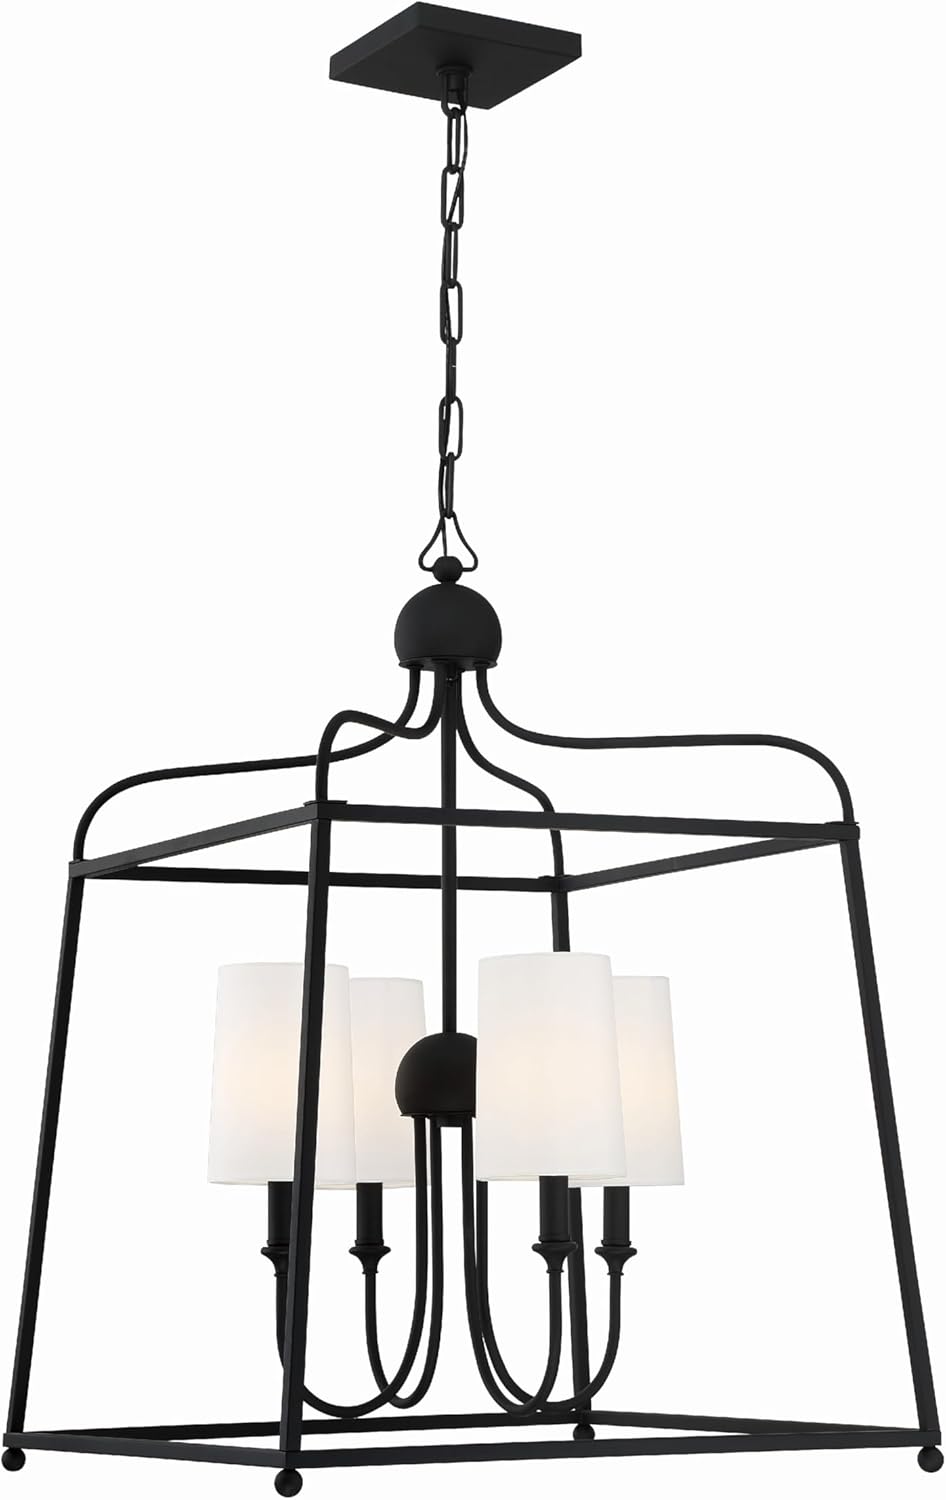
Imagen 1.1: Frente view of the Crystorama Libby Langdon Sylvan 4 Light Black Forged Lantern Chandelier with shades.
2. Información importante de seguridad
Para reducir el riesgo de incendio, descarga eléctrica o lesiones personales, siga siempre estas precauciones básicas:
- Desconectar la energía: Always turn off the electrical supply at the main fuse or circuit breaker box before beginning installation or performing any maintenance.
- Electricista calificado: Installation should be performed by a qualified, licensed electrician.
- Toma de tierra: Asegúrese de que el artefacto esté correctamente conectado a tierra para evitar posibles descargas eléctricas.
- Alambrado: All wiring connections must be made in accordance with local and national electrical codes.
- Bombilla Wattage: No exceda el máximo de agua.tage specified for the bulbs. This fixture is designed for E12 base bulbs, up to 60 watts each.
- Manejo: Handle the fixture and glass components with care to prevent breakage or injury.
- Listado UL: Este producto está listado por UL, lo que garantiza que cumple con estándares de seguridad específicos.
3. Especificaciones del producto
| Característica | Especificación |
|---|---|
| Marca | Crystorama |
| Nombre del modelo | 2244-BF |
| Color | Negro forjado |
| Material | Alloy Steel (Frame), Glass (Shade) |
| Formulario de lámpara | Araña |
| Tipo de habitación | Living Room (General Purpose) |
| Dimensiones del producto | 21.5" de largo x 21.5" de ancho x 29.75" de alto |
| Peso del artículo | 6 libras |
| Uso en interiores y exteriores | Interior |
| Fuente de poder | Cableado |
| Tipo de instalación | Montaje semiempotrado |
| Tipo de fuente de luz | LED Compatible (Bulbs not included) |
| Número de fuentes de luz | 4 |
| Volumentage | 120 voltios |
| Quétage (Máximo por bombilla) | 60 vatios |
| Base de la bombilla | E12 |
| Requiere ensamblaje | Sí |
| Especificación cumplida | UL |
| Código Postal | 633779048180 |

Image 3.1: Dimensional drawing of the chandelier, showing 21.5" width, 29.75" height, and 72" chain length.
4. Contenido del paquete
Carefully unpack your new chandelier and lay out all parts on a clean, soft surface. Ensure all components are present before discarding packaging materials.
- Chandelier Frame (Black Forged)
- 4 Glass Shades (White Enclosed)
- Mounting Hardware Kit (Canopy, Mounting Plate, Screws, Wire Nuts)
- Chain and Wiring (Pre-attached or separate for assembly)
- Manual de instrucciones
Nota: Bulbs are not included with this fixture. Four (4) E12 base bulbs, up to 60 watts each, are required.

Imagen 4.1: Primer plano view of the four E12 bulb sockets and white enclosed glass shades.
5. Configuración e instalación
This chandelier is designed for semi-flush mount installation. Professional installation by a licensed electrician is strongly recommended.
Herramientas y materiales necesarios (no incluidos):
- Destornillador Phillips
- Destornillador de cabeza plana
- Pelacables
- Alicates
- Cinta aisladora
- Gafas de seguridad
- Escalera
- E12 Base Bulbs (4, max 60W each)
Pasos de instalación:
- Apagar la energía: Localice el disyuntor que suministra energía a la ubicación de la instalación y apáguelo. Verifique que la energía esté apagada usando un vol.tage probador.
- Preparar el montaje: Fije la placa de montaje a la caja de conexiones del techo con los tornillos incluidos. Asegúrese de que esté bien fijada.
- Adjust Chain Length (if applicable): If your fixture includes a chain, determine the desired hanging height and adjust the chain length by removing links as needed. Feed the electrical wires through the chain and canopy.
- Realice conexiones eléctricas: Connect the fixture's wires to the house wiring.
- Connect the bare copper (ground) wire from the fixture to the green or bare copper ground wire from the junction box.
- Connect the black (hot) wire from the fixture to the black (hot) wire from the junction box.
- Connect the white (neutral) wire from the fixture to the white (neutral) wire from the junction box.
- Toldo seguro: Carefully push the canopy up to the ceiling, covering the junction box, and secure it with the provided screws or nuts.
- Instalar bombillas: Screw four (4) E12 base bulbs (not included) into the sockets. Do not exceed 60 watts per bulb.
- Adjuntar sombras: Carefully place the white enclosed glass shades over each bulb socket.
- Restaurar energía: Vuelva a encender la energía en el disyuntor.

Imagen 5.1: En ángulo view of the chandelier, showcasing its black forged frame and white shades.
6. Instrucciones de funcionamiento
Once installed, your Crystorama Libby Langdon Sylvan Chandelier operates via a standard wall switch connected to the fixture's electrical circuit. Simply toggle the wall switch to turn the chandelier on or off.
This fixture is compatible with dimmable E12 LED bulbs if connected to a compatible dimmer switch (sold separately).
7. Cuidado y mantenimiento
Regular cleaning and proper care will help maintain the appearance and functionality of your chandelier.
Limpieza:
- Desconecte siempre la alimentación: Before cleaning, ensure the power supply to the fixture is turned off at the circuit breaker.
- Marco: Wipe the black forged metal frame with a soft, dry, or slightly damp paño. Evite limpiadores abrasivos, disolventes o abrillantadores, ya que pueden dañar el acabado.
- Pantallas de vidrio: The white enclosed glass shades can be gently wiped with a soft, damp cloth. For stubborn marks, a mild glass cleaner can be used sparingly on the cloth, not directly on the glass. Ensure shades are completely dry before restoring power.
Reemplazo de bombilla:
- Apagar la energía: Always turn off the power at the circuit breaker before replacing bulbs.
- Permitir enfriamiento: Deje que las bombillas se enfríen completamente antes de tocarlas.
- Reemplazar: Unscrew the old bulb and screw in a new E12 base bulb. Ensure the replacement bulb does not exceed 60 watts.
8. Solución de problemas
If you experience issues with your chandelier, consult the following common problems and solutions:
| Problema | Posible causa | Solución |
|---|---|---|
| La luz no enciende | No hay energía para el dispositivo Conexión de cable suelta bombilla defectuosa | Verifique el disyuntor y el interruptor de pared Verifique que todas las conexiones de cables estén seguras (con la energía apagada) Reemplace la bombilla por una nueva |
| La luz parpadea | Bulbo suelto Tipo de bombilla incorrecto para el regulador de intensidad Conexión de cable suelta | Apriete la bombilla Ensure dimmable bulbs are used with a compatible dimmer Check wire connections (with power off) |
| Ruido de zumbido | Interruptor de regulación incompatible Componentes sueltos | Replace dimmer with an LED-compatible model Asegúrese de que todas las piezas estén bien sujetas |
If the issue persists after attempting these solutions, please contact Crystorama customer support or a qualified electrician.
9. Garantía y soporte
This Crystorama Libby Langdon Sylvan Chandelier is covered by a manufacturer's warranty. For specific warranty details, claims, or technical support, please refer to the warranty card included with your purchase or visit the official Crystorama websitio.
For additional assistance, you may contact Crystorama customer service directly.


