Introducción
This manual provides comprehensive instructions for the operation and maintenance of your AbergBest Mini Digital Camera. Designed for ease of use, this compact camera is ideal for capturing everyday moments with its 21-megapixel sensor and HD 720P video recording capabilities. Please read this manual thoroughly to ensure proper usage and to maximize your camera's potential.
¿Qué hay en la caja?
Upon unboxing your AbergBest Mini Digital Camera, please verify that all the following components are included:
- AbergBest Mini Digital Camera (Model: New2022ABDC5100)
- 2 x Lithium Batteries
- Charging Brick (USB Wall Adapter)
- Cable USB (para carga y transferencia de datos)
- Correa de muñeca
- Disco de controladores (CD)
- Manual de usuario
- Carrying Satchel

Image: All components included in the AbergBest Mini Digital Camera package.
Configuración
1. Instalación de la batería
The camera comes with two rechargeable lithium batteries. To install a battery:
- Localice la puerta del compartimiento de la batería en la parte inferior de la cámara.
- Deslice el pestillo para abrir el compartimento.
- Inserte la batería, asegurándose de que los contactos estén alineados correctamente.
- Cierre la puerta del compartimiento de la batería de forma segura hasta que haga clic.

Image: Visual guide for inserting the battery into the camera.
2. SD Card Installation (Not Included)
An SD memory card is required to store photos and videos. The camera supports up to a 64GB SD memory card. For optimal performance, use a certified brand SD card with a Class 4 speed or above.
- Ubique la ranura de la tarjeta SD, generalmente cerca del compartimiento de la batería o en el costado de la cámara.
- Inserte la tarjeta SD con los contactos metálicos hacia abajo hasta que encaje en su lugar.
- Para quitarla, empuje suavemente la tarjeta hasta que salga.

Image: Recommended SD card types and capacity for the camera.
3. Cargar la cámara
Use the provided USB cable and charging brick to charge the camera. A fully charged battery can support the camera for over 60 minutes of use.
- Conecte el extremo pequeño del cable USB al puerto USB de la cámara.
- Connect the large end of the USB cable to the charging brick.
- Plug the charging brick into a wall outlet.
- La luz indicadora de carga se iluminará durante la carga y se apagará cuando finalice.
Instrucciones de funcionamiento
1. Encendido / apagado
Press and hold the Power button (usually located on the top or side of the camera) to turn the camera on or off.
2. Uso de la pantalla LCD
The camera features a 2.7-inch TFT LCD screen for framing shots, reviewTomar fotografías y navegar por los menús.
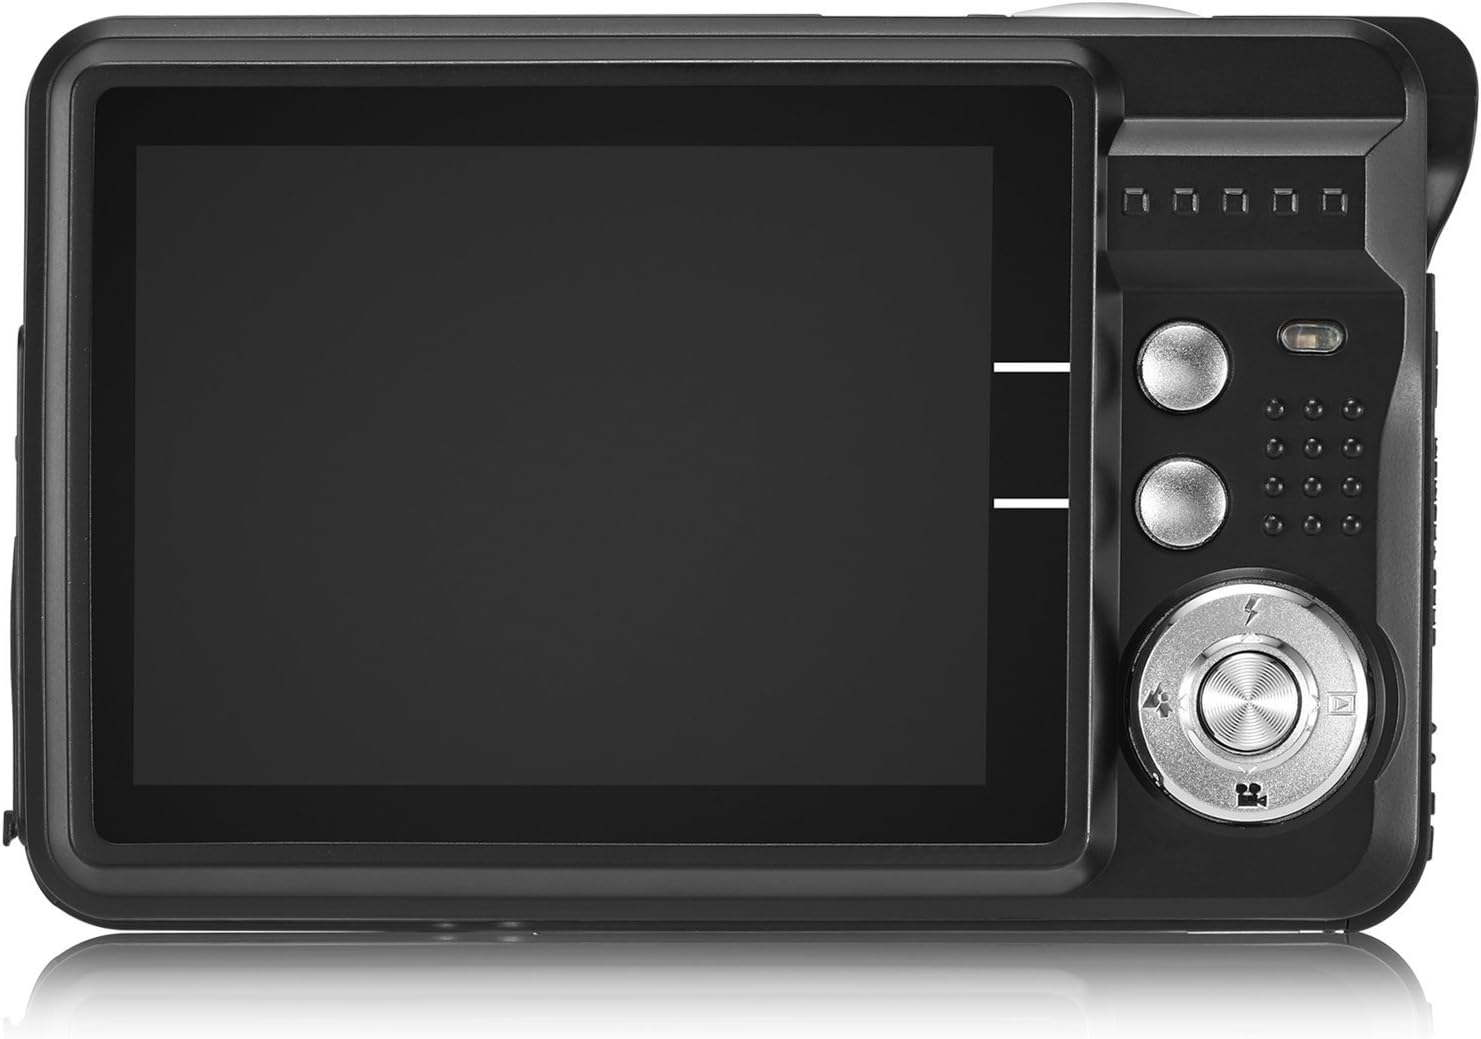
Image: The camera's 2.7-inch LCD screen and rear controls.
3. Tomar fotografías
Para capturar una imagen fija:
- Encuadre el sujeto utilizando la pantalla LCD.
- Presione el botón del obturador hasta la mitad para enfocar.
- Press the Shutter button fully to take the picture.
The camera captures images at 21 megapixels in JPEG format.
4. Grabación de vídeos
Para grabar un vídeo:
- Switch the camera to video mode (refer to the on-screen icons or user manual for specific button).
- Presione el botón del obturador para comenzar a grabar.
- Presione el botón del obturador nuevamente para detener la grabación.
Videos are recorded in HD 720P resolution in AVI format.

Image: The camera displaying video recording functionality.
5. Función de zoom
The camera features 8X digital zoom. Use the zoom buttons (often labeled with a magnifying glass icon or 'W' for Wide and 'T' for Telephoto) to adjust the zoom level.

Image: Demonstrating the camera's 8X digital zoom capability.
6. Scene Modes and Settings
Access the camera's menu to select various scene modes and adjust settings for different shooting conditions. Available modes include:
- Retrato nocturno: For clear portraits in low light.
- Paisaje nocturno: Optimizes for landscapes at night.
- Deporte: Reduces blur for fast-moving subjects.
- Escenario: Mejora las fotografías de paisajes al aire libre.
- Fiesta: Ideal for indoor events with mixed lighting.
- Playa: Se ajusta para entornos brillantes y reflectantes.
- Alta sensibilidad: Improves performance in very low light.
Other adjustable settings include ISO (Auto, 100, 200, 400), Anti-Shake for stable images, and Flash options (Auto, On, Off, Red-eye Reduction). The camera also features Face Detection, Smile Capture, and a 2-second Self-Timer.

Image: The camera's 2.7-inch screen highlighting the face detection feature.

Image: Illustrating the effect of the built-in flash in low-light conditions.
Conectarse a una computadora
Para transferir fotos y vídeos a su computadora:
- Asegúrese de que la cámara esté apagada.
- Conecte la cámara a su computadora usando el cable USB proporcionado.
- Enciende la cámara. Debería aparecer como una unidad de disco extraíble en tu computadora.
- Alternatively, you can remove the SD card and insert it into a compatible card reader connected to your computer.
The camera is compatible with Windows XP/VISTA/7/8/10 and Mac operating systems. A driver disk is included for older systems or specific software needs, though most modern operating systems will recognize the camera automatically.

Image: Connecting the camera to a personal computer for data transfer.
Mantenimiento
El cuidado adecuado prolongará la vida útil de su cámara:
- Limpieza: Use a soft, lint-free cloth to clean the camera body and screen. For the lens, use a specialized lens cleaning cloth and solution. Avoid harsh chemicals.
- Almacenamiento: Guarde la cámara en un lugar fresco y seco, alejada de la luz solar directa y de temperaturas extremas. Retire la batería si la va a guardar durante un periodo prolongado.
- Cuidado de la batería: Fully charge batteries before first use. Avoid overcharging or completely draining the battery frequently to prolong its lifespan.
Solución de problemas
Si tiene problemas con su cámara, pruebe los siguientes pasos comunes de solución de problemas:
- La cámara no enciende: Asegúrese de que la batería esté correctamente instalada y completamente cargada. Pruebe a usar la segunda batería proporcionada.
- Mala calidad de imagen: Check lighting conditions. Ensure the lens is clean. Adjust scene modes or ISO settings as needed.
- Error de tarjeta de memoria: Ensure the SD card is properly inserted and not full. Try formatting the card (this will erase all data, so back up first). Use a compatible SD card (Class 4 or above, up to 64GB).
- La cámara se congela: Retire y vuelva a insertar la batería para reiniciar la cámara.
If problems persist, please refer to the detailed user manual or contact customer support.
Presupuesto
| Característica | Detalle |
|---|---|
| Marca | AbergMejor |
| Nombre del modelo | ABCAM218UPDATED |
| Número de modelo | Nuevo 2022ABDC5100 |
| Máximo WebResolución de imagen de cámara | 21 MP |
| Tecnología de fotosensor | CMOS |
| Resolución de vídeo | 720p |
| Apoyado File Formato | AVI (vídeo), JPEG (foto) |
| Estabilización de imagen | Digital |
| Tamaño de pantalla | LCD TFT de 2.7 pulgadas |
| Zoom digital | 8x |
| Tipo de memoria flash | SD (up to 64GB, Class 4+) |
| Tipo de batería | Polímero de litio (2 incluido) |
| Tecnología de conectividad | USB |
| Dispositivos compatibles | Windows XP/VISTA/7/8/10/MAC |
| Característica especial | Face Detection, Smile Capture, Anti-Shake, Self-Timer |
| Peso del artículo | 309 gramos |
| Dimensiones del artículo (Pr. x An. x Al.) | 3.74" de profundidad x 2.4" de ancho x 0.94" de alto |
Garantía y soporte
Your AbergBest Mini Digital Camera comes with a Garantía del fabricante por 1 año. For warranty claims, technical support, or any questions regarding your product, please refer to the contact information provided in the included user manual or visit the official AbergBest websitio.
Conserve su comprobante de compra para fines de garantía.