1. Introducción
This manual provides essential information for the installation, operation, and maintenance of your FireAngel FA6115-FRT Optical Smoke Detector. Designed for home and caravan use, this detector features an advanced optical sensor for early detection of slow-burning fires and is a direct replacement for the ST-625 model. Please read these instructions carefully before installation and retain them for future reference.

Figura 1: Frente view of the FireAngel FA6115-FRT Optical Smoke Detector.

Figura 2: Lado view of the FireAngel FA6115-FRT Optical Smoke Detector, showing the ventilation grilles.
2. Información de seguridad
- This smoke detector is designed to detect smoke. It cannot prevent fires.
- Regularly test your smoke detector as described in this manual.
- Do not paint the smoke detector. Paint can block the smoke entry points and interfere with the sensor's ability to detect smoke.
- Do not attempt to repair the unit yourself. Refer to the warranty section for service information.
- Ensure batteries are installed correctly and replaced when indicated by the low battery warning.
3. Contenido del paquete
Verifique que todos los artículos estén presentes en su paquete:
- FireAngel FA6115-FRT Optical Smoke Detector
- Plataforma de montaje
- 2 pilas AA
- Screws and Anchors for installation
- Manual de usuario (este documento)

Figure 3: Package contents including the detector, mounting plate, batteries, and manual.
4. Configuración e instalación
4.1 Elegir una ubicación
For optimal protection, install smoke detectors in all rooms, especially bedrooms and hallways leading to sleeping areas. Avoid placing detectors in or near:
- Kitchens or bathrooms, due to steam and cooking fumes that can cause false alarms.
- Zonas con alta humedad o temperaturas extremas.
- Within 50 cm (20 inches) of walls or corners when mounted on the ceiling.
- Near ventilation outlets or fans that could prevent smoke from reaching the detector.
The FA6115-FRT is an optical smoke detector, highly effective at detecting slow-burning fires, which produce thick, visible smoke. For comprehensive fire safety, consider installing a heat alarm in the kitchen and a carbon monoxide alarm where fuel-burning appliances are present.

Figura 4: Example of a smoke detector installed on a ceiling in a hallway, a recommended location.
4.2 Instrucciones de montaje
- Prepare la superficie de montaje: Choose a flat ceiling or wall surface. Use the mounting platform as a template to mark the screw holes.
- Perforar agujeros: Drill two holes at the marked positions. Insert the provided anchors if installing into drywall or plaster.
- Attach Mounting Platform: Secure the mounting platform to the ceiling or wall using the provided screws.
- Instale las baterías: Open the battery compartment on the back of the detector. Insert the two AA batteries, ensuring correct polarity (+/-).
- Adjuntar detector: Align the detector with the mounting platform. Push and twist the detector clockwise until it clicks securely into place.
- Prueba inicial: Press and hold the large 'TEST' button on the front of the detector for a few seconds. The alarm should sound loudly, and the red LED should flash. This confirms the unit is functioning correctly.

Figure 5: The removable mounting plate is secured to the ceiling or wall using screws.

Figure 6: The battery compartment requires two AA batteries, which are included.
5. Instrucciones de funcionamiento
5.1 Operación normal
Under normal operating conditions, the red LED indicator will flash approximately once every 45 seconds to indicate that the detector is powered and functioning correctly.
5.2 Botón de prueba/silencio
The large central button serves two primary functions:
- Pruebas: Press and hold the button for a few seconds to perform a functional test. The alarm will sound, and the red LED will flash rapidly. This should be done monthly.
- Silenciamiento: In the event of a known false alarm (e.g., from cooking fumes), press the button briefly to temporarily silence the alarm for approximately 10 minutes. The detector will automatically reset after this period.
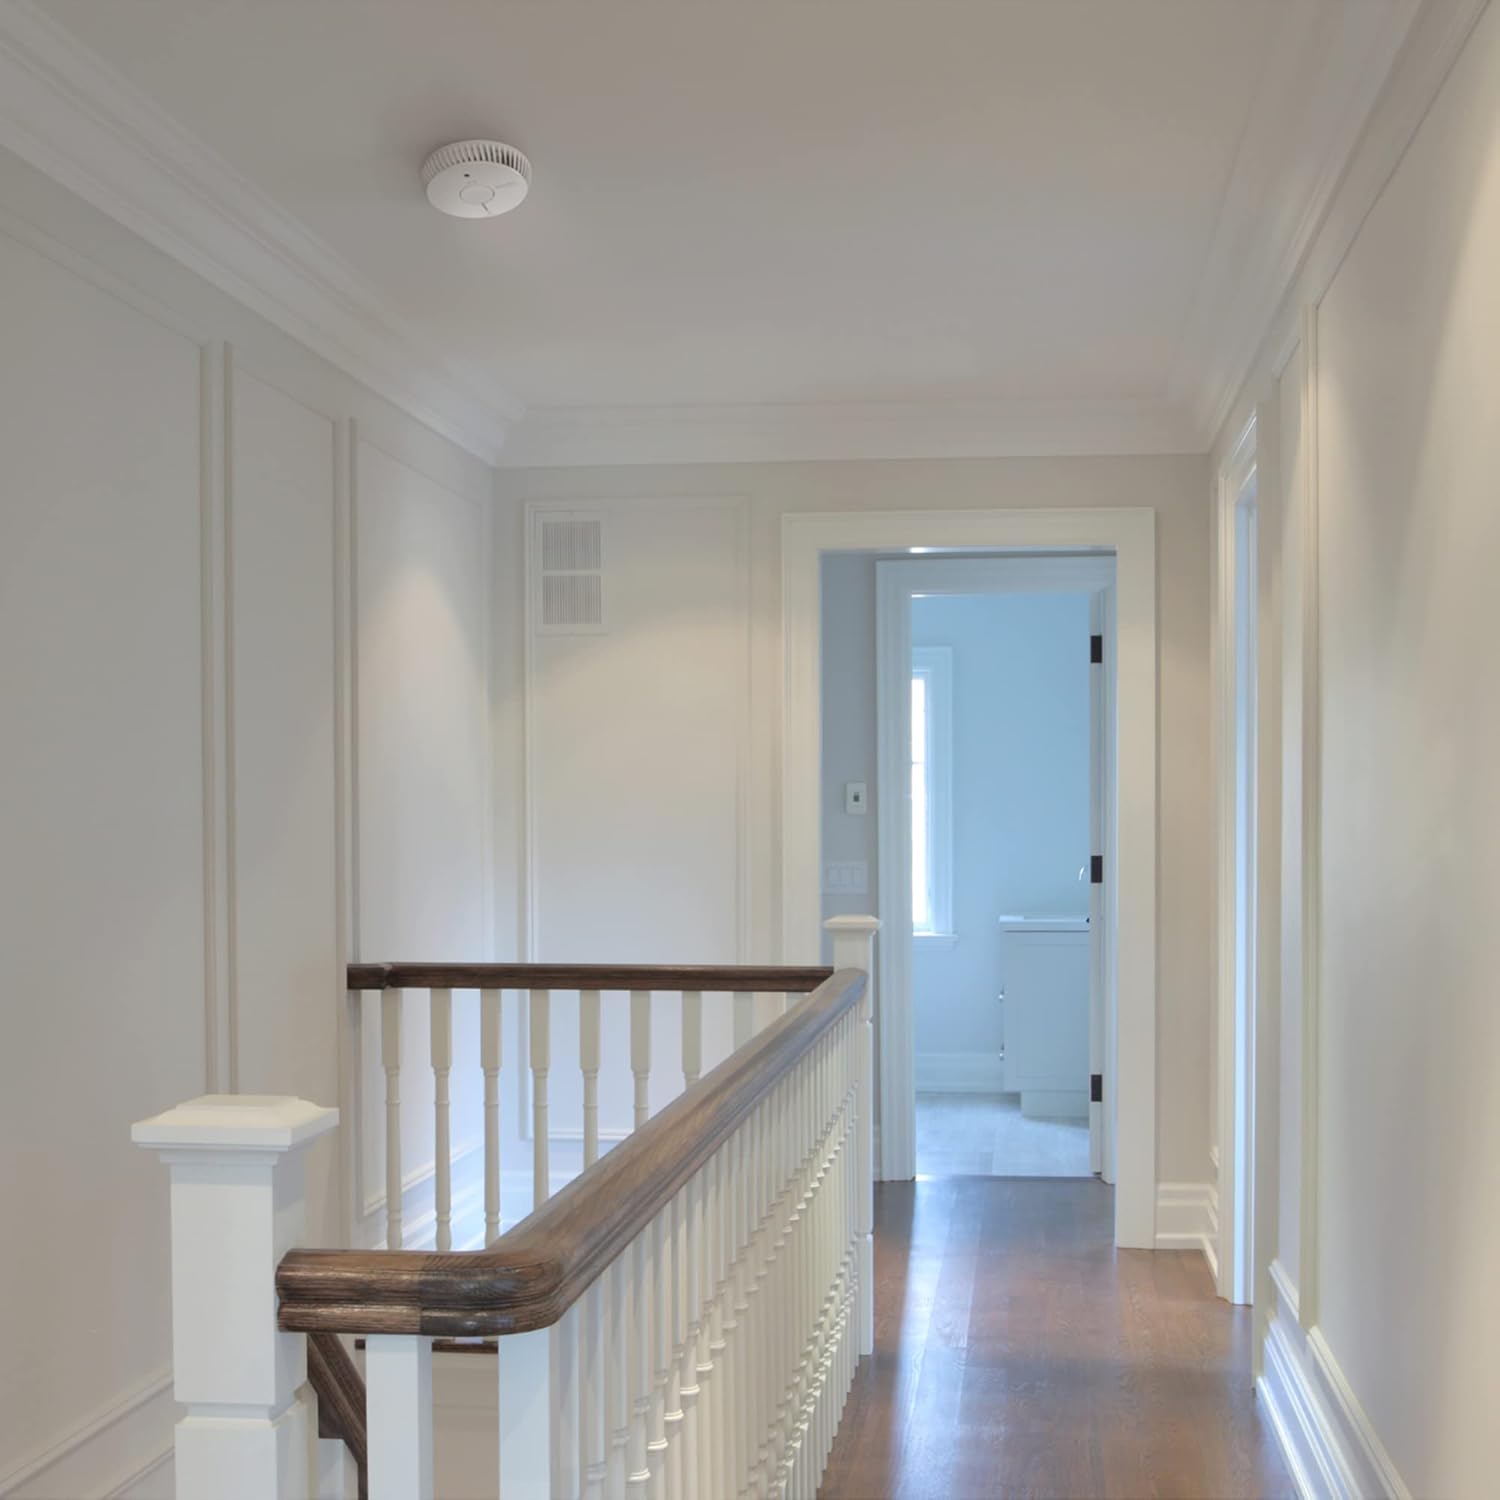
Figure 7: The central button is used for testing the alarm and silencing false alarms.
5.3 Sleep Easy™ Function (Low Battery Silence)
If the batteries are low, the detector will emit a short chirp approximately every 45 seconds, accompanied by a red LED flash. If this occurs during the night, you can activate the Sleep Easy™ function:
- Press the 'TEST' button once. The low battery chirp will be silenced for 8 hours.
- The red LED will continue to flash, indicating the low battery status.
- Even in Sleep Easy™ mode, the detector remains active and will sound the alarm if smoke is detected.
- Replace the batteries as soon as possible, ideally within 30 days of the first low battery warning.
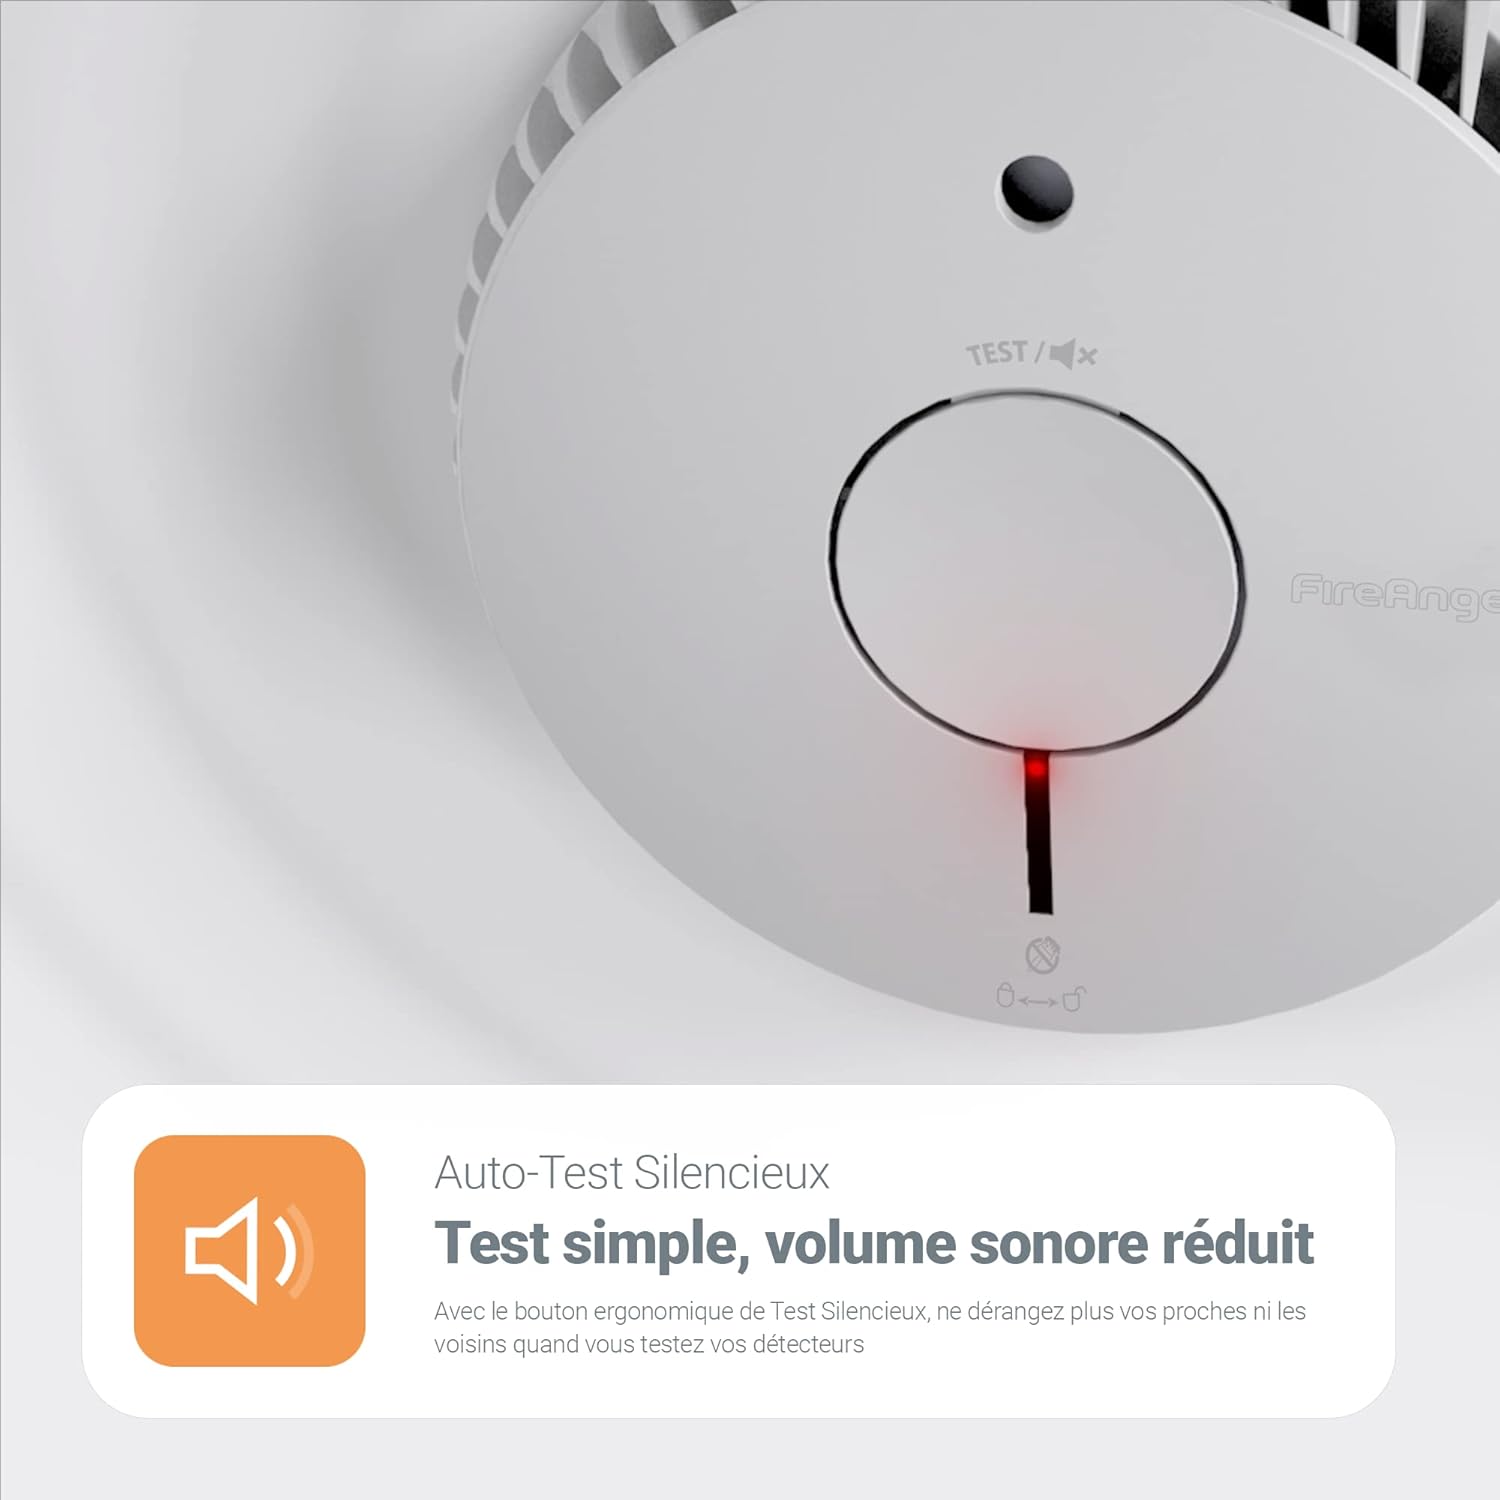
Figure 8: The Sleep Easy function allows temporary silencing of low battery chirps for 8 hours.

Figure 9: The optical sensor detects smoke particles entering the chamber, providing rapid detection for slow-burning fires.
6. Mantenimiento
6.1 Pruebas mensuales
Test your smoke detector at least once a month by pressing and holding the 'TEST' button until the alarm sounds. This ensures the unit is functioning correctly.
6.2 Limpieza
Dust and debris can accumulate on the detector, potentially affecting its performance. Clean your smoke detector every 3-6 months:
- Gently vacuum around the detector's casing and ventilation openings using a soft brush attachment.
- No utilice aerosoles de limpieza ni disolventes en el detector.
6.3 Reemplazo de batería
The FA6115-FRT uses two replaceable AA batteries with a typical lifespan of 5 years. When the low battery warning sounds (chirp every 45 seconds), replace both batteries immediately. Refer to Section 4.2 for battery installation steps.
7. Solución de problemas
| Problema | Posible causa | Solución |
|---|---|---|
| Detector chirps every 45 seconds | Batería baja | Replace both AA batteries immediately. Use Sleep Easy™ function if chirping occurs at night. |
| False alarms (e.g., during cooking) | Detector too close to kitchen/bathroom, steam, or cooking fumes. | Press the 'TEST' button to silence for 10 minutes. Relocate the detector if false alarms persist due to placement. Ensure proper ventilation during cooking. |
| La alarma no suena durante la prueba | No power, faulty unit, or incorrect battery installation. | Check battery installation and replace if necessary. If the problem persists, the unit may be faulty and requires replacement. |
| LED rojo no parpadea | Sin energía o unidad defectuosa. | Ensure batteries are correctly installed and charged. If the issue persists, the unit may be faulty. |
8. Especificaciones
| Característica | Detalle |
|---|---|
| Número de modelo | FA6115-FRT |
| Tipo de sensor | Optical (Photoelectric) |
| Fuente de poder | Funciona con pilas |
| Baterías | 2 x AA (included, replaceable) |
| Composición de la batería | Alcalino |
| Vida del sensor | 10 años |
| Dimensiones del producto (L x An x Al) | 11.81 x 11.81 x 3.15 cm |
| Diámetro | 118.1 milímetros |
| Peso | 70 gramos |
| Material | Plástico |
| Color | Blanco |
| Método de instalación | Wall or Ceiling (screws and anchors provided) |
| Temperatura de funcionamiento | Hasta 38°C |
| Humedad operativa | Hasta 90 % de humedad relativa (sin condensación) |
| Certificaciones | CE certified, EN 14604:2005+AC:2008 compliant |

Figure 10: Technical drawing showing the dimensions of the FireAngel FA6115-FRT detector.
9. Garantía y soporte
9.1 Garantía del fabricante
The FireAngel FA6115-FRT Optical Smoke Detector comes with a Garantía del fabricante de 10 años A partir de la fecha de compra. Esta garantía cubre defectos de materiales y mano de obra en condiciones normales de uso. Conserve su comprobante de compra para reclamaciones de garantía.
9.2 Atención al cliente
If you experience any issues with your smoke detector that cannot be resolved using the troubleshooting guide, or for warranty inquiries, please contact FireAngel customer support. Refer to the FireAngel official websitio o embalaje del producto para obtener la información de contacto más actualizada.
Nota: Do not attempt to open or repair the unit yourself, as this may void the warranty and compromise the device's safety features.


