Introducción
This manual provides detailed instructions for the setup, operation, and maintenance of your Gioteck SC3 Wireless Pro Controller. Designed for use with Nintendo Switch, PC, and mobile devices, this controller features programmable back buttons, customizable RGB lighting, and changeable magnetic thumb sticks for an enhanced gaming experience.
1. Configuración
1.1 Contenido del paquete
- Gioteck SC3 Wireless Pro Controller
- Cable de carga USB
- Additional Magnetic Thumb Sticks (if included)
- Manual de usuario (este documento)
1.2 Carga del controlador
Before initial use, fully charge the controller. Connect the supplied USB charging cable to the controller's charging port and the other end to a USB power source (e.g., Nintendo Switch dock, PC USB port, or USB wall adapter).
- El indicador LED mostrará el estado de carga.
- Una carga completa suele tardar entre 2 y 3 horas aproximadamente.
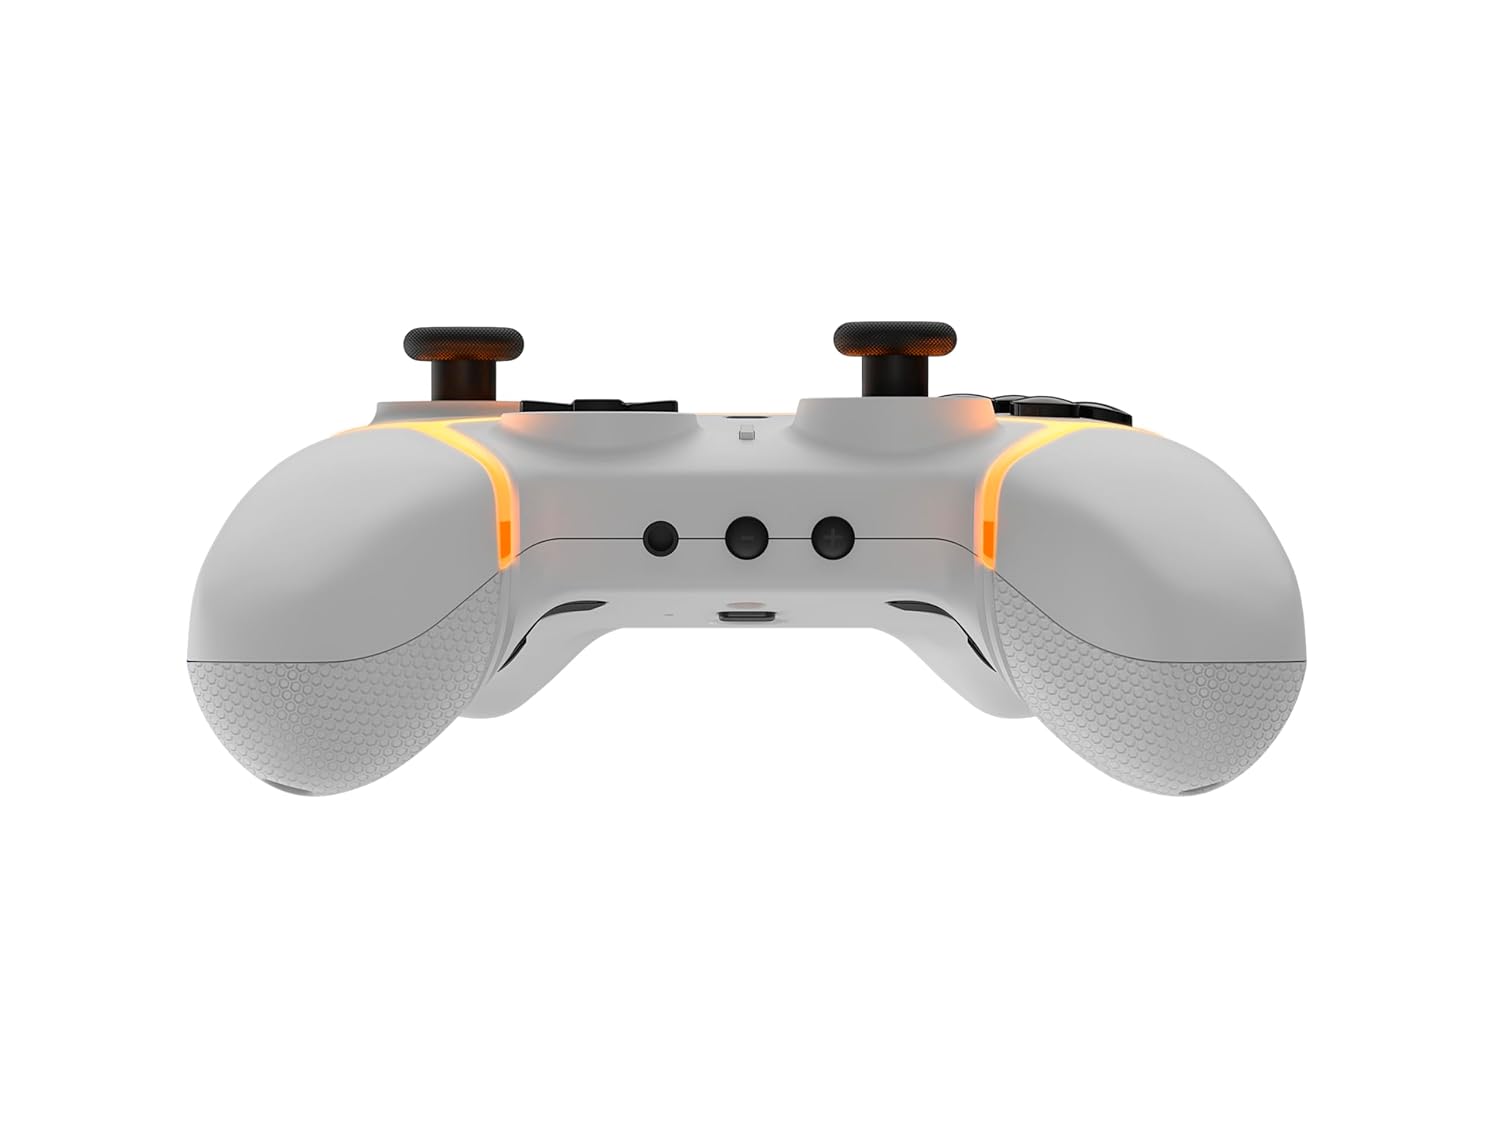
Imagen: Abajo view of the Gioteck SC3 controller, highlighting the USB-C charging port located between the two textured grips.
1.3 Emparejamiento con Nintendo Switch
- Desde el menú HOME de Nintendo Switch, selecciona Controladores, entonces Cambiar agarre/orden.
- On the SC3 controller, press and hold the Botón de emparejamiento (usually a small button on the top or back) for a few seconds until the LED indicators begin to flash rapidly.
- Once the controller is recognized by the Switch, the player LED(s) on the controller will illuminate solid, indicating successful pairing.
- Presione el Un botón Para confirmar.
Note: For subsequent uses, the controller should automatically reconnect to the last paired Switch console when powered on.
1.4 Connecting to PC/Mobile (Bluetooth)
- Ensure Bluetooth is enabled on your PC or mobile device.
- On the SC3 controller, press and hold the Botón de emparejamiento for a few seconds until the LED indicators flash rapidly.
- On your PC/mobile device, navigate to Bluetooth settings and search for new devices.
- Select "Gioteck SC3" or similar from the list of available devices to pair.
- The controller's LED will become solid upon successful connection.
1.5 Installing Magnetic Thumb Sticks
The SC3 controller features changeable magnetic thumb sticks. To replace them:
- Gently pull the existing thumb stick straight up to remove it.
- Align the desired magnetic thumb stick with the base and gently push it down until it snaps into place.

Imagen: Frente view of the Gioteck SC3 controller, showcasing the magnetic thumb sticks and button layout.
2. Instrucciones de funcionamiento
Disposición de 2.1 botones
The SC3 controller features a traditional button layout. Refer to the image below for button identification.

Imagen: Frente en ángulo view of the Gioteck SC3 controller, displaying the full button layout including face buttons, D-pad, analog sticks, and shoulder buttons.
- Joysticks analógicos izquierdo/derecho: Para movimiento y control de cámara.
- Almohadilla direccional: Entrada direccional.
- Botones A/B/X/Y: Botones de acción.
- Botones L/R/ZL/ZR: Botones de hombro y gatillo.
- Botones +/-: Start/Select equivalents.
- Botón de inicio: Regresa al menú de inicio de la consola.
- Botón de captura: Toma capturas de pantalla.
2.2 Botones traseros programables
The SC3 controller includes programmable back buttons (M1, M2, M3, M4) for custom assignments.

Imagen: Trasera view of the Gioteck SC3 controller, clearly showing the four programmable back buttons (M1, M2, M3, M4) and textured grips.
Pasos de programación:
- Mantenga pulsado el Botón de programa (refer to diagram if available, usually a small button on the back) until the LED indicator flashes.
- Presione el Botón Atrás (M1, M2, M3, or M4) you wish to program. The LED will flash slowly.
- Presione el Botón de entrada (e.g., A, B, X, Y, L, R, ZL, ZR, D-pad direction) you want to assign to the back button.
- Presione el Botón de programa again to save the assignment. The LED will stop flashing.
- Repeat for other back buttons as desired.
To clear a programmed button, follow steps 1-2, then press the Program Button again without pressing an input button.
2.3 Personalización de la iluminación RGB
The controller features customizable RGB lighting. Specific instructions for changing colors or effects are typically found in the product's quick start guide or by pressing a dedicated button combination (e.g., Function + R3).
Consult the quick start guide included with your controller for precise button combinations to adjust RGB lighting.
2.4 Controles de movimiento
The SC3 controller supports motion controls, allowing for immersive gameplay in compatible Nintendo Switch titles. No special setup is usually required; motion controls activate automatically when supported by the game.
2.5 Audio Headset Jack
A 3.5mm audio headset jack is located on the controller for connecting compatible headsets. It includes dedicated mute and volume control buttons.
- Subir/Bajar volumen: Ajustar la salida de audio.
- Botón de silencio: Mute/unmute microphone input.

Imagen: Arriba view of the Gioteck SC3 controller, highlighting the 3.5mm audio jack, volume controls, and mute button.
3. Mantenimiento
3.1 Limpieza
Para limpiar el mando, utilice un paño suave y seco. Para la suciedad difícil, utilice un paño ligeramente seco.ampEnjuague el paño con agua. Evite usar productos químicos agresivos, limpiadores abrasivos o disolventes, ya que pueden dañar el acabado y los componentes internos del controlador.
- Do not immerse the controller in water or any other liquid.
- Asegúrese de que todos los puertos estén secos antes de cargar o conectar dispositivos.
3.2 Almacenamiento
Guarde el mando en un lugar fresco y seco, alejado de la luz solar directa y de temperaturas extremas. Evite colocar objetos pesados sobre el mando para evitar daños.
3.3 Cuidado de la batería
The controller contains a rechargeable battery. To prolong battery life:
- Evite descargar completamente la batería con frecuencia.
- Charge the controller regularly, even if not in use for extended periods (e.g., once every 3-6 months).
- Do not expose the controller to temperatures above 60°C (140°F).
4. Solución de problemas
4.1 El controlador no se conecta ni se empareja
- Comprobar la batería: Asegúrese de que el controlador esté suficientemente cargado.
- Reparar: Follow the pairing instructions in Section 1.3 or 1.4.
- Interferencia: Move closer to the console/device and away from potential sources of wireless interference (e.g., Wi-Fi routers, other Bluetooth devices).
- Reiniciar controlador: Locate a small reset button (often a pinhole) on the back of the controller. Use a paperclip to press and hold it for a few seconds. Then attempt to re-pair.
- Update Console/Device Software: Ensure your Nintendo Switch, PC, or mobile device's operating system is up to date.
4.2 Buttons/Sticks Not Responding
- Resincronizar: Desconecte y vuelva a conectar el controlador.
- Limpio: Asegúrese de que no haya residuos alojados alrededor de los botones o palancas.
- Test in another game/menu: Determine if the issue is specific to a game or system-wide.
- Reiniciar controlador: Realice un reinicio completo como se describe arriba.
4.3 Motion Controls Not Working
- Compatibilidad del juego: Verify that the game you are playing supports motion controls.
- Recalibrar: On Nintendo Switch, you can recalibrate motion controls in the system settings.
- Reiniciar controlador: Realizar un reinicio completo.
5. Especificaciones
| Modelo: | Gioteck SC3 Wireless Pro Controller |
| Compatibilidad: | Nintendo Switch (Original, Lite, OLED), PC, Mobile Devices |
| Conectividad: | Bluetooth inalámbrico |
| Dimensiones (aprox.): | 2.87 x 5.35 x 6.34 pulgadas (7.29 x 13.59 x 16.1 cm) |
| Peso (aprox.): | 10.6 onzas (300 gramos) |
| Conector de audio: | 3.5mm with mute and volume controls |
| Características especiales: | Programmable back buttons, Magnetic thumb sticks, RGB lighting, Motion controls |
6. Información de garantía
The Gioteck SC3 Wireless Pro Controller comes with a manufacturer's warranty. For specific details regarding warranty coverage, duration, and claims process, please refer to the warranty card included with your product or visit the official Gioteck websitio.
Conserve su comprobante de compra para fines de garantía.
7. Atención al cliente
If you encounter any issues or have questions not covered in this manual, please contact Gioteck customer support. Contact information can typically be found on the product packaging or the official Gioteck websitio.
Gioteck Oficial Websitio: www.gioteck.com


