1. Introducción
Thank you for choosing the SHARP 7.5 kg Fully Automatic Top Load Washing Machine. This manual provides essential information for the safe and efficient operation, installation, and maintenance of your appliance. Please read it thoroughly before using the washing machine and retain it for future reference.
2. Información de seguridad
Observe the following safety precautions to prevent injury or damage to the appliance.
- Asegúrese de que la lavadora esté conectada a una toma de corriente con conexión a tierra.
- No opere la máquina con un cable de alimentación o enchufe dañado.
- Mantenga a los niños y las mascotas alejados del aparato durante su funcionamiento.
- No lave artículos que estén sucios con sustancias inflamables.
- Desenchufe siempre la máquina antes de limpiarla o realizar cualquier mantenimiento.
- Do not open the lid during a wash cycle, especially during the spin phase.
- Asegúrese de que las mangueras de entrada y drenaje de agua estén conectadas de forma segura para evitar fugas.
3. Producto terminadoview
Familiarize yourself with the components and key features of your SHARP washing machine.
3.1 Características principales
- Capacidad: 7.5 kg, suitable for medium to large households.
- Calificación Energética: 5 Star for optimal energy efficiency.
- Programas de lavado: 10 intelligent wash programs for various fabric types and soil levels.
- Hot & Cold Water Dual Inlet: Allows for washing with both hot and cold water.
- Tapa de cierre suave: Ensures quiet and safe closing of the top lid.
- Add Laundry Function: Pause the cycle to add forgotten items.
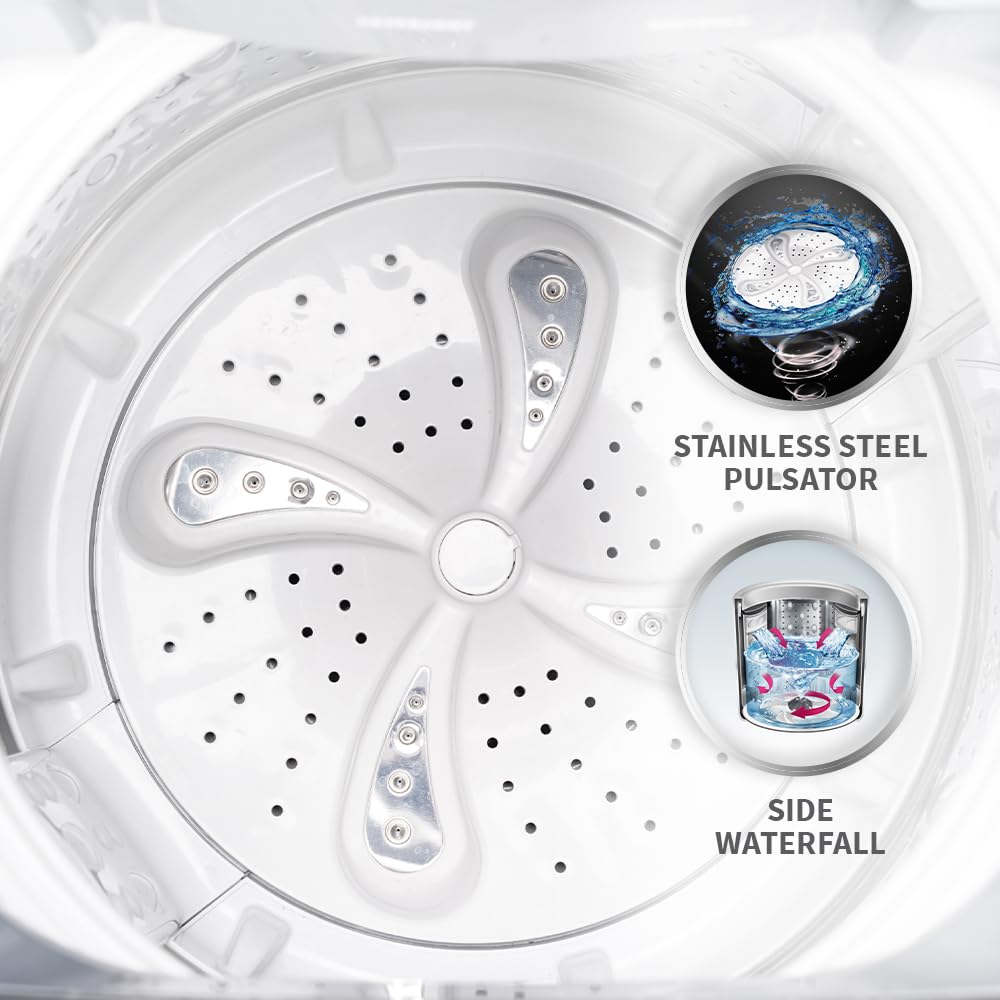
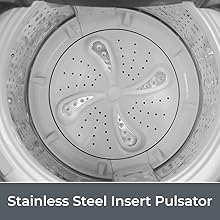
- Stainless Steel Insert Pulsator: Durable and effective for thorough cleaning.
- Waterfall Wash: Provides even water spray for enhanced cleaning and rinsing.
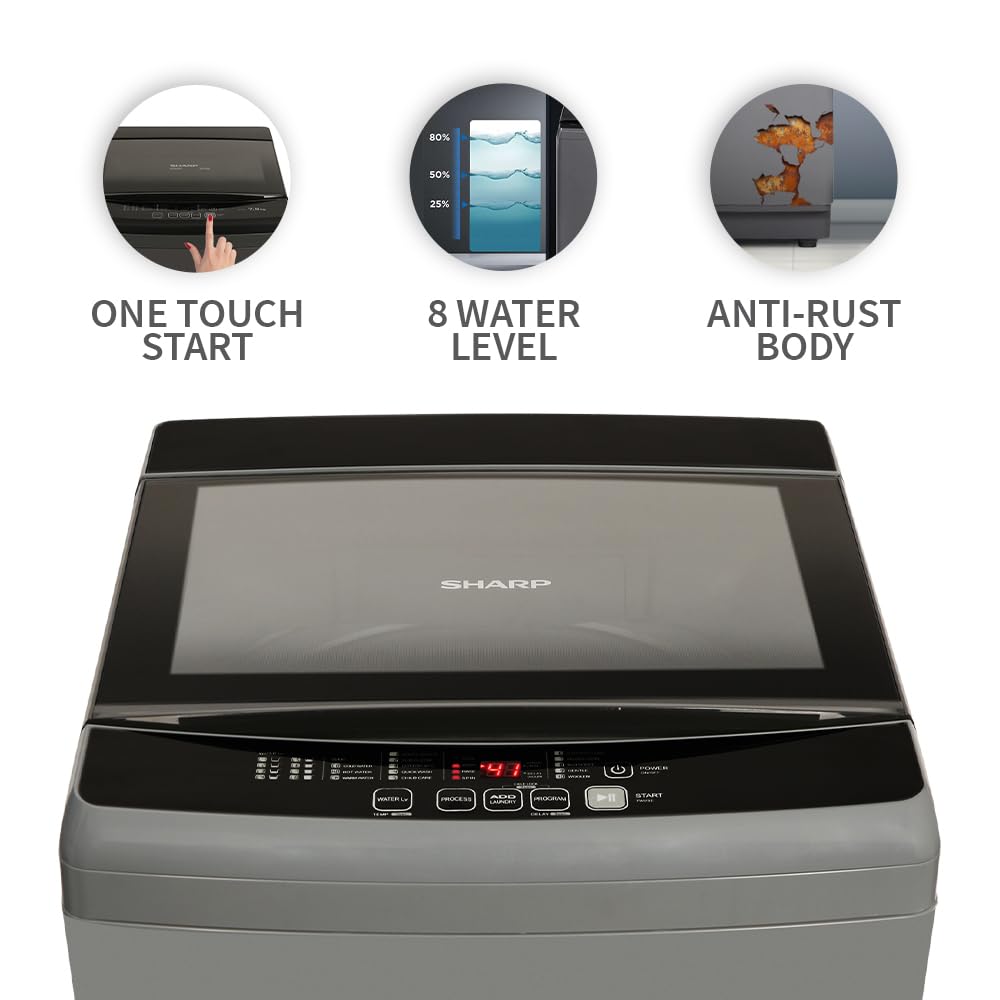
- Inicio con un solo toque: Simplifies operation for quick use.
- Anti-Rust Body: Designed for durability and longevity.
- Japan 7 Shields: Incorporates multiple quality checks for enhanced reliability.
3.2 Componentes


4. Instalación y configuración
Proper installation is crucial for the performance and longevity of your washing machine. It is recommended to have professional installation.
4.1 Desembalaje
- Retire con cuidado todos los materiales de embalaje.
- Check for any damage during transit. Contact your dealer immediately if damage is found.
- Ensure all included accessories (drain hose, user manual, warranty card) are present.
4.2 Requisitos de ubicación
- Coloque la máquina sobre una superficie firme y nivelada para minimizar la vibración y el ruido.
- Asegúrese de que haya suficiente espacio alrededor de la máquina para ventilación y mantenimiento.
- Evite la luz solar directa o temperaturas extremas.
- La ubicación debe tener acceso a suministro de agua fría y caliente, un desagüe y una toma de corriente eléctrica con conexión a tierra.
4.3 Conexión de mangueras de agua
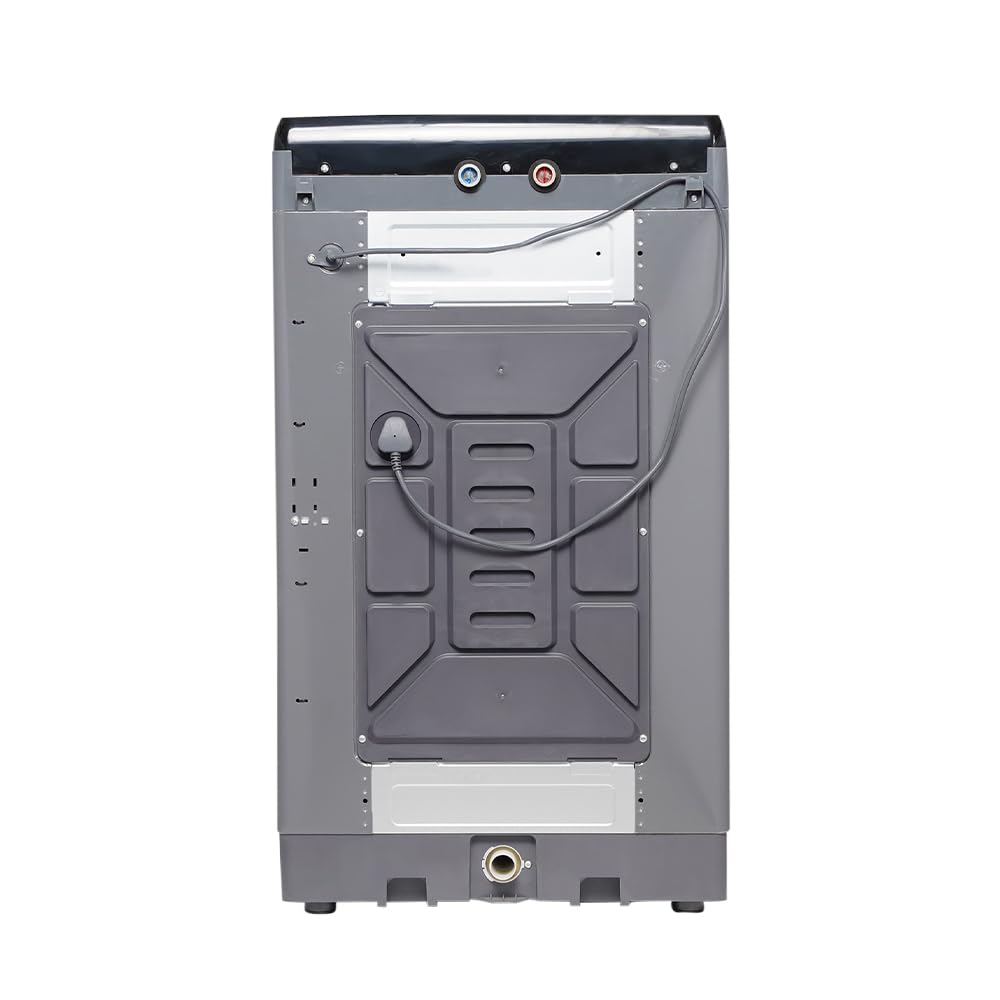
- Connect the hot water inlet hose to the hot water tap and the corresponding inlet on the machine (usually marked red).
- Connect the cold water inlet hose to the cold water tap and the corresponding inlet on the machine (usually marked blue).
- Asegúrese de que todas las conexiones estén bien ajustadas para evitar fugas.
4.4 Conexión de la manguera de drenaje
- Securely attach the drain hose to the drain outlet at the back of the machine.
- Position the other end of the drain hose into a standpipe or sink, ensuring it is properly secured to prevent dislodging during drainage. The height of the drain should be between 60 cm and 90 cm from the floor.
4.5 Conexión de alimentación
- Plug the power cord into a dedicated, grounded 230V AC electrical outlet.
- No utilice cables de extensión ni adaptadores.
4.6 Nivelación de la máquina
- Utilice un nivel de burbuja para comprobar si la máquina está perfectamente nivelada.
- Ajuste las patas niveladoras en la parte inferior de la máquina girándolas en sentido horario o antihorario hasta que la máquina esté estable y nivelada.
5. Instrucciones de funcionamiento
Siga estos pasos para un funcionamiento eficaz y seguro de su lavadora.
5.1 Panel de control terminadoview
5.2 Carga de la ropa
- Clasifique la ropa por tipo de tela, color y nivel de suciedad.
- Open the lid and place clothes loosely into the drum, ensuring not to overload.
- Cierra la tapa suavemente.
5.3 Adición de detergente y suavizante
- Agregue la cantidad apropiada de detergente al dispensador de detergente.
- Si usa suavizante de telas, agréguelo al compartimento designado para suavizante.
5.4 Selección de un programa de lavado
Your machine offers 10 wash programs:
- Selección inteligente: Automatically detects load and selects optimal settings.
- Limpieza de la tina: Para limpiar el tambor de la lavadora.
- Algodón 30°C: Standard wash for cotton items at 30°C.
- Lavado rápido: Para artículos ligeramente sucios que requieren un ciclo rápido.
- Child Care: Gentle wash suitable for baby clothes.
- Synthetic/Saree: For synthetic fabrics and delicate sarees.
- Air Dry/Spin: Spin-only cycle for faster drying.
- Sábana: Optimized for washing bed linens.
- Amable: Para prendas delicadas.
- Woollen: Specific program for wool items.
Press the 'Program' button repeatedly to cycle through the available wash programs until your desired program is selected.
5.5 Ajuste de la configuración
- Nivel del agua: Press the 'Water Lv' button to manually adjust the water level if not using Smart Select.
- Temperatura: Use the 'Temp' button to select between Cold Water, Hot Water, or Warm Water (if available for the selected program).
- Proceso: Customize wash, rinse, or spin cycles.
5.6 Inicio de un ciclo de lavado
- After selecting the program and adjusting settings, press the 'Start/Pause' button to begin the wash cycle.
- The machine will automatically proceed through the selected stages.
5.7 Add Laundry Function
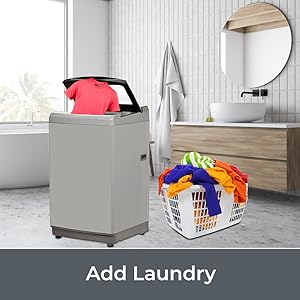
- If you need to add forgotten items during a wash cycle, press the 'Add Laundry' button.
- The machine will pause, and the lid will unlock (if safe to do so).
- Add the items, close the lid, and press 'Start/Pause' to resume the cycle.
5.8 Bloqueo para niños
- To activate Child Lock, press and hold the designated buttons (refer to control panel markings, usually a combination of two buttons) for a few seconds until the indicator lights up.
- This prevents accidental changes to settings or interruption of the cycle by children.
- Para desactivar, repita la misma acción.
5.9 Inicio diferido
- Use the 'Delay' button to set a delayed start time for your wash cycle.
- This allows you to program the machine to start at a later time, for example, tomar ventajatage de tarifas eléctricas fuera de horas punta.
6. Mantenimiento
El mantenimiento regular garantiza un rendimiento óptimo y prolonga la vida útil de su lavadora.
6.1 Limpieza del exterior
- Limpie el exterior con un paño suave y seco.amp paño.
- No utilice limpiadores abrasivos, disolventes ni productos químicos agresivos.
6.2 Limpieza del dispensador de detergente
- Retire el cajón dispensador de detergente y enjuáguelo con agua corriente para eliminar cualquier residuo.
- Limpie la carcasa del dispensador con un cepillo si es necesario.
6.3 Programa de limpieza de tina
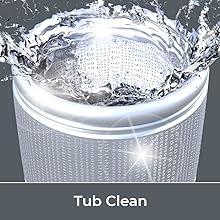
- Regularly use the 'Tub Clean' program to clean the inner drum and prevent mold and odor buildup.
- Follow the instructions for the Tub Clean cycle, which may involve adding a specialized washing machine cleaner.
6.4 Limpieza del filtro de pelusa
- Locate the lint filter (usually inside the drum or near the top rim).
- Remove the filter, clean out any accumulated lint and debris, and rinse it under water.
- Vuelva a insertar el filtro de forma segura.
7. Solución de problemas
Antes de ponerse en contacto con el servicio de atención al cliente, consulte la siguiente tabla para conocer los problemas más comunes y sus soluciones.
| Problema | Posible causa | Solución |
|---|---|---|
| La máquina no arranca | Power cord unplugged; Lid not closed properly; 'Start/Pause' not pressed; Child Lock active. | Check power connection; Ensure lid is fully closed; Press 'Start/Pause'; Deactivate Child Lock. |
| El agua no se llena | Water taps closed; Water inlet hoses kinked or blocked; Water pressure too low. | Open water taps; Straighten hoses; Check water supply pressure. |
| El agua no drena | Manguera de drenaje doblada o bloqueada; filtro de drenaje obstruido. | Enderece la manguera de drenaje; limpie el filtro de drenaje. |
| Vibración / ruido excesivo | Máquina no nivelada; Pernos de envío no retirados; Carga desigual. | Adjust leveling feet; Ensure shipping bolts are removed (if applicable); Redistribute laundry evenly. |
| Malos resultados de lavado | Sobrecarga; Detergente insuficiente; Selección de programa incorrecta. | Reduce load size; Use correct amount of detergent; Select appropriate wash program. |
8. Especificaciones
Technical details for the SHARP ES-T75N-GY washing machine.

| Característica | Detalle |
|---|---|
| Marca | AFILADO |
| Modelo | ES-T75N-GY |
| Capacidad | 7.5 kilogramos |
| Eficiencia energética | Calificación de 5 estrellas |
| Velocidad máxima de rotación | 700 RPM |
| Tipo de instalación | Freestanding |
| Consola de control | Botón pulsador |
| Número de programas de lavado | 10 |
| Ubicación de acceso | Carga superior |
| Volumentage | 230 voltios (CA) |
| Quétage | 580 vatios |
| Material | Stainless Steel (Drum/Pulsator) |
| Peso del artículo | 41.5 kilogramos |
| Dimensiones del producto (LxAnxAl) | 54.2 x 55.2 x 95 centímetros |
| Componentes incluidos | Drain Hose, User Manual, Warranty Card |
9. Garantía y soporte
9.1 Información de garantía
- Garantía completa: 2 años a partir de la fecha de compra.
- Garantía del motor: 10 años a partir de la fecha de compra.
- Conserve el recibo de compra y la tarjeta de garantía para cualquier reclamo de garantía.
9.2 Atención al cliente
For service, technical assistance, or warranty inquiries, please contact SHARP customer support:
- Número gratuito: 1800-419-4322
- Correo electrónico: soporte@sharp-oa.com
- Fabricante: Sharp Business Systems (India) Private Limited.
- DIRECCIÓN: Plot No. 51, First Floor, Okhla Industrial Estate, Phase-III, New Delhi- 110020, India.


