1. Introducción
This manual provides detailed instructions for the VAABZZ D4000 Native 1080P Portable Projector. It covers setup, operation, maintenance, and troubleshooting to ensure optimal performance and longevity of your device. The D4000 projector features native 1920x1080p resolution, 1800 ANSI typical brightness, a 10000:1 contrast ratio, and supports up to a 300-inch display. It includes 2.4G/5G dual-band Wi-Fi and Bluetooth 5.0 for versatile connectivity, along with built-in dual Hi-Fi stereo speakers.
2. Instrucciones de seguridad
Lea atentamente todas las instrucciones de seguridad antes de utilizar el proyector. Conserve este manual para futuras consultas.
- No mire directamente a la lente del proyector cuando la lamp Está encendido. La luz brillante puede causar daño ocular.
- Asegúrese de que haya una ventilación adecuada alrededor del proyector. No bloquee las aberturas de ventilación.
- Utilice únicamente el adaptador de corriente suministrado con el proyector.
- No exponga el proyector a la lluvia, la humedad o temperaturas extremas.
- Evite colocar el proyector sobre superficies inestables.
- No intente abrir ni reparar el proyector usted mismo. Encargue cualquier reparación a personal cualificado.
- Mantenga el proyector alejado del agua y otros líquidos.
3. Contenido del paquete
Verifique que todos los artículos estén presentes en el paquete:
- VAABZZ D4000 Portable Projector
- Cable de alimentación
- Mando a distancia
- Cable HDMI
- Manual de usuario
- Projection Screen (if included)
- Carry Bag (if included)
4. Producto terminadoview
Familiarícese con los componentes y los puertos de conexión del proyector.
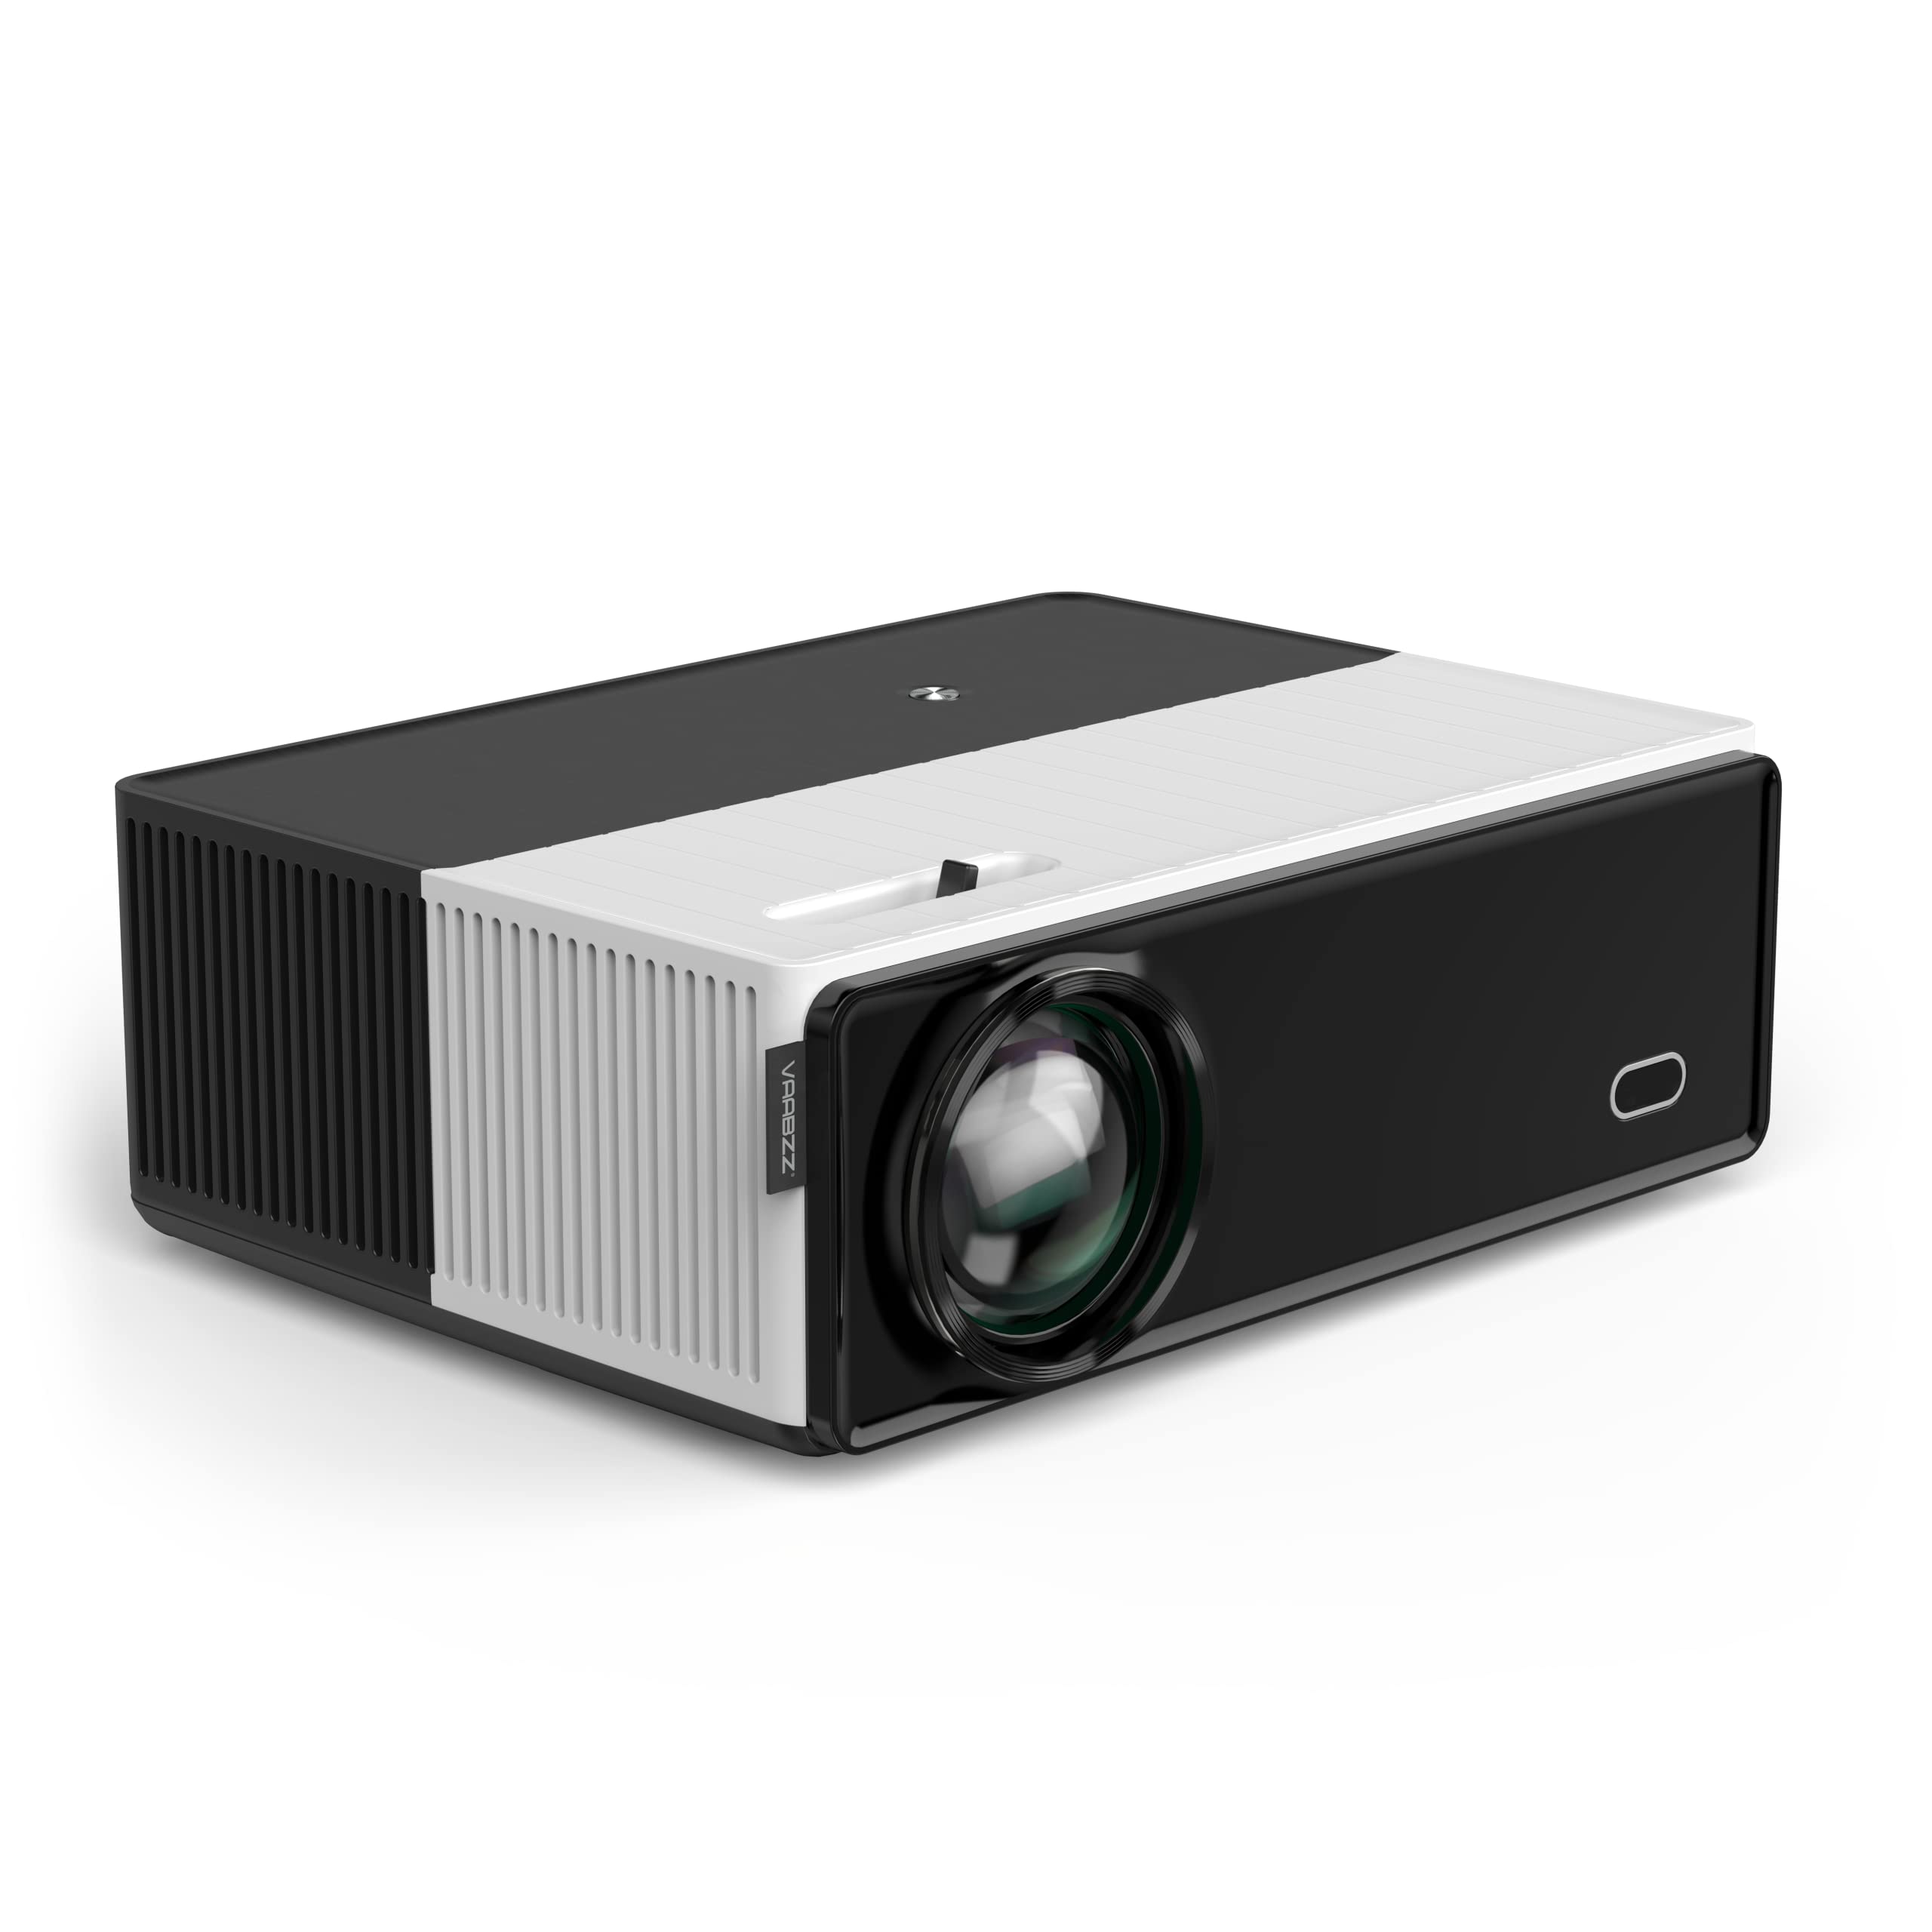
Image showing the front of the VAABZZ D4000 projector, highlighting the lens and ventilation. This view typically includes the main projection lens and possibly an IR receiver for the remote control.
4.1 Panel frontal
- Lente de proyección: Emite la imagen.
- Receptor IR: Recibe señales del mando a distancia.
4.2 Panel superior
- Botones de control: Power, Menu, Navigation (Up/Down/Left/Right), OK/Enter, Back.
- Anillo de enfoque: Ajusta la nitidez de la imagen.
- Corrección trapezoidal: Adjusts image shape (trapezoidal distortion).
4.3 Rear/Side Panels
- Puertos HDMI: Connect to HDMI-enabled devices (laptops, gaming consoles, TV boxes).
- Puertos USB: Conecte unidades USB para reproducción multimedia o dispositivos externos.
- Salida de audio (conector de 3.5 mm): Conecte altavoces externos o auriculares.
- Entrada de energía: Conecte el cable de alimentación.
- Rejillas de ventilación: Asegúrese de que no estén bloqueados para una disipación adecuada del calor.
5. Configuración
5.1 Encendido / Apagado
- Conecte el cable de alimentación a la entrada de alimentación del proyector y luego a una toma de corriente.
- Presione el botón de encendido del proyector o del control remoto para encenderlo.
- To turn off, press the power button again and confirm shutdown if prompted.
5.2 Ubicación del proyector
Place the projector on a stable, flat surface or mount it securely. Ensure the projection path is clear of obstructions. The optimal projection distance varies, but generally, a larger image requires a greater distance from the screen.
5.3 Enfoque y corrección trapezoidal
- Enfocar: Gire el anillo de enfoque cerca de la lente hasta que la imagen proyectada aparezca nítida y clara.
- Corrección trapezoidal: If the image appears trapezoidal (wider at the top or bottom), adjust the keystone correction dial or digital setting (if available in the menu) until the image is rectangular.
5.4 Configuración inicial
Upon first use, you may be guided through an initial setup wizard:
- Selección de idioma: Elija su idioma preferido.
- Configuración de la red: Connect to your Wi-Fi network (see Section 6.2).
6. Funcionamiento del proyector
6.1 Selección de la fuente de entrada
Use the "Source" button on the remote control or the projector's control panel to select the desired input:
- HDMI: For connecting laptops, Blu-ray players, gaming consoles, or TV boxes.
- USB: Para reproducir medios files directamente desde una unidad flash USB.
- Duplicar pantalla: For wirelessly displaying content from your smartphone or tablet.
6.2 Wi-Fi Connection (2.4G/5G Dual-Band)
- Navegue hasta el menú "Configuración" en el proyector.
- Seleccione “Red” o “Configuración de Wi-Fi”.
- Encienda el Wi-Fi y seleccione la red deseada de la lista.
- Introduzca la contraseña de Wi-Fi utilizando el teclado en pantalla.
- The projector supports both 2.4GHz and 5GHz networks. Choose the 5GHz network for faster, more stable connections if available.
6.3 Conexión Bluetooth (Bluetooth 5.0)
Connect external Bluetooth speakers for enhanced audio output.
- Asegúrese de que su altavoz Bluetooth esté en modo de emparejamiento.
- On the projector, go to "Settings" and select "Bluetooth".
- Active Bluetooth y busque los dispositivos disponibles.
- Seleccione su altavoz Bluetooth de la lista para emparejarlo.
6.4 Screen Mirroring / AirPlay
The projector supports wireless screen mirroring from compatible smartphones and tablets.
- Select the "Screen Mirroring" or "AirPlay" option from the projector's main menu.
- Follow the on-screen instructions to connect your iOS or Android device. This typically involves connecting your device to the same Wi-Fi network as the projector and then initiating screen mirroring from your device's settings.
6.5 salida de audio
The projector has built-in dual Hi-Fi stereo speakers with SRS audio. For external audio, use the 3.5mm audio out jack or connect via Bluetooth (Section 6.3).
7. Mantenimiento
7.1 Limpieza del proyector
- Lente: Utilice un paño suave y sin pelusa, especialmente diseñado para lentes ópticas. No utilice limpiadores abrasivos.
- Casing: Limpie el proyector casing con un paño suave y seco. Para la suciedad difícil, utilice un paño ligeramente seco.amp paño y luego secar bien.
- Rejillas de ventilación: Periodically clean the vents with a soft brush or compressed air to prevent dust buildup, which can affect cooling performance.
7.2 Almacenamiento
When not in use for extended periods, store the projector in a cool, dry place, away from direct sunlight and extreme temperatures. Use the provided carry bag for protection.
7.3 LEDLamp Vida
The VAABZZ D4000 projector utilizes an LED light source with an estimated lifespan of up to 100,000 hours, significantly reducing the need for lamp reemplazo.
8. Solución de problemas
Si encuentra problemas, consulte los siguientes problemas y soluciones comunes:
| Problema | Posible causa | Solución |
|---|---|---|
| No se proyecta ninguna imagen | Alimentación no conectada, fuente de entrada incorrecta, tapa de lente puesta. | Verifique la conexión de alimentación, seleccione la fuente de entrada correcta y retire la tapa de la lente. |
| La imagen es borrosa | Focus not adjusted, projector too close/far. | Ajuste el anillo de enfoque y reposicione el proyector. |
| La imagen es trapezoidal | Keystone no ajustado. | Ajuste el dial/configuración de corrección trapezoidal. |
| Sin sonido | Volume too low, incorrect audio output selected, external speakers not connected/paired. | Increase volume, check audio settings, ensure Bluetooth speakers are paired or wired speakers are connected. |
| Problemas de conexión Wi-Fi/Bluetooth | Contraseña incorrecta, dispositivo fuera de rango, interferencia. | Re-enter password, move devices closer, restart projector and router/Bluetooth device. |
| El control remoto no funciona | Pilas agotadas, receptor IR bloqueado. | Replace batteries, ensure no obstructions between remote and projector. |
9. Especificaciones
| Característica | Detalle |
|---|---|
| Marca | VAABZZ |
| Serie modelo | D4000 |
| Fabricante | VIVO BRILLANTE |
| Resolución estándar | Nativo 1920 x 1080p |
| Resolución admitida | Hasta 4K |
| Brillo | 1800 ANSI typical brightness |
| Relación de contraste | 10,000:1 |
| Tamaño máximo de pantalla | 300 pulgadas |
| LED Lamp Vida | 100,000 horas |
| Conectividad inalámbrica | Wi-Fi (2.4G/5G Dual-Band), Bluetooth 5.0 |
| Conectividad por cable | HDMI, USB |
| Audio | Built-in Dual Hi-Fi Stereo Speakers, SRS Audio System |
| Factor de forma | Portátil |
| Uso recomendado | Cine en casa |
10. Garantía y soporte
10.1 Información de garantía
The VAABZZ D4000 Projector comes with a 2-year customer service guarantee. This warranty covers manufacturing defects and ensures support for product-related issues during the specified period. Please retain your proof of purchase for warranty claims.
10.2 Atención al cliente
For technical assistance, troubleshooting beyond this manual, or warranty inquiries, please contact VAABZZ customer support. Refer to the contact information provided on the product packaging or the official VAABZZ websitio.
Soporte en línea: Visit the official VAABZZ webSitio para preguntas frecuentes, manuales actualizados y detalles de contacto de soporte.
Soporte por correo electrónico: Referirse a websitio
Soporte telefónico: Referirse a websitio