1. Introducción
This user manual provides comprehensive instructions for the installation, operation, and maintenance of your HDWR videoCAR-L300 Dash Cam. Please read this manual thoroughly before using the device to ensure proper functionality and to maximize its lifespan. Keep this manual for future reference.
2. Producto terminadoview
The HDWR videoCAR-L300 is a versatile dash camera designed to enhance your driving safety and record your journeys. It functions as both a front and rear recording device, integrated into a rearview mirror with a touchscreen display.
Características principales:
- Grabación de vídeo Full HD: The front camera records in Full HD (1920x1080) resolution, providing clear and detailed video footage.
- Funcionalidad de la cámara trasera: The rear camera offers VGA (640x480) recording resolution and can also serve as a reverse camera for parking assistance.
- Integrated 4.7-inch Touchscreen Display: The wide mirror, approximately 30 cm, features a built-in 4.7-inch touchscreen for easy operation and increased rear visibility.
- Lente gran angular de 120 grados: The front camera's lens offers a 120-degree viewing angle, capturing a broad area in front of your vehicle.
- Operación automática: Features include automatic camera start and stop, motion detection, and adjustable sensitivity.
- G-Sensor for Impact Detection: Automatically protects recordings from being overwritten in the event of sudden braking or a collision.
- Soporte de tarjeta MicroSD: Supports microSD memory cards up to 32GB for storing recorded video and audio files.

Figura 2.1: Frente view of the HDWR videoCAR-L300 Dash Cam, showing the mirror display with a car image.
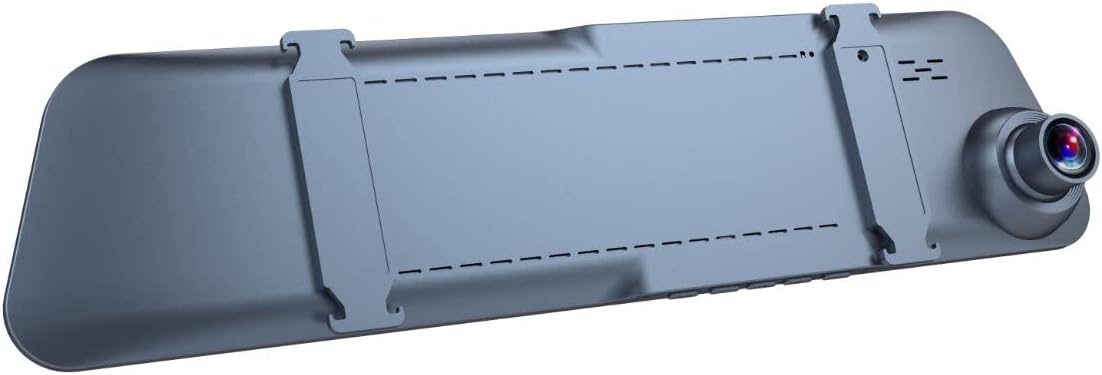
Figura 2.2: Posterior view of the HDWR videoCAR-L300 Dash Cam, highlighting the mounting clips for installation.
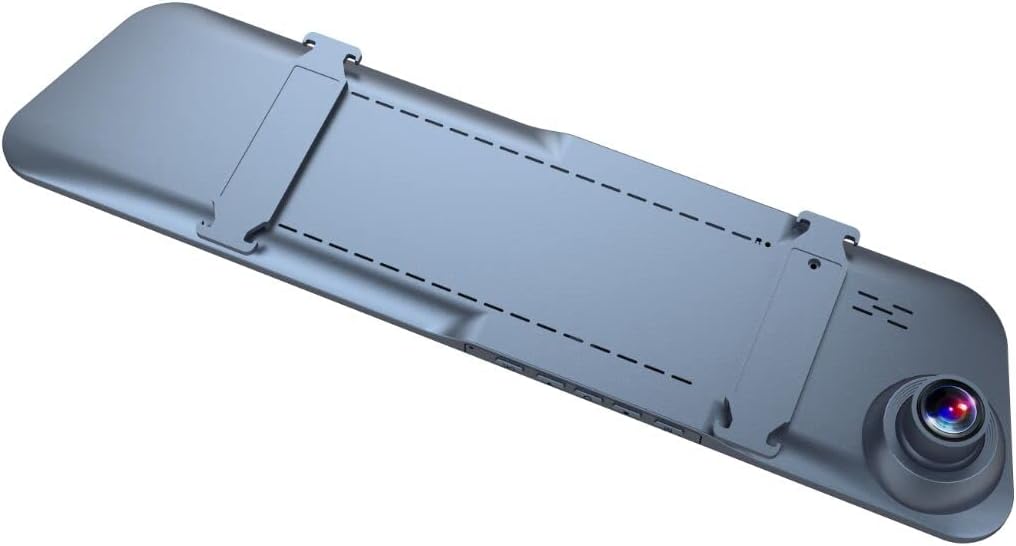
Figura 2.3: Parte trasera en ángulo view of the HDWR videoCAR-L300 Dash Cam, showing the camera lens and mounting clips.

Figura 2.4: Explosión view illustrating the various perspectives of the HDWR videoCAR-L300 Dash Cam.
3. Configuración e instalación
3.1 ¿Qué hay en la caja?
Antes de comenzar la instalación, asegúrese de que todos los componentes estén presentes:
- HDWR videoCAR-L300 Dash Cam Unit
- Cable de carga
- Herramienta de instalación
- Manual de usuario (este documento)
3.2 Installation Steps (Windshield Mount)
The videoCAR-L300 is designed for windshield mounting, typically over your existing rearview espejo.
- Prepare el dispositivo: Gently unbox the dash cam and ensure the protective film is removed from the screen and lens.
- Montaje: Securely attach the dash cam to your vehicle's rearview mirror using the integrated clips. Ensure it is firmly in place and does not obstruct your view.
- Conecte la electricidad: Use the provided charging cable to connect the dash cam to your vehicle's 12V power outlet (cigarette lighter socket). Route the cable neatly to avoid interference with driving.
- Instalar cámara trasera (opcional): If using the rear camera, connect it to the main unit and route its cable to the rear of the vehicle. Mount the rear camera in a suitable location, typically near the license plate or inside the rear window, ensuring a clear view.
- Insertar tarjeta MicroSD: Insert a compatible microSD card (up to 32GB, not included) into the designated slot on the dash cam. Ensure it is inserted correctly until it clicks into place.
- Encendido inicial: Start your vehicle. The dash cam should automatically power on. If not, press the power button.
- Ajustar ángulo: Adjust the angle of the front camera lens to ensure it captures the road ahead clearly. Use the live view on the touchscreen display for precise alignment.

Figure 3.1: The dash cam installed on the vehicle's rearview mirror, showing its integration into the car's interior.
4. Instrucciones de funcionamiento
4.1 Encendido y apagado
- Operación automática: The device is designed to automatically power on and begin recording when your vehicle's ignition is turned on, and power is supplied. It will automatically power off when the ignition is turned off.
- Operación manual: To manually power on or off, press and hold the power button located on the device.
4.2 Navegación con pantalla táctil
The 4.7-inch touchscreen display allows for intuitive navigation through menus and settings.
- Interfaz principal: Muestra en vivo view from the front and/or rear cameras.
- Acceder a los menús: Tap the screen to reveal menu icons. Swipe left/right or up/down to navigate through options.
- Selección de opciones: Toque un ícono o una opción para seleccionarlo.

Figure 4.1: The dash cam's screen showing a live road view, indicating active recording.
4.3 Modos de grabación
- Grabación en bucle: La cámara para tablero graba video continuamente en segmentos (por ejemplo, 1, 3 o 5 minutos). Cuando la tarjeta de memoria está llena, se guarda la tarjeta desbloqueada más antigua. fileLos s se sobrescriben automáticamente.
- Sensor G (grabación de emergencia): In the event of sudden braking or a collision, the built-in G-Sensor detects the impact and automatically locks the current video segment, preventing it from being overwritten by loop recording.
- Detección de movimiento: When enabled, the camera will automatically start recording if it detects movement in front of the vehicle while parked. This feature requires continuous power supply.
4.4 Reproducción
Para volverview comida grabadatage:
- From the main screen, tap to access the menu.
- Select the "Playback" or "Gallery" option.
- Browse through the recorded video and audio files. bloqueado files (from G-Sensor events) will typically be in a separate folder.
- Toca un file to play it back on the screen.
4.5 Ajuste de la configuración
Acceda al menú de configuración para personalizar varios parámetros:
- Resolución de vídeo: Adjust recording quality (e.g., Full HD, VGA).
- Duración de la grabación en bucle: Set the length of video segments.
- Sensibilidad del sensor G: Ajuste la sensibilidad de la detección de impacto.
- Detección de movimiento: Habilite o deshabilite esta característica.
- Fecha/Hora Stamp: Asegúrese de que la fecha y la hora sean correctas para obtener tiempos de grabación precisos.amps.
- Grabación de audio: Habilitar o deshabilitar la grabación del micrófono.
- Salvapantallas: Set the display to turn off after a period of inactivity to avoid distraction while driving.
5. Mantenimiento
El mantenimiento regular garantiza un rendimiento óptimo y la longevidad de su cámara de tablero.
- Limpieza de la lente: Utilice un paño suave y sin pelusa para limpiar con cuidado las lentes de la cámara. Evite materiales abrasivos o productos químicos fuertes que puedan rayarlas.
- Limpieza de la pantalla: Wipe the touchscreen display with a soft, dry cloth. For stubborn smudges, slightly dampen el paño con agua.
- Mantenimiento de la tarjeta MicroSD: Format the microSD card regularly (e.g., once a month) within the camera's settings to prevent data corruption and ensure smooth recording. Back up any important footage antes de formatear.
- Temperatura: Avoid exposing the device to extreme temperatures (very hot or very cold) for extended periods, as this can affect battery life and component performance.
- Montaje seguro: Verifique periódicamente que la cámara del tablero esté montada de forma segura para evitar que las vibraciones afecten la calidad del video o provoquen la caída del dispositivo.
6. Solución de problemas
If you encounter issues with your HDWR videoCAR-L300, refer to the following common problems and solutions:
| Problema | Posible causa | Solución |
|---|---|---|
| El dispositivo no se enciende. | No power supply; loose cable connection; faulty power adapter. | Check the charging cable connection to the device and the vehicle's power outlet. Ensure the vehicle's ignition is on. Try a different power outlet or cable if available. |
| La grabación se detiene o se congela. | Full or corrupted microSD card; slow microSD card; G-Sensor triggered too often. | Format the microSD card (back up data first). Use a high-speed (Class 10 or U1/U3) microSD card. Adjust G-Sensor sensitivity in settings. |
| Vídeo footage está borrosa o poco clara. | Dirty lens; protective film still on lens; improper camera angle. | Clean the camera lens with a soft cloth. Remove any protective film. Adjust the camera angle to ensure a clear view del camino. |
| La pantalla no responde. | Fallo temporal del software. | Perform a soft reset by pressing and holding the power button until the device restarts. If unresponsive, disconnect power and reconnect. |
| La cámara trasera no funciona. | Conexión suelta; cable o cámara defectuosos. | Verifique la conexión del cable de la cámara trasera a la unidad principal. Asegúrese de que el cable no esté dañado. |
If the problem persists after trying these solutions, please contact HDWR customer support for further assistance.
7. Especificaciones
| Característica | Detalle |
|---|---|
| Marca | HDWR |
| Nombre del modelo | videoCAR |
| Número de modelo del artículo | L300 |
| Dimensiones del producto | 3.5D x 29.7W x 7H cm; 180 grams |
| Tamaño de pantalla | 4.7 pulgadas |
| Resolución de video (frontal) | Full HD (1920 x 1080p) |
| Resolución de video (trasera) | VGA (640x480) |
| Viewángulo de ing | 120 grados |
| Tipo de memoria flash | microSD (hasta 32 GB) |
| Tecnología de conectividad | Auxiliar |
| Características especiales | Motion Sensor, G-Sensor |
| Método de control | Tocar |
| Tipo de montaje | Montaje de parabrisas |
| Pilas incluidas | No |
| Dispositivos compatibles | Teléfono inteligente |
8. Garantía y soporte
For warranty information and technical support, please refer to the official HDWR website or contact their customer service directly. Details regarding warranty periods and service procedures are typically provided with your purchase documentation or on the manufacturer's websitio.
Para obtener más ayuda, visite: www.hdwr.eu


