1. Introducción
This manual provides detailed instructions for the proper installation, operation, and maintenance of your KICKER CompR Subwoofer Enclosure system. Please read this manual thoroughly before use to ensure optimal performance and longevity of your product.
2. Qué incluye
El paquete incluye los siguientes componentes:
- Pair (QTY 2) of Kicker 48VCWR122 CompR 12" 1000 Watt Peak Power 2 Ohm Black Car Audio Subwoofer Enclosures
- 50 feet 16 Gauge Speaker Wire
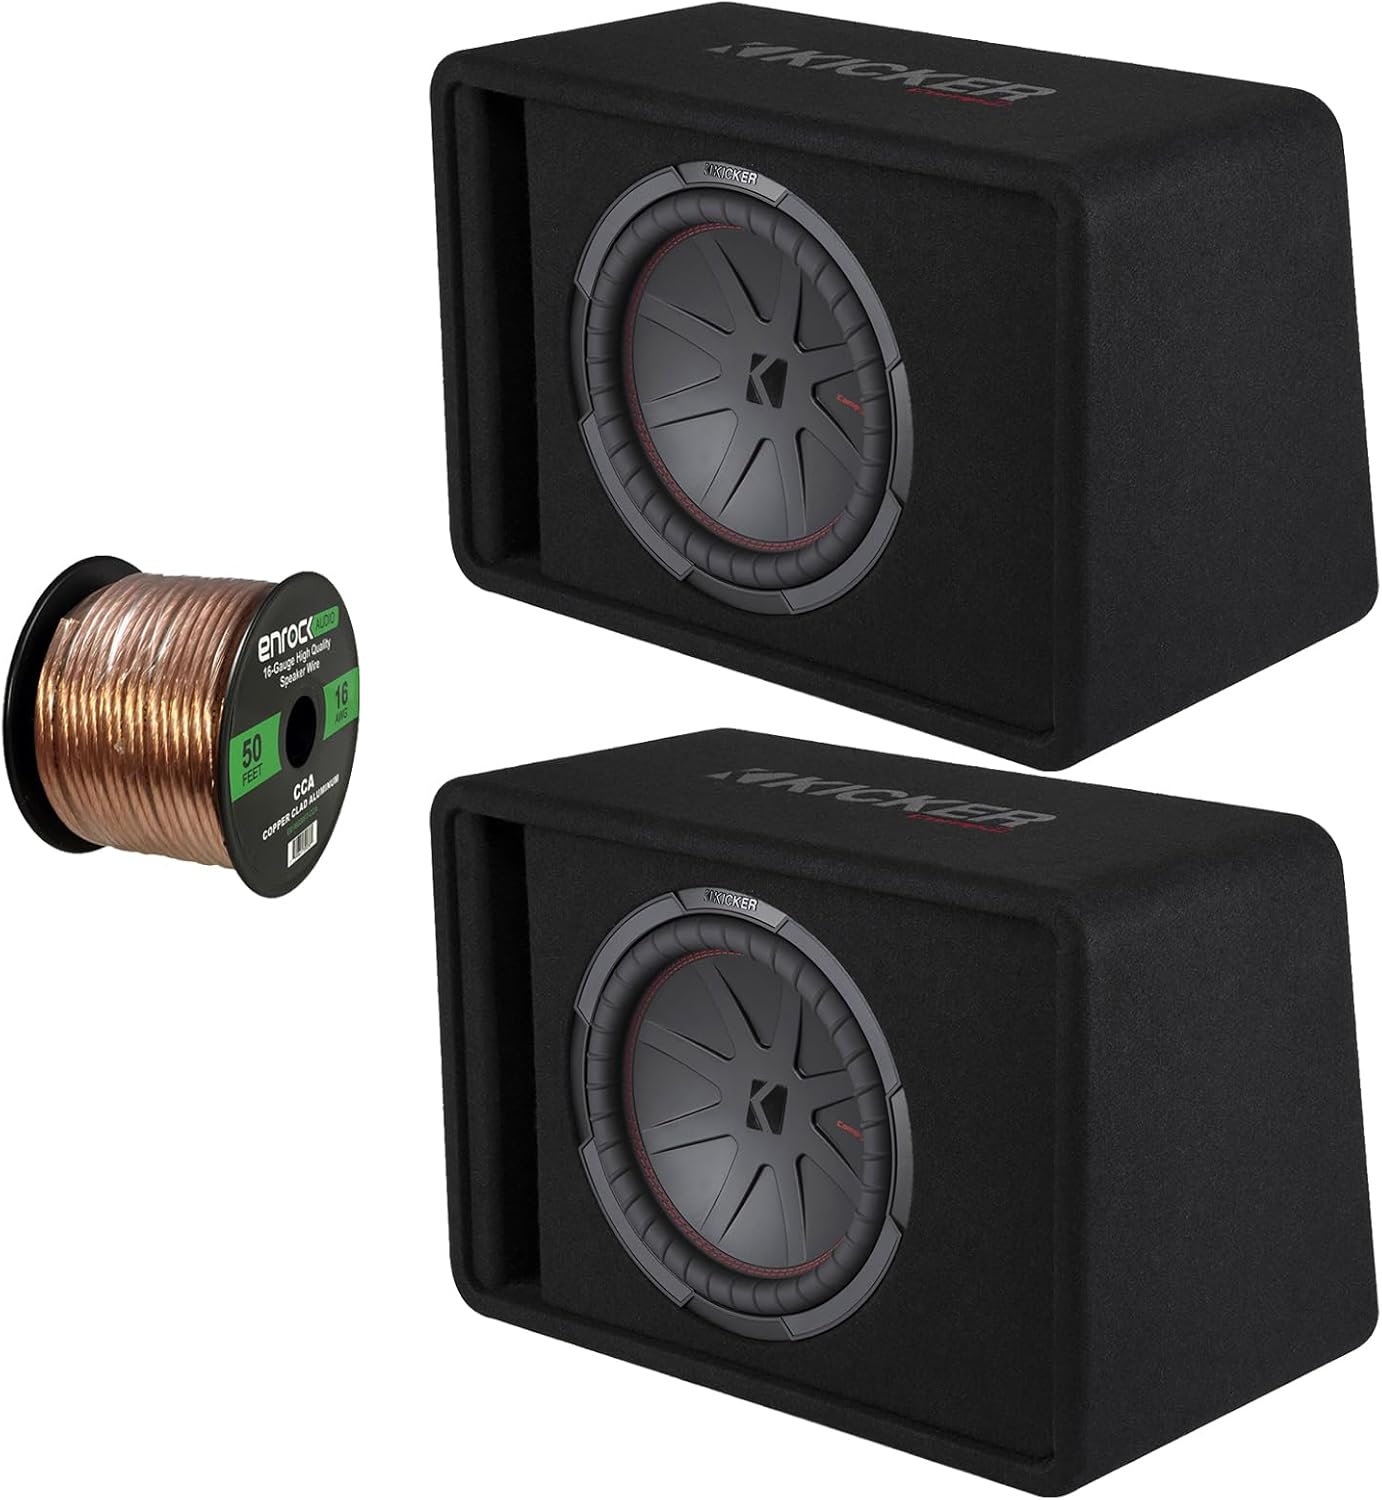
Image: Two Kicker CompR 12-inch subwoofer enclosures (black, rectangular) and a spool of 50 feet of 16-gauge copper-clad aluminum speaker wire. The subwoofers feature a black cone with a red stitched surround and a Kicker logo in the center.
3. Especificaciones
| Característica | Detalle |
|---|---|
| Nombre del modelo | 2-CWR122 |
| Tipo de altavoz | Altavoz de subgraves |
| Tamaño del altavoz | 12 pulgadas |
| Manejo de potencia máxima | 1000 vatios |
| Manejo de potencia RMS | 500 vatios |
| Impedancia | 2 ohmios |
| Frecuencia de sintonización | 36 Hz |
| relación señal/ruido | 90.8 dB |
| Material del cono de woofer | Polipropileno |
| Material envolvente | Santoprene |
| Tecnología de refrigeración | Refrigeración por aire forzado |
| Construcción de recintos | MDF (tablero de fibra de densidad media) |
| Dimensiones del producto | 10"D x 10"W x 10"H (per enclosure) |
| Calibre del cable del altavoz | 16 Calibre |
| Longitud del cable del altavoz | 50 pies |
| Tecnología de conectividad | Cableado |
| Tipo de montaje | Montaje debajo del asiento |
4. Configuración e instalación
4.1 Precauciones de seguridad
- Desconecte siempre la batería del vehículo antes de comenzar cualquier instalación eléctrica.
- Ensure proper ventilation for the subwoofer enclosures to prevent overheating.
- Utilice herramientas adecuadas y use gafas de seguridad durante la instalación.
- If unsure about any step, consult a professional car audio installer.
4.2 Elegir una ubicación de montaje
The KICKER CompR subwoofer enclosures are designed for compact spaces, ideal for under-seat or behind-seat mounting. Consider the following when selecting a location:
- Space Availability: Ensure there is sufficient clearance for the enclosure dimensions (10"D x 10"W x 10"H).
- Montaje seguro: The enclosure must be securely fastened to prevent movement during vehicle operation.
- Enrutamiento de cables: Plan for clean and safe routing of speaker wires to your ampmás duradero.
- Acústica: Experiment with placement if possible to find the best sound performance for your vehicle's interior.
4.3 Instrucciones de cableado
The subwoofer enclosures have a 2 Ohm impedance. Ensure your amplifier is stable at this impedance. The included 16-gauge speaker wire is suitable for connecting the subwoofers to your ampmás duradero.
- Prepare los cables: Cut the 16-gauge speaker wire to the required lengths for each subwoofer. Strip approximately 0.5 inches of insulation from both ends of each wire.
- Connect to Subwoofer: Connect the positive (+) terminal of the speaker wire to the positive terminal on the subwoofer enclosure. Connect the negative (-) terminal of the speaker wire to the negative terminal on the subwoofer enclosure. Ensure a secure connection.
- Conectarse a Ampmás duradero: Route the speaker wires to your amplifier. Connect the positive (+) wire from each subwoofer to the corresponding positive (+) output terminal on your amplifier. Connect the negative (-) wire from each subwoofer to the corresponding negative (-) output terminal on your ampmás duradero.
- Verificar polaridad: Double-check all connections to ensure correct polarity. Incorrect polarity can lead to reduced bass output and poor sound quality.
Nota: For optimal performance, it is recommended to use an amplifier capable of delivering around 500 watts RMS per subwoofer at 2 Ohms.
5. Instrucciones de funcionamiento
Once the KICKER CompR subwoofer enclosures are properly installed and connected to an amplificador, siga estos pasos para su funcionamiento:
- Encendido: Turn on your car audio system and the connected ampmás duradero.
- Configuración de ganancia inicial: Empecemos con el amplifier's gain control set to its minimum (lowest) position.
- Adjust Head Unit Volume: Play a familiar piece of music with good bass content. Gradually increase the volume on your head unit (car stereo) until it reaches about 75% of its maximum level.
- Ajustar AmpGanancia del amplificador: Slowly increase the gain control on your amplifier until you hear distortion or the bass becomes muddy. Then, back off the gain slightly until the sound is clean and clear. This sets the maximum undistorted output of your ampmás duradero.
- Fine-Tune Bass: Use the bass boost, crossover, and phase controls on your amplifier or head unit to fine-tune the bass response to your preference.
- Escuche la distorsión: Always listen for signs of distortion (e.g., crackling, buzzing, muddy bass). If distortion is heard, reduce the volume or amplifier gain immediately to prevent damage to the subwoofers.
Importante: Avoid prolonged operation at high volumes with audible distortion, as this can cause permanent damage to the subwoofers.
6. Mantenimiento
The KICKER CompR subwoofer enclosures are designed for durability and require minimal maintenance. Follow these guidelines to ensure their longevity:
- Limpieza: Use a soft, dry cloth to wipe down the enclosure and subwoofer cone. Avoid using harsh chemicals or abrasive cleaners.
- Inspección: Periodically inspect the speaker wire connections for any signs of corrosion or looseness. Ensure the enclosure is still securely mounted.
- Condiciones ambientales: While the enclosures are robust, avoid exposing them to extreme moisture or direct sunlight for extended periods.
- Ventilación: Ensure that the area around the enclosures allows for proper airflow, especially for the Forced-Air Cooling system, to prevent heat buildup.
7. Solución de problemas
| Problema | Posible causa | Solución |
|---|---|---|
| No hay sonido en los subwoofers |
|
|
| Distorted or Muffled Bass |
|
|
| Salida de graves débil |
|
|
8. Garantía y soporte
KICKER products are designed and engineered to provide years of reliable performance. This product comes with a limited warranty. Please refer to the official KICKER websitio o su documentación de compra para conocer los términos y condiciones específicos de la garantía.
For technical support, troubleshooting assistance, or warranty claims, please contact KICKER customer service or visit their official websitio:
Oficial de KICKER Websitio: www.kicker.com
KICKER Store on Amazon: Visit the KICKER Store
Please have your product model number (2-CWR122) and proof of purchase ready when contacting support.


