Introducción
This manual provides detailed instructions for the assembly, operation, and maintenance of your Linique Queen Size Murphy Bed. Please read this manual thoroughly before assembly and use to ensure safe and correct operation. Keep this manual for future reference.
Información de seguridad
- Asegúrese de que todas las piezas estén presentes y sin daños antes de comenzar el montaje.
- Follow assembly steps precisely. Do not skip steps or modify the product.
- Use appropriate tools as specified.
- Two adults are recommended for assembly and conversion of the bed.
- No exceda la capacidad de peso recomendada para la cama.
- Keep children and pets away from the unit during assembly and conversion.
- Ensure the bed is securely locked in the cabinet position when not in use.
Componentes del producto
Before assembly, verify that all components are included and undamaged. Refer to the included parts list in your packaging for specific item codes. Key features include:
- Convertible Cabinet/Bed Frame
- Integrated Dual Power/USB Module
- Two Removable/Sliding Side Shelves
- Listones de cama y patas de apoyo

Imagen: Overall dimensions of the Linique Queen Size Murphy Bed in its bed configuration. This image illustrates the length, width, and height measurements for both the bed frame and the cabinet structure.
Configuración y montaje
Assembly is required. Please follow the step-by-step instructions provided in the packaging. The general process involves:
- Desembalaje: Retire con cuidado todos los componentes del embalaje. Colóquelos sobre una superficie limpia y suave para evitar rayones.
- Conjunto de marco: Assemble the main cabinet structure according to the diagrams. Ensure all screws and fasteners are tightened securely.
- Integración del marco de la cama: Attach the foldable bed frame to the cabinet mechanism. Pay close attention to hinge and locking mechanism installation.
- Legs and Slats: Install the support legs and bed slats onto the bed frame.
- USB Module Installation: Connect the integrated USB power module as instructed.
- Estantes: Install the removable sliding shelves on each side.
- Comprobación final: Verify that all connections are secure and the bed operates smoothly between cabinet and bed positions.

Imagen: Visual guide demonstrating the six steps to transform the Murphy bed from a compact cabinet to a full bed. This includes opening the cabinet, unfolding the bed frame, and extending the support legs.
Instrucciones de funcionamiento
Conversión de armario a cama
- Asegúrese de que el área frente al gabinete esté libre de obstrucciones.
- Unlatch any locking mechanisms securing the cabinet doors.
- Gently pull the front panel of the cabinet downwards. The bed frame will begin to unfold.
- Continue to lower the bed frame until it is fully extended and the support legs are deployed and locked into position.
- Coloque el colchón sobre el marco de la cama.
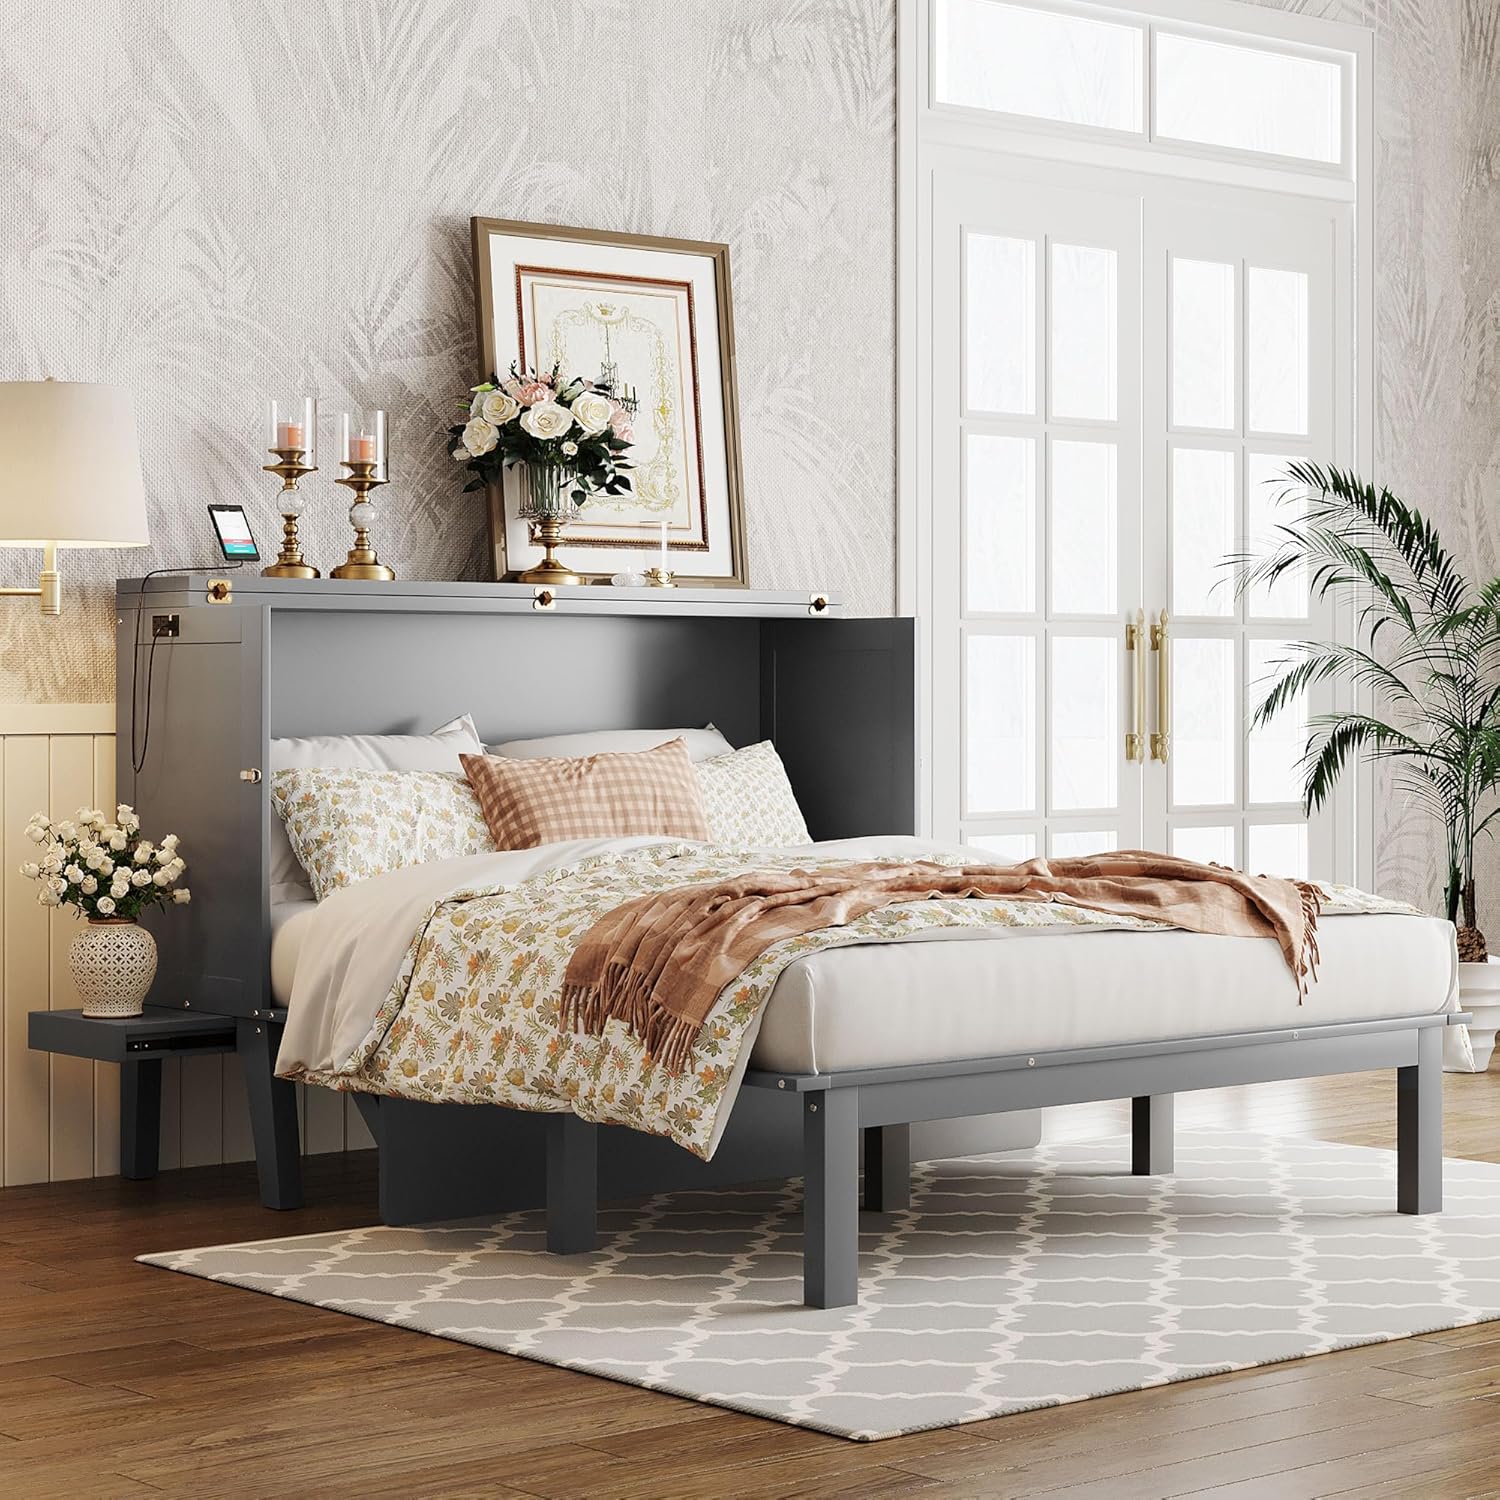
Imagen: The Linique Queen Size Murphy Bed fully extended in its bed configuration, ready for use. It shows the bed frame, mattress, and the cabinet acting as a headboard.
Conversión de cama a armario
- Retire el colchón del marco de la cama.
- Fold the support legs inward.
- Lift the bed frame upwards, guiding it back into the cabinet enclosure.
- Ensure the bed frame is fully retracted and the cabinet doors are closed and latched securely.

Imagen: The Linique Queen Size Murphy Bed in its compact cabinet configuration, showcasing its space-saving design. The bed is folded away, and the unit appears as a stylish cabinet.
Using the USB Port and Removable Shelves
- Módulo USB: The built-in dual power/USB module is located on the side of the cabinet. Plug the unit into a standard wall outlet to activate the power and USB charging ports.
- Estantes extraíbles: The shelves beside the headboard can be slid in and out smoothly. Use them to hold small items like phones, lamps, or decor. To remove, slide them fully out until they detach from the runners.

Imagen: Un lado detallado view of the Murphy bed cabinet, highlighting the integrated USB charging port and the pull-out sliding shelf. This demonstrates the convenient features for bedside use.
Mantenimiento
- Limpieza: Limpie las superficies de madera con un paño suave.amp paño. Evite productos químicos agresivos o limpiadores abrasivos.
- Comprobación del hardware: Periodically inspect all screws, bolts, and hinges to ensure they are tight. Tighten any loose hardware to maintain stability and safety.
- Cuidado del mecanismo: Keep the folding mechanism and sliding shelf runners free of dust and debris. Lubricate moving parts with a silicone-based spray if operation becomes stiff.
- Puerto USB: Ensure the USB module is unplugged from the wall before cleaning. Do not expose the module to liquids.
Solución de problemas
- Bed difficult to convert: Check for obstructions around the folding mechanism. Ensure all hinges are clean and properly aligned. Lubricate if necessary.
- USB port not working: Verify that the power cord for the USB module is securely plugged into a functional wall outlet. Check for any tripped circuit breakers.
- Sliding shelves stick: Clean the runners to remove any dust or debris. Apply a small amount of silicone lubricant to the runners.
- La cama se siente inestable: Ensure all assembly hardware is tightened. Check that the support legs are fully extended and locked when the bed is in use.
Presupuesto
| Característica | Detalle |
|---|---|
| Modelo | Cama plegable tamaño queen |
| Marca | linique |
| Color | Gris |
| Material | Madera |
| Dimensiones del producto (cama) | 80.3" de largo x 61" de ancho x 45.9" de alto |
| Dimensiones del producto (gabinete) | 23.2"L x 54.7"W x 45.2"H (approximate, based on feature bullets) |
| Tamaño de colchón compatible | Queen (Colchón no incluido) |
| Característica especial | Convertible, Built-in USB Port, Removable Shelves |
| Requiere ensamblaje | Sí |
| Peso del artículo | 173.2 libras |
Garantía y soporte
Para obtener información sobre la garantía o asistencia técnica, consulte la documentación incluida con su compra o contacte directamente con el vendedor. Conserve el comprobante de compra para cualquier reclamación de garantía.


