1. Introducción
The ThermoPro TP60-3 is a digital wireless indoor/outdoor thermometer and hygrometer designed to monitor temperature and humidity levels in various environments. This device provides accurate readings for both indoor and outdoor conditions, featuring a long wireless range and the ability to connect with multiple remote sensors. It is suitable for use in homes, baby rooms, nurseries, cellars, basements, warehouses, and greenhouses to ensure optimal environmental control.
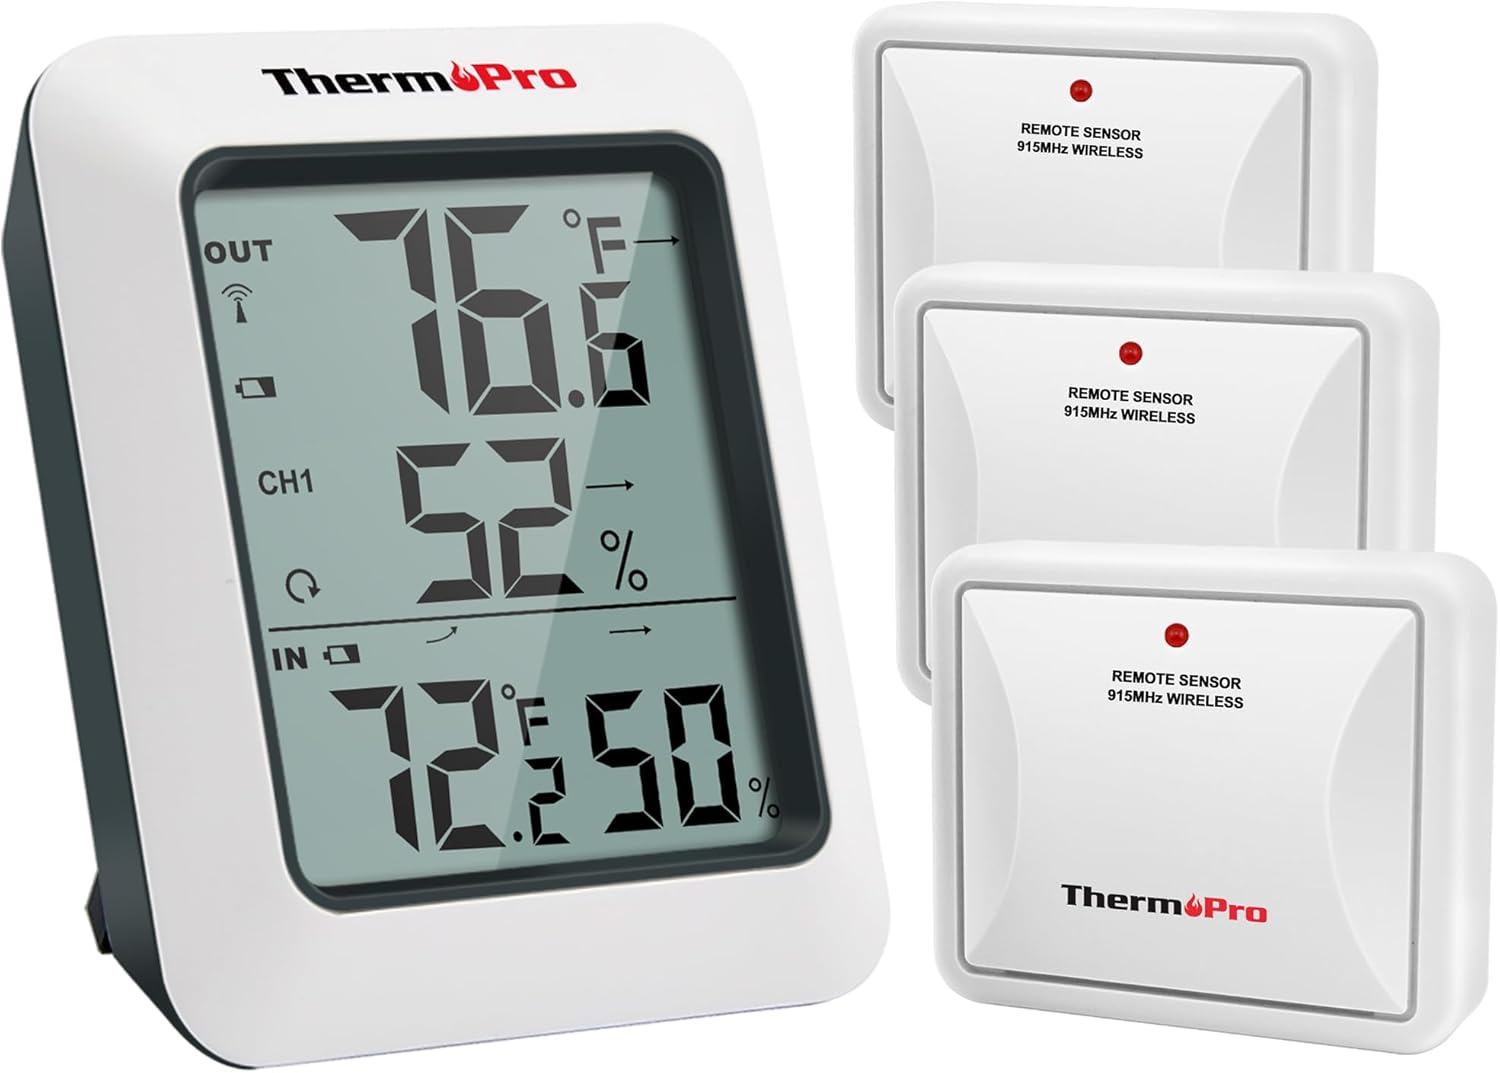
Image: The ThermoPro TP60-3 main display unit and three remote wireless sensors, illustrating the complete product package.
2. ¿Qué hay en la caja?
- 1 x Unidad receptora principal
- 3 x Remote Transmitter Sensors
- 8 pilas AAA
3. Producto terminadoview
3.1 Main Receiver Unit
The main receiver unit features a large, easy-to-read LCD screen that displays indoor and outdoor temperature and humidity percentages. It also shows temperature and humidity trend indicator arrows, and daily high/low information. The unit is designed for tabletop placement with a built-in stand or can be wall-mounted.

Image: Close-up of the main display unit showing outdoor temperature and humidity, channel indicator, and indoor temperature and humidity with trend arrows.
3.2 Remote Transmitter Sensors
The remote sensors transmit temperature and humidity data wirelessly to the main unit. Each sensor is designed for outdoor use and should be placed in a location protected from direct sunlight and rain. The system supports up to three remote sensors, allowing monitoring of different locations simultaneously.

Image: Diagram showing the main unit receiving data from three remote sensors placed in a bedroom, storage room, and garden, highlighting multi-location monitoring.
4. Configuración
4.1 Instalación de la batería
- Open the battery compartment on the back of both the main receiver unit and each remote sensor.
- Insert the provided AAA Batteries, ensuring correct polarity (+/-).
- Cierre los compartimentos de la batería de forma segura.
4.2 Synchronization Process
After installing batteries, the main unit and remote sensors should automatically synchronize. The RF signal icon on the upper left of the main unit's display will flash during synchronization. If connection is lost or batteries are replaced, follow these steps:
- Ensure batteries are correctly installed in both units.
- Press the TX button on the remote sensor(s) to re-establish connection.
4.3 Pautas de colocación
- Unidad principal: Place the main unit indoors on a tabletop using its built-in stand or mount it on a wall.
- Sensores remotos:
- Place sensors in an open area, avoiding wall obstructions.
- Keep sensors away from routers and other electronic devices to prevent high-frequency signal interference.
- Avoid direct sunlight exposure, as this can lead to inaccurate temperature readings.
- Always place sensors upright to prevent rain from entering through vent holes.
- The wireless range is up to 500ft/150m in open areas.

Image: The main unit shown on a tabletop and a remote sensor mounted on an exterior wall, demonstrating flexible placement options.
5. Instrucciones de funcionamiento
5.1 Funciones de visualización
- Temperatura y humedad exterior: Displayed at the top of the screen.
- Indicador de canal: Shows which remote sensor's data is currently displayed (CH1, CH2, CH3).
- Temperatura y humedad interior: Displayed at the bottom of the screen.
- Flechas de tendencia: Indicate whether temperature and humidity are rising, falling, or remaining stable.
- Registros MAX/MIN: Shows the highest and lowest temperature and humidity readings recorded over the last 24 hours or all-time since the last reset.
5.2 Unit Selection (°F/°C)
To switch between Fahrenheit (°F) and Celsius (°C), press the °F/°C button located on the back of the main receiver unit.
5.3 Viewing Registros MAX/MIN
Press the MAX/MIN button on the back of the main unit to cycle through the 24-hour and all-time high and low records for temperature and humidity. To clear the records, press and hold the CLEAR button.
5.4 Selección de canales
If using multiple remote sensors, press the CHANNEL button on the back of the main unit to switch between the different sensor channels (CH1, CH2, CH3) and view their respective outdoor readings.
6. Mantenimiento
- Limpieza: Limpiar con un paño suave, damp Paño. No sumergir en agua.
- Reemplazo de batería: Reemplace las pilas cuando aparezca el indicador de batería baja en la pantalla. Asegúrese de que la polaridad sea correcta.
- Almacenamiento: Si va a almacenar el dispositivo durante un período prolongado, retire las baterías para evitar fugas.
7. Solución de problemas
- Sin pantalla/Batería baja: Verifique la instalación de la batería y reemplácela si es necesario.
- Sin lectura del sensor remoto:
- Ensure remote sensor is within range (500ft/150m).
- Press the TX button on the remote sensor to re-sync.
- Compruebe si hay interferencias de otros dispositivos electrónicos.
- Replace remote sensor batteries.
- Lecturas inexactas:
- Ensure remote sensor is not in direct sunlight or exposed to rain.
- Verify proper placement away from heat sources or vents.
8. Especificaciones
| Marca | ThermoPro |
| Nombre del modelo | TP60S |
| Rango de temperatura interior | -4 °F a 158 °F (-20 °C a 70 °C) |
| Rango de temperatura exterior | -4 °F a 158 °F (-20 °C a 70 °C) |
| Rango de humedad | 10% a 99% |
| alcance inalámbrico | Up to 500ft/150m (in open area) |
| Tecnología de conectividad | Radio Frequency (RF) - ASK 433Mhz |
| Fuente de poder | Funciona con pilas (AAA) |
| Tipo de pantalla | LCD digital |
| Material | Plástico |
9. Garantía y soporte
For warranty information, technical support, or further assistance, please visit the official ThermoPro webSitio web o contacte con su servicio de atención al cliente. Los detalles suelen encontrarse en el empaque del producto o en la información del fabricante. websitio.
Puedes visitar el ThermoPro Store Para más productos e información.