Introducción
Thank you for choosing the RAINPOINT 2-Outlet Water Timer. This digital sprinkler timer is designed to simplify your watering routine, offering precise control over your garden and lawn irrigation. With its dual-zone programming, rain delay, and manual watering options, you can ensure efficient and effective watering while conserving water.
This manual provides detailed instructions for installation, operation, maintenance, and troubleshooting to help you get the most out of your new water timer.
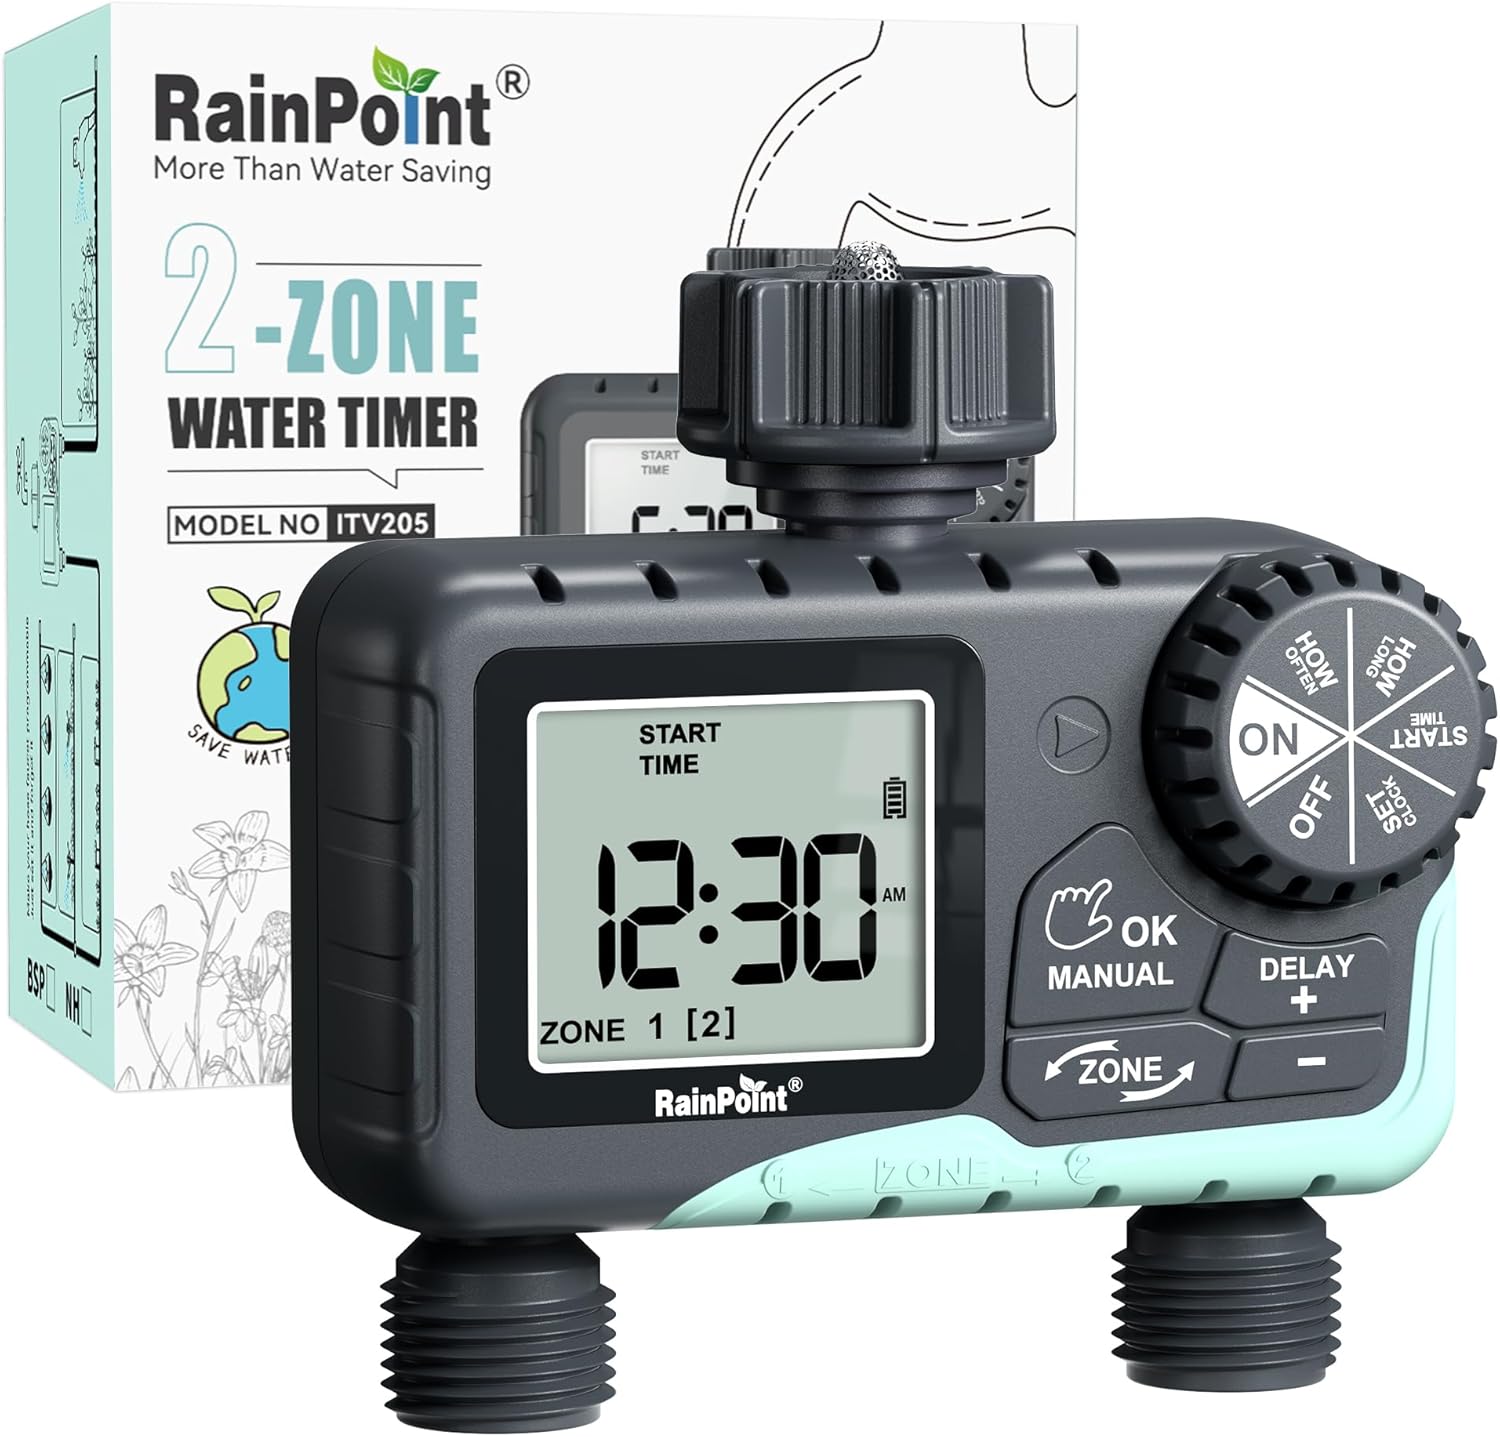
Image: The RAINPOINT 2-Outlet Water Timer, showing the device and its retail packaging. This timer features a digital display and intuitive controls for managing two separate watering zones.
Características principales
- Control de zona dual: Independently program two separate watering zones for customized irrigation.
- Programación flexible: Set start times, watering duration (1 minute to 3 hours 59 minutes), and frequency (hourly to weekly).
- Modo de riego manual: Instantly water for a specified duration (1 minute to 8 hours) for Zone 1, Zone 2, or both.
- Función de retraso por lluvia: Skip watering for 24, 48, or 72 hours to conserve water during rainy periods.
- Gran pantalla LCD: Easy-to-read 2.5-inch screen shows watering time, next irrigation plans, and power status.
- Low Power Auto Shutoff: Alerts when battery is below 5% and automatically closes the valve to prevent water wastage.
- Construcción duradera: Made from IP54 high-impact plastic with a built-in metal filter and 2-generation valve diaphragm for longevity.
- 360° Rotatable Interface: Designed for easy installation and access.

Image: Illustration demonstrating the independent programming capabilities of Zone 1 and Zone 2, allowing for different start times and durations for each watering area.
Contenido del paquete
Verifique el contenido del paquete para asegurarse de que todos los artículos estén presentes:
- 1 x RAINPOINT 2-Outlet Water Timer (Model: G-ITV205NH)
- 1 x Manual de usuario
- (Batteries not included - requires 2 x AA batteries)
Guía de configuración
1. Instalación de la batería
- Localice el compartimento de la batería en la parte posterior del temporizador.
- Deslice la tapa de la batería hacia abajo para abrirla.
- Inserte dos (2) baterías alcalinas AA nuevas, asegurándose de la polaridad correcta (+/-).
- Close the battery cover securely. The added seal ring helps prevent water leaks.
Importante: Replace batteries when the low battery indicator appears on the LCD screen. The valve will automatically close to prevent water wastage when power is critically low.

Image: The water timer display showing a low battery warning, indicating the need for battery replacement to ensure continuous operation.
2. Conexión al grifo
- Asegúrese de que el grifo exterior esté cerrado.
- Screw the timer's top connector (with the 3/4" internal thread and built-in filter) onto your standard outdoor faucet. Hand-tighten only. Do not overtighten.
- The 360° rotatable interface allows for easy positioning of the timer.
3. Conexión de mangueras
- Attach your garden hoses to the two NH3/4" outlet fittings at the bottom of the timer.
- Ensure a tight connection to prevent leaks.

Image: The RAINPOINT 2-Outlet Water Timer installed on an outdoor faucet, with two hoses connected to its independent outlets, demonstrating its dual-zone capability.

Image: A detailed diagram labeling the various parts of the RAINPOINT water timer, including the 3/4" internal thread, 2.5" LCD screen, control dial, buttons, and outlet fittings.
Instrucciones de funcionamiento
The RAINPOINT water timer features a large dial for mode selection and several buttons for setting parameters. The dial has positions for ON, OFF, HOW OFTEN, HOW LONG, START TIME, and SET CLOCK.
1. Puesta en hora del reloj
- Gire el dial a AJUSTAR RELOJ.
- Utilice el + y - Botones para ajustar la hora actual.
- Prensa ACEPTAR/MANUAL to confirm and move to the next setting (e.g., AM/PM).
- Once the time is set, turn the dial to ON para guardar y salir.
2. Programming Watering Schedules (Automatic Mode)
You can program independent schedules for Zone 1 and Zone 2. Use the ZONA button to switch between zones.
a. Establecer hora de inicio
- Gire el dial a HORA DE INICIO.
- Presione el ZONA Botón para seleccionar la Zona 1 o la Zona 2.
- Usar + y - to set the desired start time for the selected zone.
- Prensa ACEPTAR/MANUAL Para confirmar.
b. Set How Long (Watering Duration)
- Gire el dial a CUÁNTO TIEMPO.
- Presione el ZONA Botón para seleccionar la Zona 1 o la Zona 2.
- Usar + y - to set the watering duration (from 1 minute to 3 hours 59 minutes).
- Prensa ACEPTAR/MANUAL Para confirmar.
c. Set How Often (Watering Frequency)
- Gire el dial a CON QUÉ FRECUENCIA.
- Presione el ZONA Botón para seleccionar la Zona 1 o la Zona 2.
- Usar + y - to set the watering frequency (e.g., every 12 hours, every 2 days, etc.).
- Prensa ACEPTAR/MANUAL Para confirmar.
Note: After setting all parameters, turn the dial to ON para activar el horario programado.

Image: The water timer display showing options for setting watering duration (1 min - 3h 59m) and frequency (1 hour - 7 days), illustrating the flexibility of automatic scheduling.
3. Modo de riego manual
Este modo permite un riego temporal e inmediato sin afectar su cronograma programado.
- Ensure the dial is in the ON posición.
- Presione el ACEPTAR/MANUAL button. The display will show "MANUAL".
- Presione el ZONA button to cycle through watering options: Zone 1, Zone 2, or BOTH ZONE.
- Usar + y - to set the desired manual watering duration (from 1 minute to 8 hours).
- Prensa ACEPTAR/MANUAL again to start watering. The timer will count down the duration.
- Para detener el riego manual antes de tiempo, presione ACEPTAR/MANUAL again or turn the dial to APAGADO y luego de vuelta a ON.
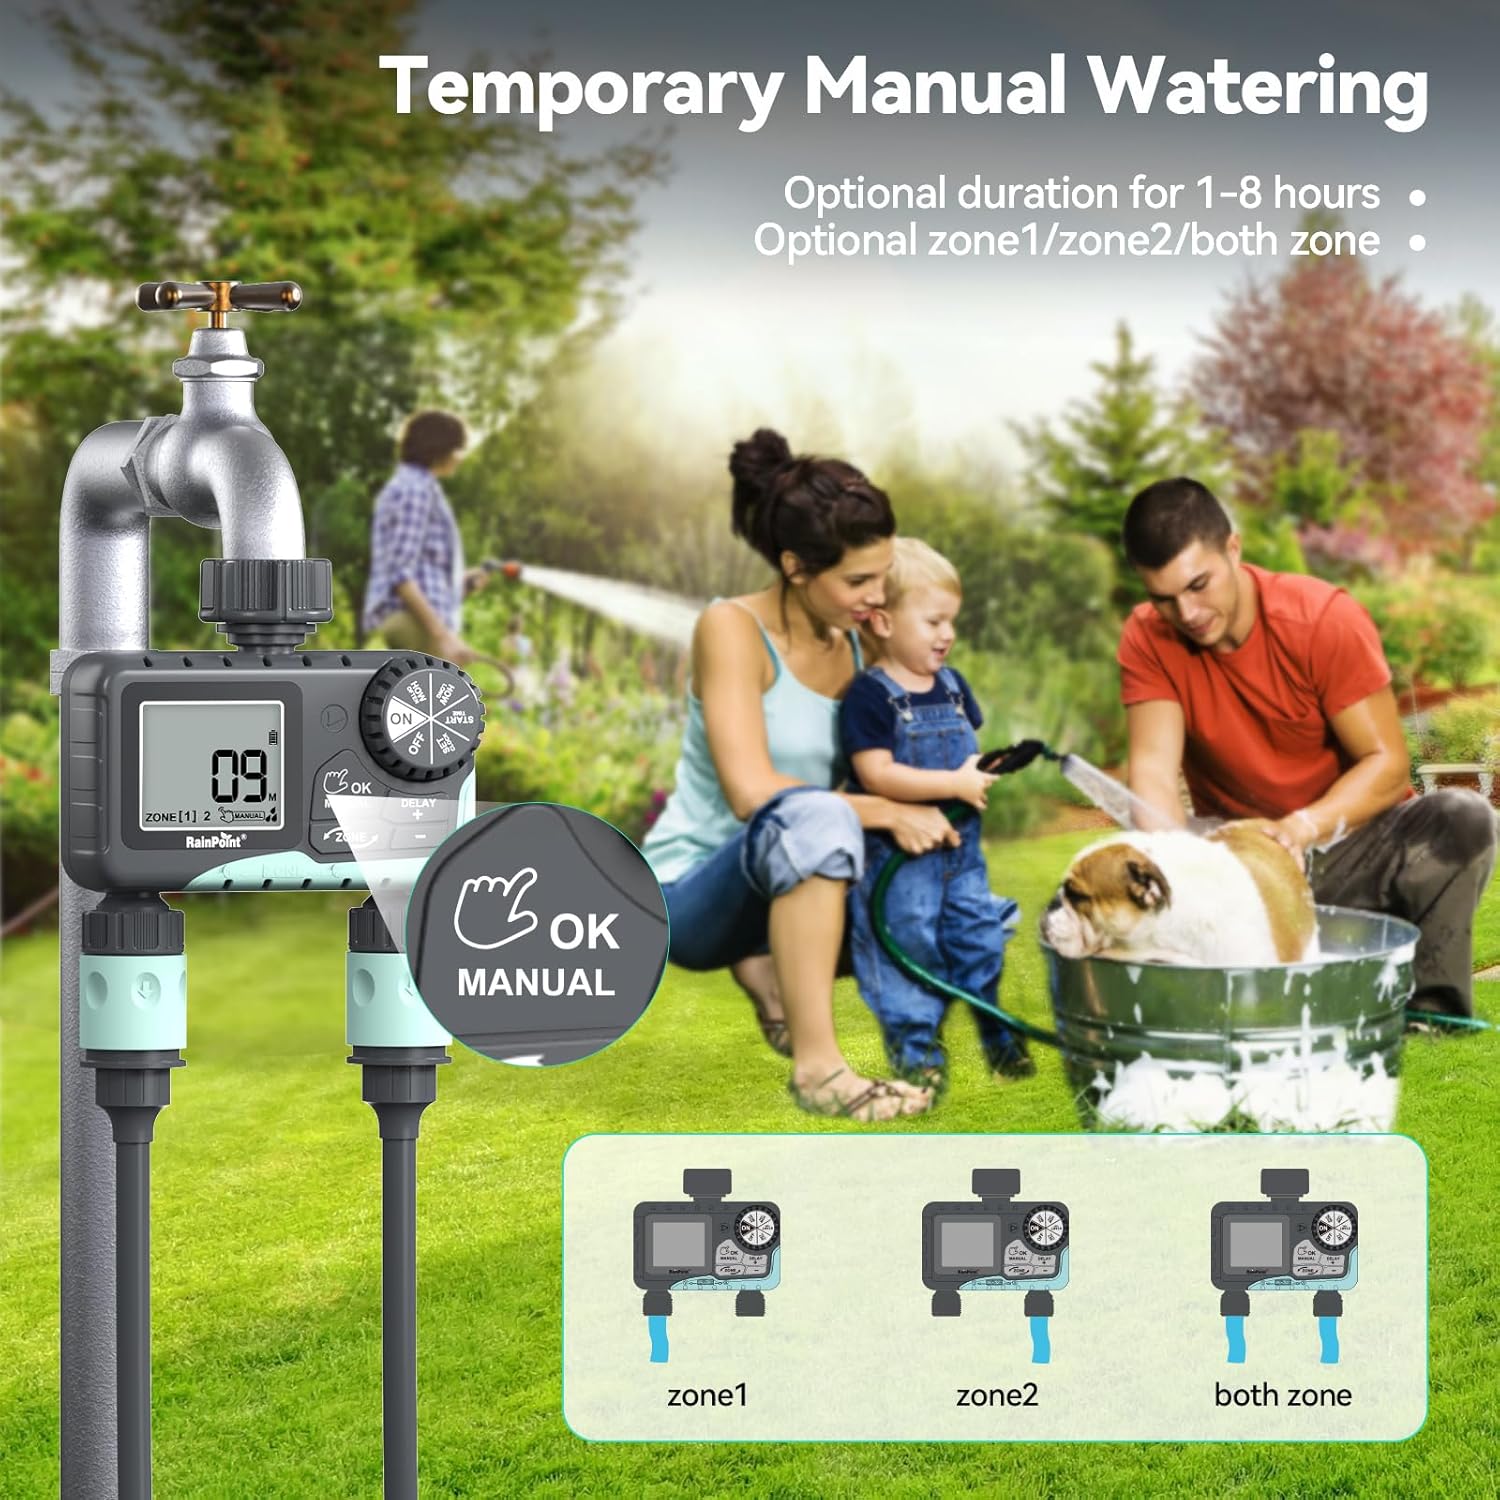
Image: The water timer display showing the manual watering mode, with options to select Zone 1, Zone 2, or both zones for immediate watering, and setting the duration.
4. Función de retraso por lluvia
The rain delay function allows you to pause your watering schedule for a set period, preventing overwatering during rainfall.
- Ensure the dial is in the ON posición.
- Mantenga pulsado el DELAY + button for approximately 3 seconds until "DELAY" appears on the screen.
- Utilice el + y - buttons to select the delay duration: 24 hours, 48 hours, or 72 hours.
- Prensa ACEPTAR/MANUAL to confirm the rain delay. The timer will resume its schedule automatically after the delay period.
- To cancel the rain delay, press and hold the DELAY + de nuevo durante 3 segundos.
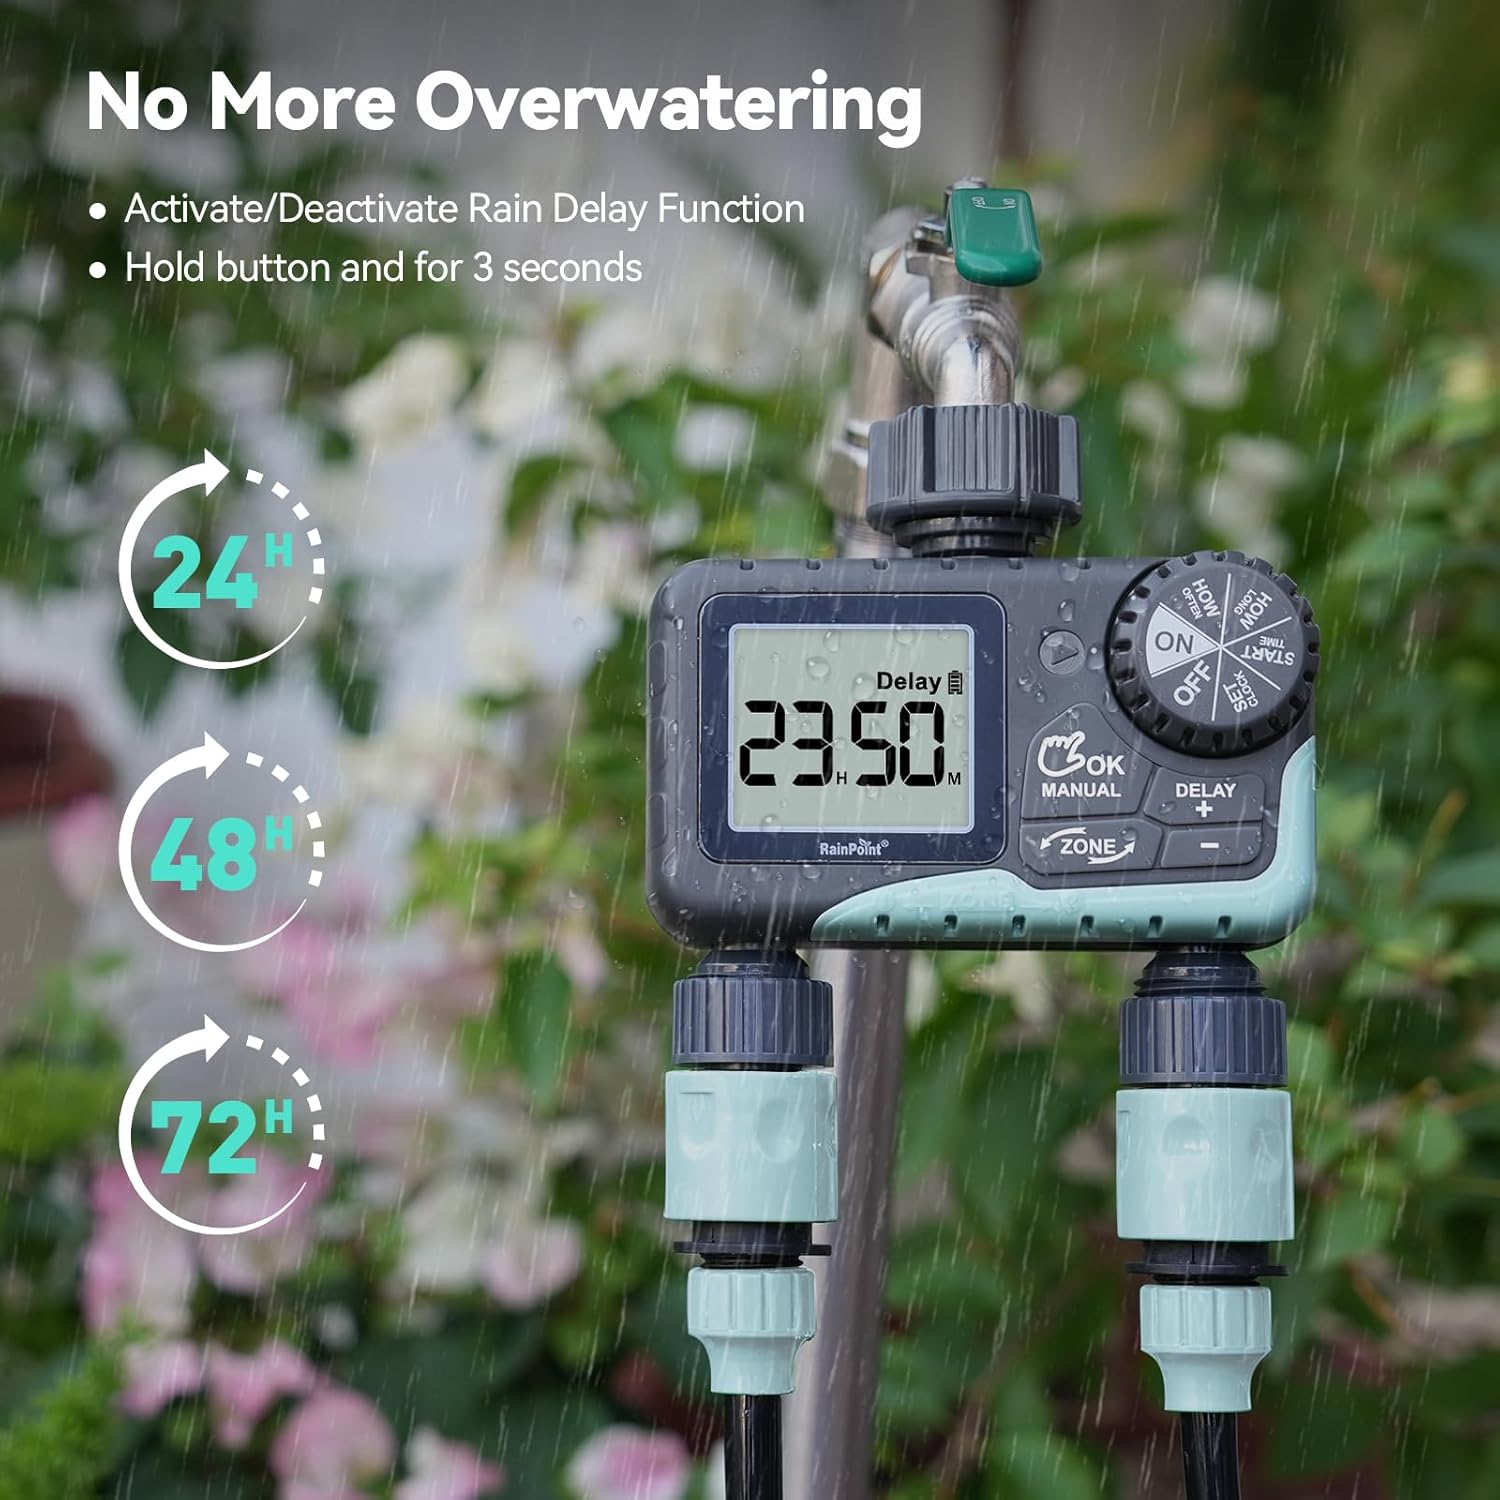
Image: The water timer display showing the rain delay function activated, with options for 24, 48, or 72-hour delays to prevent overwatering during rainy conditions.
5. Apagado del temporizador
Para detener todo el riego y la programación, gire el dial a APAGADO. All active programs will be paused.
Mantenimiento
1. Limpieza del filtro
The timer has a built-in metal filter to prevent debris from entering the unit. Periodically check and clean this filter to ensure optimal water flow and prevent blockages.
- Desenrosque el temporizador del grifo.
- Remove the filter screen from the top connector.
- Enjuague el filtro con agua corriente para eliminar cualquier residuo acumulado.
- Vuelva a insertar el filtro limpio y vuelva a colocar el temporizador en el grifo.
2. Reemplazo de la batería
Reemplace las pilas cuando aparezca el indicador de batería baja en la pantalla LCD. Utilice siempre pilas alcalinas AA nuevas.
- Gire el dial a APAGADO.
- Abra el compartimento de la batería.
- Remove old batteries and insert new ones, observing polarity.
- Cierre bien el compartimento de la batería.
- The timer will retain your programming for a short period during battery replacement.
3. Preparación para el invierno
To prevent damage from freezing temperatures, remove the water timer from the faucet before the first frost.
- Disconnect the timer from the faucet and hoses.
- Retire las pilas.
- Guarde el temporizador en un lugar interior seco y libre de heladas.
Solución de problemas
| Problema | Posible causa | Solución |
|---|---|---|
| El temporizador no se enciende/pantalla en blanco. | Baterías muertas o instaladas incorrectamente. | Reemplace las baterías con baterías alcalinas AA nuevas, asegurándose de la polaridad correcta. |
| No hay flujo de agua. | Faucet is off; timer is in OFF mode; low battery; clogged filter; incorrect programming. | Turn on faucet; turn dial to ON; replace batteries; clean filter; check programming (start time, duration, frequency). |
| Fugas de agua en las conexiones. | Loose connections; worn washers. | Ensure all connections are hand-tight; check and replace rubber washers if damaged. |
| El temporizador no riega a la hora programada. | Incorrect clock setting; incorrect program settings; rain delay active. | Verify current time; re-check start time, duration, and frequency for each zone; check if rain delay is active. |
| La pantalla muestra "BATERÍA BAJA". | Las baterías están bajas. | Replace batteries immediately to prevent valve closure and program loss. |
Presupuesto
| Número de modelo | G-ITV205NH |
| Dimensiones del producto | 5.36" de profundidad x 5.92" de ancho x 5.55" de alto |
| Material | High-impact Plastic, Metal |
| Color | Amoratado |
| Fuente de poder | 2 pilas alcalinas AA (no incluidas) |
| Rango de presión de agua | Up to 35 kg (approx. 500 PSI) |
| Caudal | 5-35 litros por minuto |
| Duración del riego | 1 minutos a 3 horas 59 minutos |
| Frecuencia de riego | Hourly (up to 12 hours) or Daily (up to 7 days) |
| Duración del riego manual | 1 minuto a 8 horas |
| Opciones de retraso por lluvia | 24, 48, 72 horas |
| Clasificación de impermeabilidad | IP54 |
Garantía y soporte
RAINPOINT products are designed for durability and performance. For warranty information and customer support, please refer to the official RAINPOINT websitio o comuníquese directamente con su servicio de atención al cliente.
Para obtener más ayuda, visite: www.rainpointonline.com
Or contact customer support via email: soporte@rainpointonline.com


