1. Introducción
Gracias por la compraasing the Globe Heath Zenith Wireless Door Chime Kit, Model 18000151. This kit provides a convenient and reliable solution for your home's doorbell needs, offering easy installation and wireless operation. Please read this manual thoroughly before installation and use to ensure proper function and longevity of your product.
2. Contenido del paquete
Verifique que todos los componentes estén presentes en su paquete:
- Wireless Door Chime Receiver Unit (1)
- Wireless Push Button Transmitter (1)
- Mounting Hardware (Screws, Anchors, Double-sided Adhesive Tape)
- Manual de usuario (este documento)
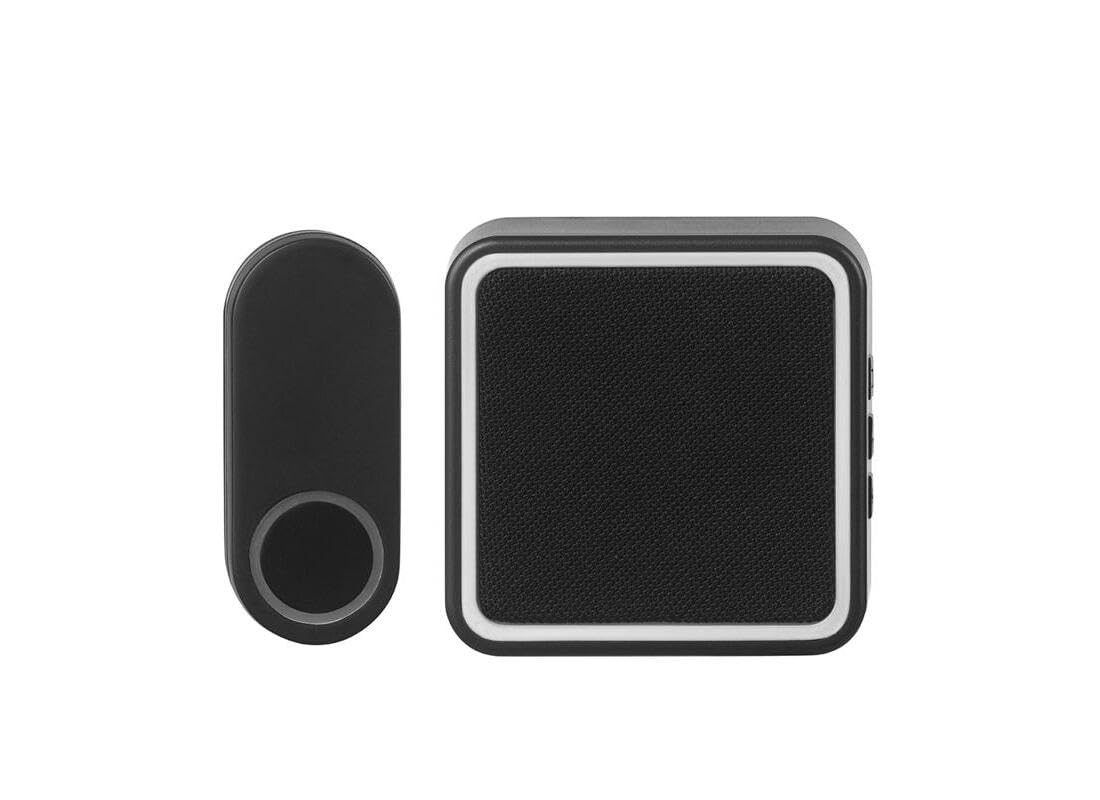
Imagen 1: Másview of the Globe Heath Zenith Wireless Door Chime Kit, featuring the main chime unit and the push button.
3. Información de seguridad
Tenga en cuenta las siguientes precauciones de seguridad para evitar lesiones o daños al producto:
- No exponga las unidades a temperaturas extremas, luz solar directa o humedad.
- No intente abrir ni reparar las unidades usted mismo. Encargue cualquier servicio técnico a personal cualificado.
- Mantenga las pilas fuera del alcance de los niños. Deseche las pilas usadas correctamente, de acuerdo con la normativa local.
- Ensure the mounting surface for the push button is clean and dry before installation.
4. Configuración e instalación
4.1. Installing the Push Button Transmitter
- Seleccionar ubicación: Choose a suitable location near your door, ensuring it is easily accessible to visitors and protected from direct heavy rain if possible.
- Preparar superficie: Clean the mounting surface thoroughly to remove any dust or debris.
- Instale la batería: Abra el pulsador casing (refer to diagram in section 4.3) and insert the required battery (typically a 12V A23 battery, not always included). Ensure correct polarity.
- Opciones de montaje:
- Montaje adhesivo: Peel the backing from the double-sided adhesive tape and firmly press the push button onto the desired surface for at least 30 seconds.
- Tornillo de montaje: Use the provided screws and anchors to securely attach the push button to the wall. Mark the screw holes, drill pilot holes if necessary, and then fasten the unit.
4.2. Installing the Chime Receiver Unit
- Fuente de energía: The chime receiver unit is typically battery-operated (e.g., AA batteries, not always included) or plugs into a standard wall outlet.
- Funciona con pilas: Open the battery compartment on the back of the chime unit and insert the required batteries, observing correct polarity.
- Enchufar: Simply plug the chime unit into an available wall outlet in a central location within your home.
- Colocación: Place or mount the chime unit in a location where it can be easily heard throughout your home. Avoid placing it near large metal objects or other electronic devices that may interfere with the wireless signal.
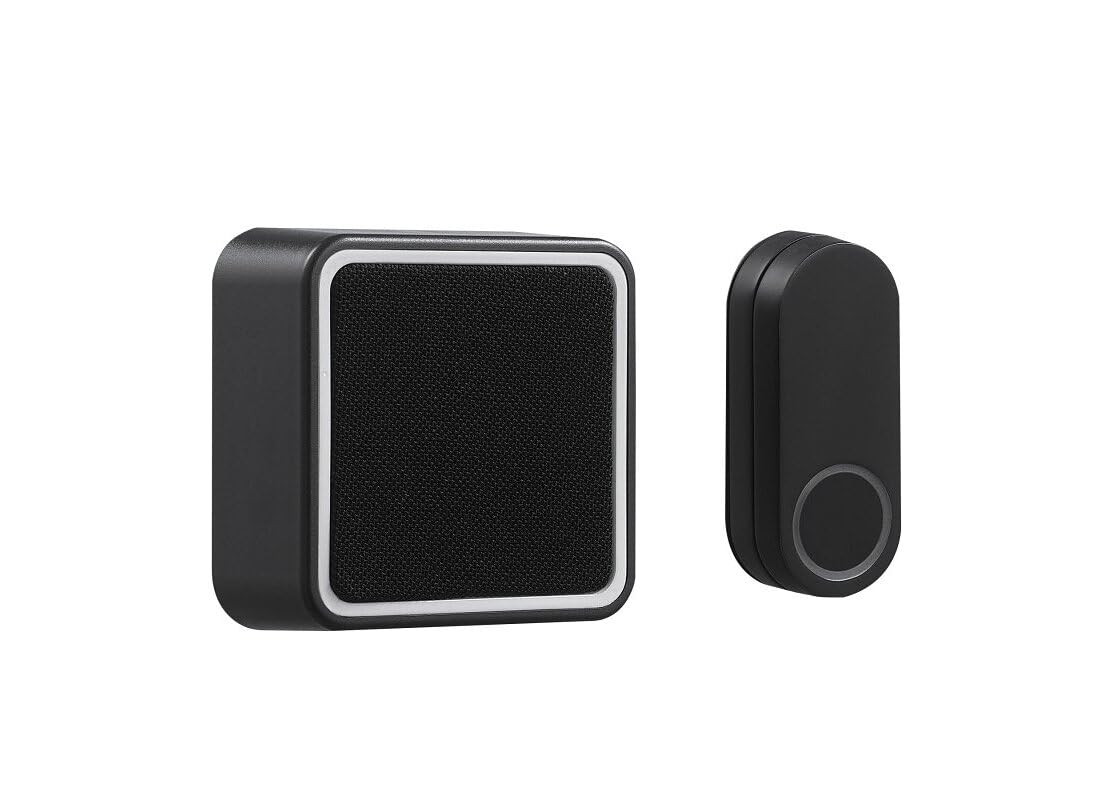
Imagen 2: En ángulo view of the chime unit and push button, illustrating their relative sizes and design.
4.3. Emparejamiento (si corresponde)
Most wireless door chime kits come pre-paired. If your units do not communicate, or if you wish to add additional push buttons/chimes, follow these general pairing instructions:
- Ingrese al modo de emparejamiento: On the chime receiver unit, locate the 'Pairing' or 'Code' button. Press and hold this button for approximately 3-5 seconds until an indicator light flashes or a short tone is heard.
- Activar transmisor: Within 10-20 seconds of the chime entering pairing mode, press the push button on the transmitter. The chime unit should sound, indicating successful pairing.
- Prueba: Press the push button again to confirm the chime sounds. If not, repeat the pairing process.
5. Instrucciones de funcionamiento
5.1. Funcionamiento básico
Once installed and paired, the system operates automatically. When a visitor presses the push button, the transmitter sends a wireless signal to the chime receiver, which then sounds the selected melody.
5.2. Changing Chime Melody (If Available)
If your chime unit supports multiple melodies, there will typically be a 'Melody' or 'Tune' button on the receiver. Press this button repeatedly to cycle through available melodies until you find your preferred one. The chime will play a preview de cada melodía a medida que la seleccionas.
5.3. Adjusting Volume (If Available)
Some chime units feature a volume control button or switch. Locate the 'Volume' button (often depicted with speaker icons) and press it to cycle through different volume levels (e.g., High, Medium, Low, Mute).
6. Mantenimiento
6.1. Reemplazo de la batería
Replace batteries in both the push button transmitter and the chime receiver (if battery-operated) when the chime sounds weak, inconsistently, or stops working entirely. Refer to the battery type specified in the setup section or on the unit itself.
- Presionar el botón: Abra con cuidado la casing, remove the old battery, insert a new one with correct polarity, and close the casing de forma segura.
- Chime Receiver: Open the battery compartment, replace old batteries with new ones, ensuring correct polarity, and close the compartment.
Importante: Always dispose of used batteries responsibly according to local environmental regulations.
6.2. Limpieza
Wipe the exterior of both units with a soft, dry cloth. Do not use abrasive cleaners, solvents, or immerse the units in water.
7. Solución de problemas
| Problema | Posible causa | Solución |
|---|---|---|
| El timbre no suena cuando se presiona el botón. |
|
|
| El timbre suena intermitentemente. |
|
|
| El volumen del timbre es demasiado bajo/alto. | Es necesario ajustar la configuración del volumen. | Adjust volume using the volume button on the chime receiver (Section 5.3). |
8. Especificaciones
- Nombre del modelo: OUTDOOR_RECREATION_PRODUCT (Internal designation, refer to Part Number for specific model)
- Número de pieza: 18000151
- Marca: GLOBO
- Material: Plástico
- Peso del artículo: 6.4 onzas (aprox. 181 gramos)
- Peso del paquete: 236 gramos
- Dimensiones del paquete del artículo (largo x ancho x alto): 3.94 x 3.94 x 3.07 pulgadas
- ASIN: B0CVBKKP4S
- Fabricante: Globo Eléctrico
9. Garantía y soporte
This product comes with a manufacturer's warranty. For specific details regarding warranty coverage, duration, and terms, please refer to the warranty information included with your purchase or visit the official Globe Electric website. For technical support, troubleshooting assistance beyond this manual, or to inquire about replacement parts, please contact Globe Electric customer service directly.
Normalmente, puede encontrar información de contacto en el embalaje del producto o en el sitio web oficial del fabricante. websitio: www.globe-electric.com (exampel enlace, verificar actual websitio).


