1. Introducción
This manual provides detailed instructions for the assembly, operation, and maintenance of your HEMNES Shoe Cabinet with 2 compartments. Designed to help organize your footwear and save floor space, this unit combines functionality with a classic aesthetic. Please read this manual thoroughly before assembly and use to ensure safe and correct operation.

Imagen 1.1: Frente view of the assembled HEMNES Shoe Cabinet in white.
2. Información de seguridad
- Dispositivo antivuelco: For your safety, it is crucial to secure the shoe cabinet to the wall using the anti-tip device provided. This prevents the unit from tipping over, which can cause serious injury.
- Asamblea: Assembly should be performed by at least two adults. Follow all steps in the assembly guide carefully.
- Límites de peso: Do not overload the compartments or the top surface. Refer to the specifications section for weight capacity details (if available in assembly guide).
- Colocación: Place the cabinet on a level surface. Avoid placing in areas with high humidity or direct sunlight to prevent damage to the material.
- Niños: Keep small parts away from children during assembly. Ensure all hardware is securely fastened.
3. Producto terminadoview
The HEMNES Shoe Cabinet is designed for efficient shoe storage in compact spaces. It features two main compartments for shoes and a smaller top drawer for accessories. Its slim profile makes it ideal for entryways, hallways, or mudrooms.
Características principales:
- Two spacious shoe compartments with tilt-out doors.
- One top drawer for small items like keys, wallets, or gloves.
- Slim design to maximize floor space.
- Classic white finish with black knobs.

Image 3.1: The shoe cabinet positioned in an entryway, demonstrating its space-saving design.
4. Configuración y montaje
Assembly of the HEMNES Shoe Cabinet requires careful attention to detail. All necessary hardware is included. It is recommended to have a second person assist with assembly for ease and safety.
Pasos de montaje (orientación general):
- Desembalaje y verificación: Carefully unpack all components and hardware. Compare with the parts list in your separate assembly guide to ensure all pieces are present.
- Ensamblar el marco: Follow the step-by-step diagrams in the assembly guide to construct the main frame of the cabinet. Ensure all screws and fasteners are tightened securely.
- Instalar cajones y compartimentos: Attach the runners for the top drawer and assemble the tilt-out shoe compartments. Insert them into the frame.
- Coloque las perillas: Secure the black knobs to the drawer and compartment fronts.
- Wall Mounting (Crucial Safety Step): Position the assembled cabinet against the wall in your desired location. Use the provided anti-tip hardware to securely fasten the cabinet to a wall stud. If a stud is not available, use appropriate wall anchors for your wall type (e.g., drywall anchors). This step is essential to prevent tipping.
For detailed, visual assembly instructions, please refer to the separate assembly manual included with your product packaging.
Video 4.1: A seller-provided video demonstrating the assembly and functionality of a similar shoe cabinet. This video can offer visual guidance for the assembly process.
5. Instrucciones de funcionamiento
5.1. Shoe Compartments
- Apertura: Gently pull the black knob on the front of the compartment to tilt it open. The compartment will tilt forward, revealing the shoe storage racks.
- Almacenamiento de zapatos: Place shoes on the racks with the toes pointing inwards. The design allows for efficient use of space, accommodating multiple pairs per compartment depending on shoe size and style.
- Cierre: Push the compartment door upwards and inwards until it clicks securely into place.

Image 5.1: Both tilt-out shoe compartments are open, displaying shoes stored on the internal racks.
5.2. Top Drawer
- Apertura: Pull the black knob on the top drawer to slide it open.
- Almacenamiento de artículos: Use this drawer for smaller items such as keys, wallets, sunglasses, or other entryway essentials.
- Cierre: Push the drawer gently until it is fully closed.
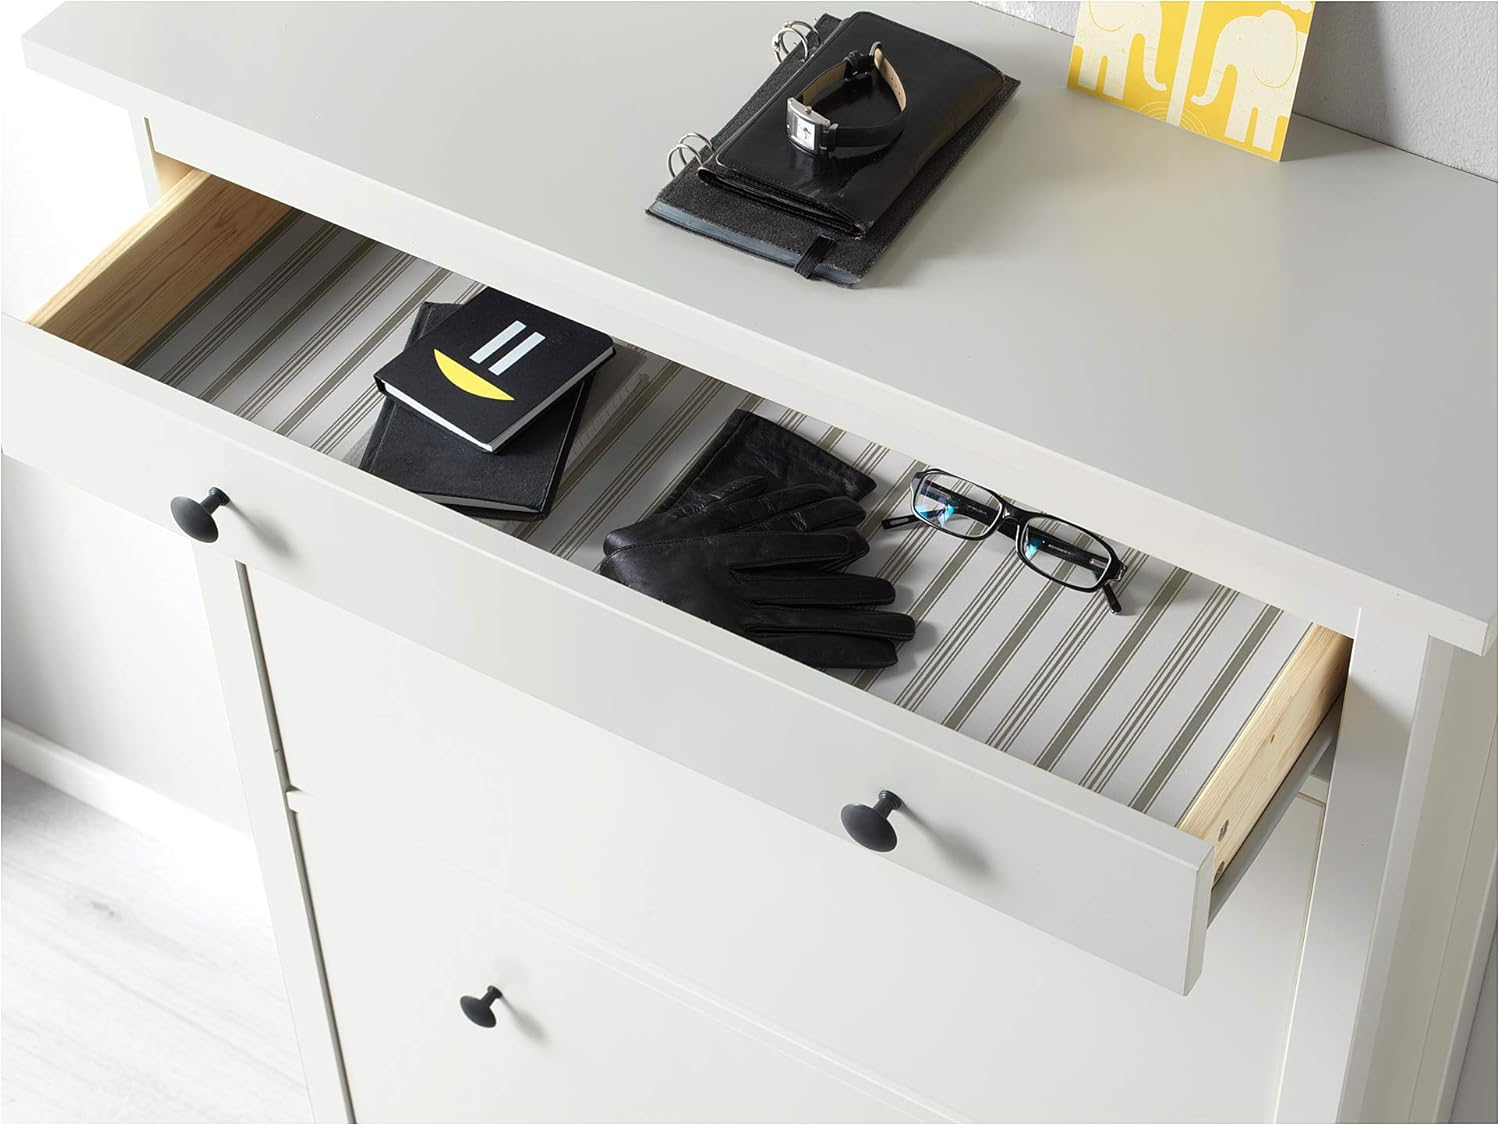
Image 5.2: The top drawer of the shoe cabinet is open, showing space for small accessories.
6. Mantenimiento
- Limpieza: Limpiar con anuncioamp cloth and a mild cleaner. Dry thoroughly with a clean cloth. Avoid abrasive cleaners or harsh chemicals that may damage the finish.
- Limpiar el polvo: Quite el polvo periódicamente de las superficies con un paño suave y seco.
- Comprobación del hardware: Periodically check all assembly fittings and wall attachment hardware. Retighten if necessary to ensure stability and safety.
- Condiciones ambientales: Protect the furniture from direct sunlight and excessive heat or moisture to prevent warping or discoloration.

Imagen 6.1: Primer plano view of the cabinet's top surface and side panel, highlighting the finish.
7. Solución de problemas
- Compartments Not Closing Properly:
- Ensure shoes are not obstructing the closing mechanism.
- Check if the internal racks are correctly positioned.
- Verify that the cabinet itself is level and not warped.
- El gabinete se siente inestable:
- Confirm that the anti-tip device is securely fastened to a wall stud or appropriate wall anchors.
- Revise todos los tornillos de montaje y apriételos si están flojos.
- Ensure the cabinet is placed on a flat, even surface.
- Pegado del cajón:
- Check for any obstructions inside the drawer or on the runners.
- Ensure the drawer runners are properly aligned and lubricated if necessary.
8. Especificaciones
| Atributo | Valor |
|---|---|
| Marca | Hennes |
| Modelo | HEMNES Shoe Cabinet with 2 Compartments |
| Color | Blanco |
| Ancho | 89 cm (35.04 pulgadas) |
| Profundidad | 30 cm (11.81 pulgadas) |
| Altura | 127 cm (50 pulgadas) |
| Free height under furniture | 12 centímetros |
| Width of drawer (inside) | 70 centímetros |
| Depth of drawer (inside) | 24 centímetros |
| Fabricante | ProTuning |
9. Garantía y soporte
For warranty information, please refer to the documentation included with your purchase or contact the retailer directly. For technical support or replacement parts, please reach out to the manufacturer's customer service department.


