Introducción
This manual provides comprehensive instructions for the installation, operation, and maintenance of your DAYBETTER IP65 Waterproof Smart WiFi LED Strip Lights. Please read this guide thoroughly before use to ensure proper functionality and safety. This product is designed for both indoor and outdoor applications, offering versatile lighting options with smart control features.
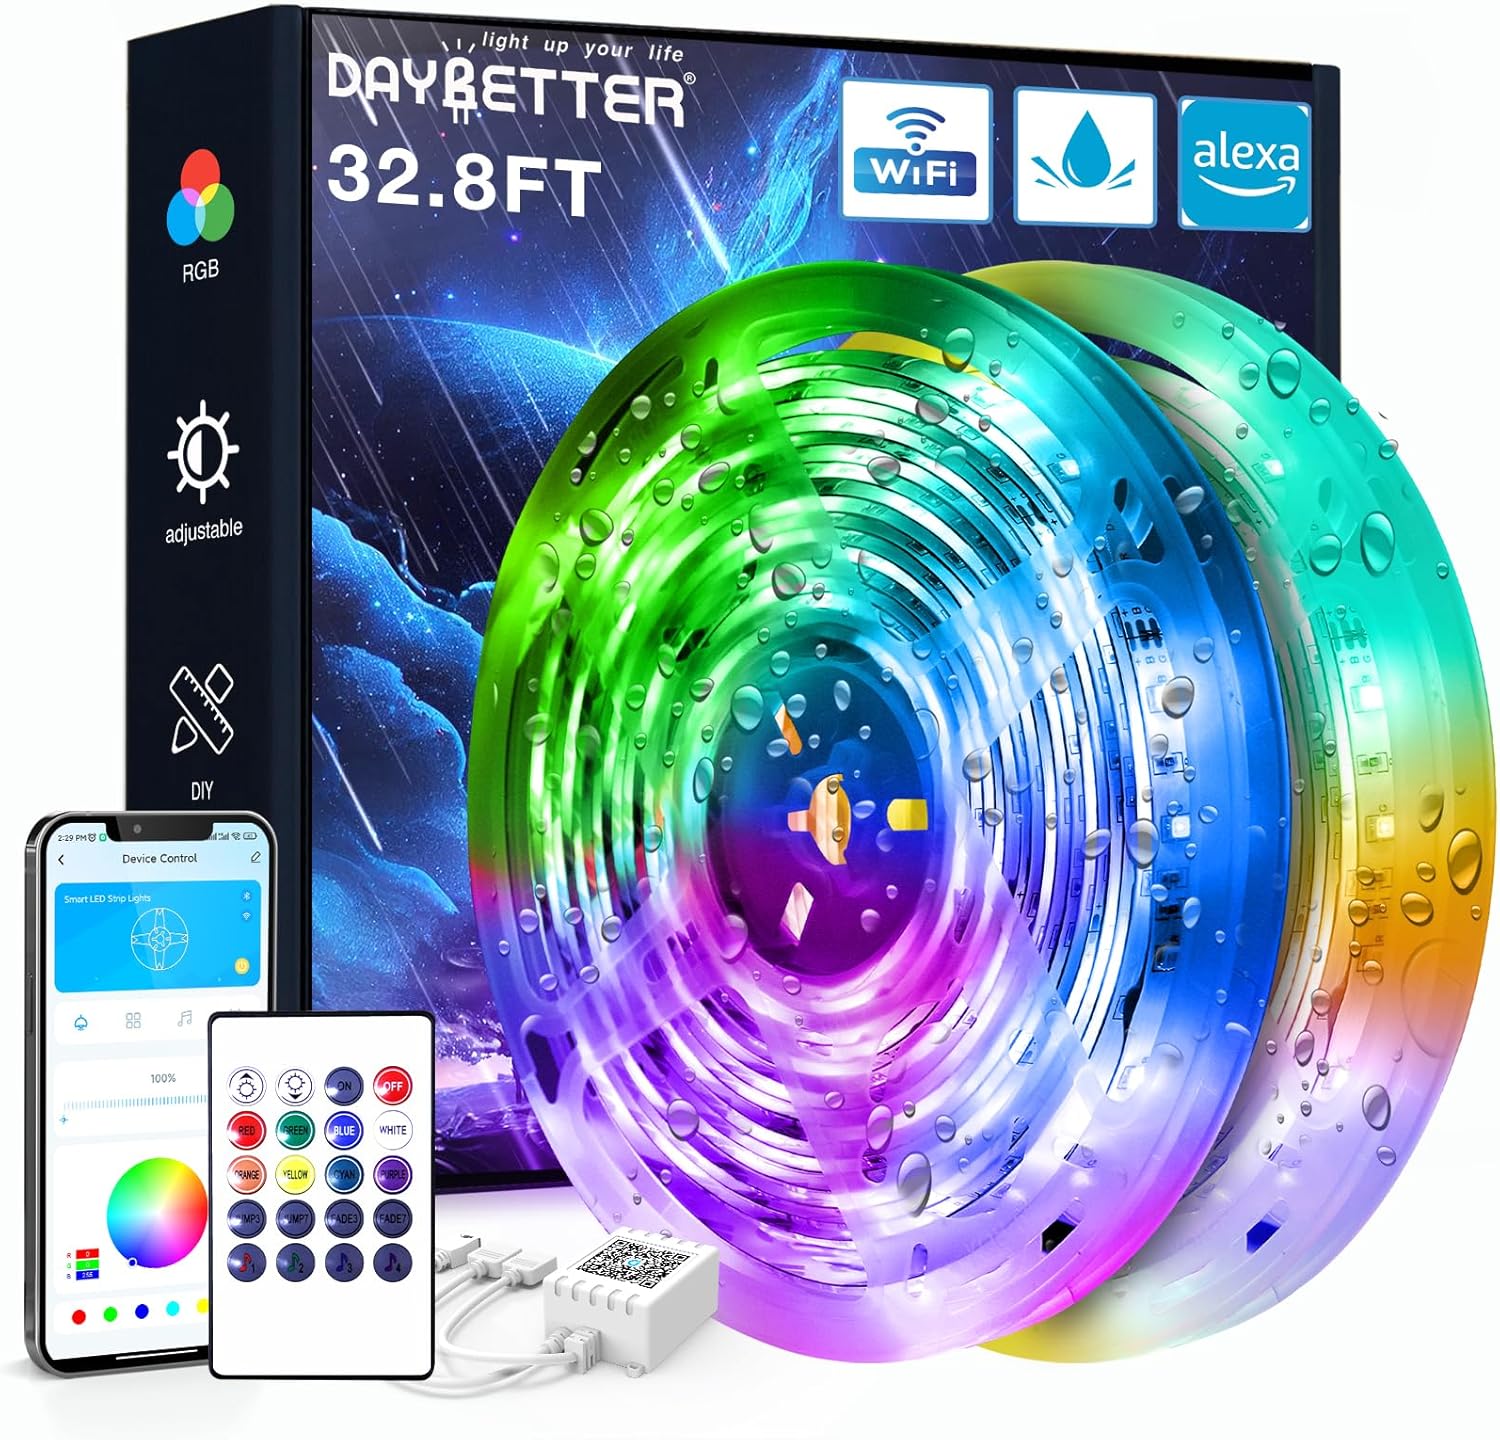
Image: DAYBETTER IP65 Waterproof Smart WiFi LED Strip Lights product packaging and components, including the coiled LED strips, remote control, and power adapter.
Producto terminadoview
Contenido del paquete:
- 1 x LED Light Strip (32.8ft)
- Control remoto 1 x IR
- 1 x adaptador de corriente
- 1 x IR Receiver/Controller
Características principales:
- Clasificación de impermeabilidad IP65: Suitable for use in rainy and humid environments. Note: Not designed for submersion in water.
- Conectividad WiFi inteligente: Control lights via a smartphone application.
- Control de voz: Compatible con Alexa y Google Assistant para operación manos libres.
- Cambio de color (RGB): Offers a wide spectrum of colors for various lighting effects.
- Función de temporizador: Programe horarios de encendido y apagado automático.
- Sincronización musical: Lights can change in rhythm with music.
Información de seguridad
- Asegúrese de que la fuente de alimentación esté desconectada antes de la instalación o el mantenimiento.
- No corte la tira de LED mientras esté conectada a la corriente.
- Avoid bending the LED strip at sharp angles to prevent damage to the circuit.
- The LED strip is IP65 waterproof, meaning it is protected against water jets. It is no designed to be submerged in water.
- Utilice únicamente el adaptador de corriente incluido. Usar un adaptador incompatible podría dañar el producto o suponer un riesgo para la seguridad.
- Keep the IR receiver unobstructed for optimal remote control functionality.
- Deseche las baterías de forma responsable de acuerdo con las regulaciones locales.
Instrucciones de instalación
1. Preparación:
- Unroll the LED strip lights.
- Choose a clean, dry, and smooth surface for installation. Thoroughly clean the surface to ensure optimal adhesive performance.
2. Componentes de conexión:
- Connect the LED strip to the IR receiver. Ensure the arrows on both the strip connector and the IR receiver align correctly. Misalignment will prevent the lights from functioning.
- Connect the power adapter to the IR receiver.
- Enchufe el adaptador de corriente a una toma de corriente adecuada.

Image: Connection diagram for LED strip lights, IR receiver, adapter, and remote. Note the importance of aligning arrows on connectors.
3. Instalación:
- Retire la película protectora de la cinta adhesiva en la parte posterior de la tira de LED.
- Carefully press the LED strip onto the prepared surface, applying firm and even pressure along its length.
- Ensure the IR receiver is placed in a location where it can receive signals from the remote control.

Imagen: Example of DAYBETTER LED strip lights installed on a house exterior, demonstrating outdoor application.
Instrucciones de funcionamiento
1. Operación del control remoto:
Point the IR remote control directly at the IR receiver to operate the lights. The remote allows you to:
- Encender/apagar las luces.
- Ajustar el brillo.
- Select various static colors.
- Choose dynamic lighting modes (e.g., flash, fade, strobe).
2. Smart App Control:
Download the DAYBETTER app (or specified compatible app) from your smartphone's app store. Follow the in-app instructions to connect your LED strip lights to your home WiFi network. The app provides advanced control features:
- Selección precisa de color a partir de una rueda de colores.
- Customizable lighting scenes.
- Configuración de horarios y temporizadores para el funcionamiento automático.
- Music synchronization modes.

Image: Smartphone displaying the DAYBETTER app, demonstrating app control over the LED strip lights.
3. Voice Control (Alexa & Google Assistant):
Once connected to the app, you can link your DAYBETTER lights to Amazon Alexa or Google Assistant. Refer to the app's instructions for linking smart home devices. Once linked, you can use voice commands such as:
- "Alexa, enciende las luces de la sala".
- "Ok Google, configura las luces del dormitorio en azul".
- "Alexa, atenúa las luces exteriores al 50%".

Image: Outdoor setting with people, illustrating voice control functionality with Alexa and Google Assistant.
Mantenimiento
- Limpieza: Gently wipe the LED strip with a soft, dry cloth. For outdoor installations, ensure the power is off and use a damp Si es necesario, lávelo con un paño y séquelo bien. Evite productos químicos agresivos o limpiadores abrasivos.
- Verificación de conexión: Periodically inspect all connections (strip to receiver, receiver to adapter) to ensure they are secure and free from corrosion or damage.
- Longevidad del adhesivo: If the adhesive begins to lose its grip, consider using additional mounting clips or a stronger double-sided adhesive tape suitable for the environment.
- Reemplazo de batería: Replace the remote control battery (Lithium Metal, included) when its range or responsiveness decreases.
Solución de problemas
| Problema | Posible causa | Solución |
|---|---|---|
| Las luces no se encienden. | No power, incorrect connection, faulty component. | Check power outlet. Ensure all connections (strip to receiver, receiver to adapter) are secure and arrows align. Test with another power source if possible. |
| El control remoto no funciona. | Battery depleted, IR receiver obstructed, remote out of range. | Replace remote battery. Ensure direct line of sight to IR receiver. Move closer to the receiver. |
| El control de la aplicación no funciona. | WiFi connectivity issue, incorrect app setup. | Ensure your phone and lights are on the same 2.4GHz WiFi network. Restart the app and the lights. Re-pair the device in the app if necessary. |
| Las luces parpadean o muestran colores incorrectos. | Loose connection, damaged strip, power fluctuation. | Check all physical connections. Ensure the power adapter is providing stable power. If a section of the strip is damaged, it may need replacement. |
| El adhesivo no se pega. | Surface not clean or dry, unsuitable surface material. | Ensure the surface is thoroughly cleaned and dry before application. For porous or uneven surfaces, use additional mounting clips or stronger adhesive. |
Presupuesto
| Característica | Detalle |
|---|---|
| Marca | MEJOR DÍA |
| Número de modelo | TB51325020WV2 |
| ASIN | B0D95R5GCN |
| Longitud | 32.8 pies |
| Clasificación de impermeabilidad | IP65 (Protected against water jets) |
| Tipo de controlador | App Control, Voice Control (Alexa, Google Assistant), IR Remote Control |
| Número de fuentes de luz | 150 |
| Adaptador de corriente | Incluido |
| Batería remota | 1 batería de litio metálico (incluida) |
| Peso del artículo | 0.43 kilogramos (15.2 onzas) |
| Dimensiones del paquete | 6.61 x 6.42 x 1.69 pulgadas |
| Fecha de primera disponibilidad | 10 de julio de 2024 |
Atención al cliente
For further assistance, technical support, or warranty inquiries, please contact DAYBETTER customer service through the retailer's platform or the official DAYBETTER website. When contacting support, please provide your product model number (TB51325020WV2) and a detailed description of the issue.
You can visit the official DAYBETTER store for more information: DAYBETTER Store on Amazon


