1. Introducción
Thank you for choosing the Globo Lighting BOSTON Outdoor Pedestal Light. This manual provides essential information for the safe installation, operation, and maintenance of your new lighting fixture. Please read these instructions carefully before installation and retain them for future reference.

Image 1.1: The BOSTON outdoor pedestal light providing illumination along a pathway.
2. Instrucciones de seguridad
- Seguridad eléctrica: La instalación debe ser realizada por un electricista cualificado, de acuerdo con todos los códigos eléctricos locales y nacionales. Desconecte siempre la alimentación del disyuntor principal antes de realizar cualquier instalación, mantenimiento o sustitución de bombillas.
- Uso en exteriores: This fixture is designed for outdoor use. Ensure all connections are waterproof and sealed appropriately to prevent water ingress.
- Tipo de bombilla: Use only E27 bulbs with the specified wattagmi. No exceda el wat máximotage indicado en el accesorio.
- Manejo: Manipule el dispositivo con cuidado. Evite dejarlo caer o someterlo a impactos fuertes.
- Limpieza: Do not use abrasive cleaners or solvents. Clean with a soft, damp paño.
- Calor: Deje que la bombilla se enfríe completamente antes de intentar reemplazarla.
3. Contenido del paquete
Compruebe que todos los componentes estén presentes y sin daños antes de comenzar la instalación:
- 1x BOSTON Outdoor Pedestal Light Fixture (Model 105701)
- 1 base de montaje.
- 1x Set of Mounting Hardware (screws, anchors)
- 1x Manual de usuario
Note: E27 bulb is not typically included and must be purchased separately.
4. Especificaciones
| Característica | Especificación |
|---|---|
| Número de modelo | 105701 |
| Dimensiones (L x An x Al) | 12.7 x 12.7 x 80 cm |
| Peso | 1.03 kilogramos |
| Material | Acero inoxidable, plástico |
| Número de bombillas | 1 |
| Volumentage | 230 voltios |
| Tipo de enchufe | E27 |
| Fuerza | 1 Watt (Max. for integrated components; refer to fixture for bulb max wattage) |
| Fuente de poder | Cable eléctrico |
| Pilas necesarias | No |
5. Configuración e instalación
Importante: Asegúrese de que la fuente de alimentación principal esté apagada en el disyuntor antes de comenzar la instalación.
- Elegir la ubicación: Select a suitable outdoor location for the pedestal light, ensuring it is on a stable, level surface and has access to the necessary electrical wiring.
- Preparar el cableado: If not already present, run appropriate outdoor-rated electrical cable to the installation point. Consult a qualified electrician for this step.
- Monte la base: Position the mounting base on the desired surface. Mark the drilling points through the holes in the base. Drill pilot holes and secure the base using the provided mounting hardware (screws and anchors). Ensure the base is firmly attached.
- Conecte los cables eléctricos: Carefully connect the electrical wires from your power supply to the terminals inside the fixture. Follow the standard wiring color codes (e.g., Live, Neutral, Earth). Ensure all connections are secure and properly insulated.
- Instalar bombilla: Insert a suitable E27 bulb (not included) into the lamp poseedor. No apriete demasiado.
- Accesorio seguro: Attach the main body of the pedestal light to the mounted base, ensuring it is securely fastened and sealed against moisture.
- Restaurar energía: Una vez completada la instalación y todas las conexiones estén seguras, restablezca la energía en el disyuntor principal.
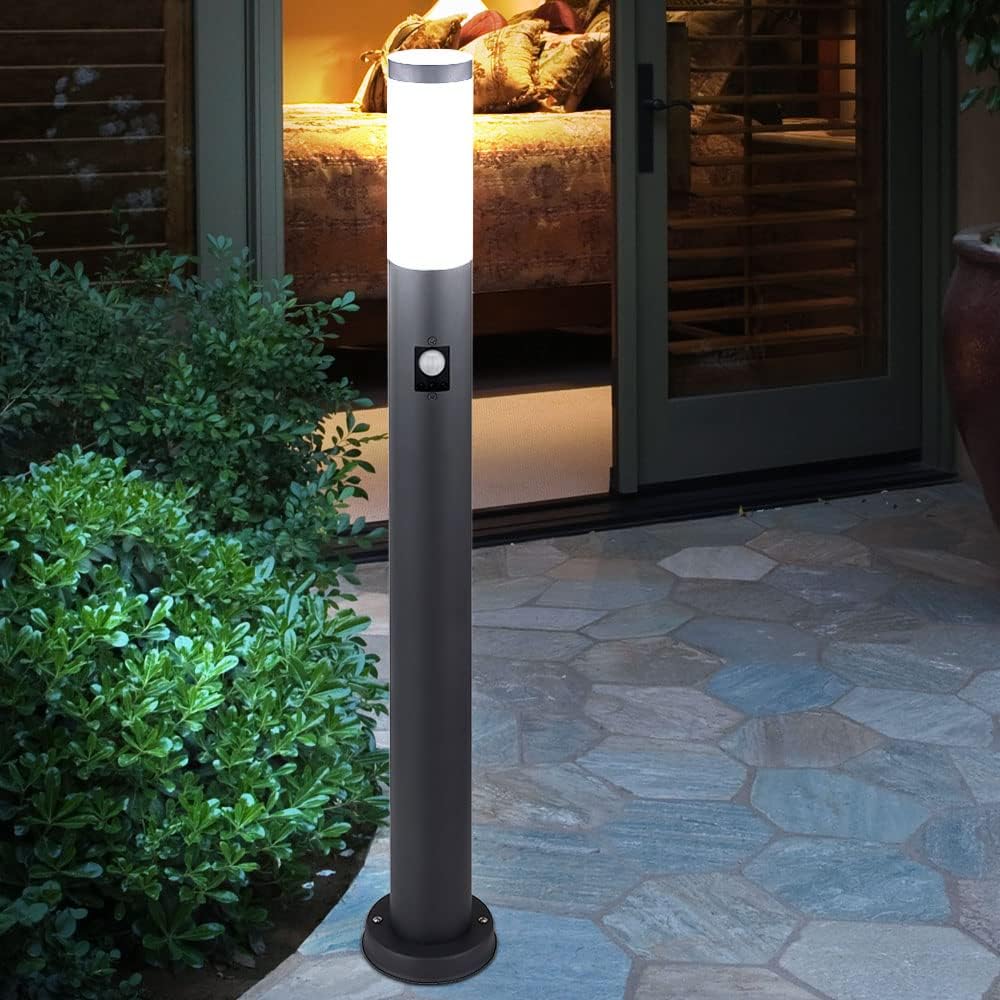
Image 5.1: The pedestal light installed on a patio, demonstrating a typical mounting scenario.
6. Instrucciones de funcionamiento
The BOSTON Pedestal Light features an integrated motion sensor for automatic operation.
- Encendido: Once installed and power is restored, the light will enter a warm-up period (typically a few seconds) before the motion sensor becomes active.
- Sensor de movimiento: The integrated motion sensor detects movement within its detection range. When motion is detected, the light will illuminate.
- Cierre automático: After a period of no detected motion, the light will automatically turn off. The duration of illumination is typically pre-set or adjustable via controls on the sensor (if available). Refer to the sensor's specific markings for adjustment options.
- Sensor día/noche: The motion sensor also includes a photocell that prevents the light from activating during daylight hours, conserving energy. The light will only activate due to motion when ambient light levels are low enough.
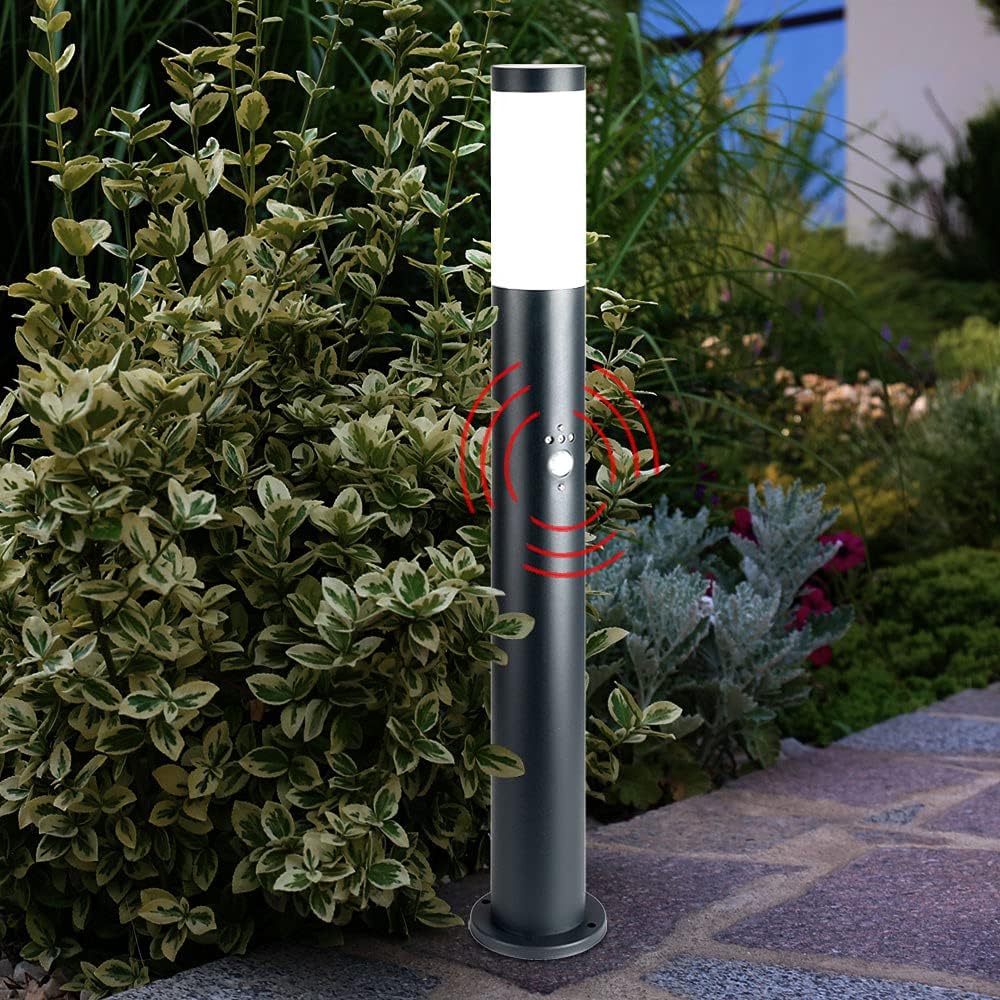
Image 6.1: Detail of the motion sensor on the pedestal light, highlighting its detection area.

Image 6.2: The pedestal light operating at night, with the motion sensor detecting movement.
7. Mantenimiento
- Limpieza: Limpie periódicamente el aparato con un paño suave yamp cloth to remove dirt and debris. Do not use harsh chemicals or abrasive materials, as these can damage the finish or plastic components.
- Reemplazo de bombilla:
- Asegúrese de que el suministro de energía al dispositivo esté apagado en el disyuntor.
- Deje que la bombilla vieja se enfríe completamente antes de tocarla.
- Carefully unscrew the top cover or access panel to reach the E27 bulb.
- Unscrew the old bulb and replace it with a new E27 bulb of the correct wattage.
- Securely reattach the cover or access panel, ensuring a watertight seal.
- Restaurar la energía.
- Inspección: Periodically inspect the fixture for any signs of wear, damage, or loose connections. Address any issues promptly to ensure continued safe operation.
8. Solución de problemas
| Problema | Posible causa | Solución |
|---|---|---|
| La luz no se enciende. | No hay suministro de energía. Bombilla defectuosa. Conexión de cableado suelta. |
Revise el disyuntor. Reemplace la bombilla. Inspect and secure wiring (with power off). |
| La luz permanece encendida constantemente. | Motion sensor faulty or obstructed. Movimiento continuo en la zona de detección. Configuración del sensor incorrecta. |
Check for obstructions. Ensure no constant movement. Consult sensor manual for settings. |
| La luz no detecta el movimiento. | Sensor obstruido o sucio. Sensor range too low. Ambient light too high (daylight sensor). |
Clean sensor lens. Adjust sensor range (if adjustable). Test at night or in darker conditions. |
| La luz parpadea. | Bombilla suelta. Bombilla incompatible. Fuente de alimentación fluctuante. |
Tighten bulb. Ensure bulb is compatible. Consult electrician for power issues. |
If you experience persistent issues not covered here, please contact a qualified electrician or the product supplier.
9. Garantía y soporte
This product is covered by the standard warranty provided by the manufacturer. Please retain your proof of purchase for any warranty claims. For technical support or further assistance, please contact your retailer or the Globo Lighting customer service department.
La información de contacto generalmente se puede encontrar en el empaque del producto o en la página oficial del fabricante. websitio.


