1. Introducción
This manual provides instructions for the safe and proper installation, operation, and maintenance of your suptek Single Monitor Mount MD01AW. Please read this manual thoroughly before installation and keep it for future reference.
The suptek MD01AW is a single monitor desk mount featuring a gas spring arm for smooth and effortless adjustments. It is designed to enhance your ergonomic workspace by allowing flexible positioning of your monitor.
Compatibilidad
- Tamaño de pantalla: 13 a 32 pulgadas
- Capacidad de peso: 4.4 a 19.8 libras (2 a 9 kg)
- Compatibilidad VESA: 75x75mm y 100x100mm

Figure 1: suptek Single Monitor Mount MD01AW with a monitor. This image illustrates the product's load capacity (2-9kg), screen size compatibility (13"-32"), and VESA pattern (75x75/100x100mm).
2. Contenido del paquete
Please verify that all parts are present and undamaged before installation. If any parts are missing or damaged, contact suptek customer support.
- Conjunto del brazo del monitor
- Escritorio Clamp Base
- Grommet Mount Base (optional)
- Placa VESA
- Kit de hardware (tornillos, arandelas, espaciadores)
- Llaves Allen
- Manual de instrucciones
3. Información de seguridad
ADVERTENCIA: Failure to read and follow these instructions may result in serious personal injury, property damage, or voiding of your warranty.
- No exceda la capacidad máxima de peso de 19.8 libras (9 kg).
- Asegúrese de que la superficie de su escritorio sea lo suficientemente resistente para soportar el peso combinado del soporte y el monitor.
- Utilice únicamente el hardware suministrado. Si tiene alguna duda sobre alguna parte de la instalación, consulte a un profesional cualificado.
- Mantenga a los niños y a las mascotas alejados durante la instalación.
- Revise periódicamente todos los tornillos y conexiones para asegurarse de que permanezcan seguros.
4. Configuración e instalación
The suptek MD01AW offers two installation methods: C-clamp y montaje con ojal.

Figure 2: Two installation options for the monitor mount. The C-clamp option is suitable for desk thicknesses of 10-70mm, and the grommet mount option is for desk thicknesses of 10-70mm with a hole diameter of 10-60mm.
4.1 Cl Camp Instalación
- Coloque el C-clamp base hasta el borde de su escritorio. Asegúrese de que la clamp is securely tightened to prevent movement. The C-clamp fits desks with a thickness of 10-70mm.
- Inserte el poste principal del brazo del monitor en el conector C.amp base. Tighten the securing screw.
4.2 Grommet Mount Installation
- If your desk has a grommet hole (10-60mm diameter) and a thickness of 10-70mm, use the grommet mount option.
- Thread the grommet base through the desk hole. Secure it from underneath the desk using the provided plate and nut.
- Insert the main pole of the monitor arm into the grommet base. Tighten the securing screw.
4.3 Conexión del monitor
- Attach the VESA plate to the back of your monitor using the appropriate screws and spacers from the hardware kit. Ensure the screws are tightened securely but do not overtighten.
- Slide the monitor (with the attached VESA plate) onto the VESA head of the monitor arm. Ensure it clicks into place or is secured with the locking screw.
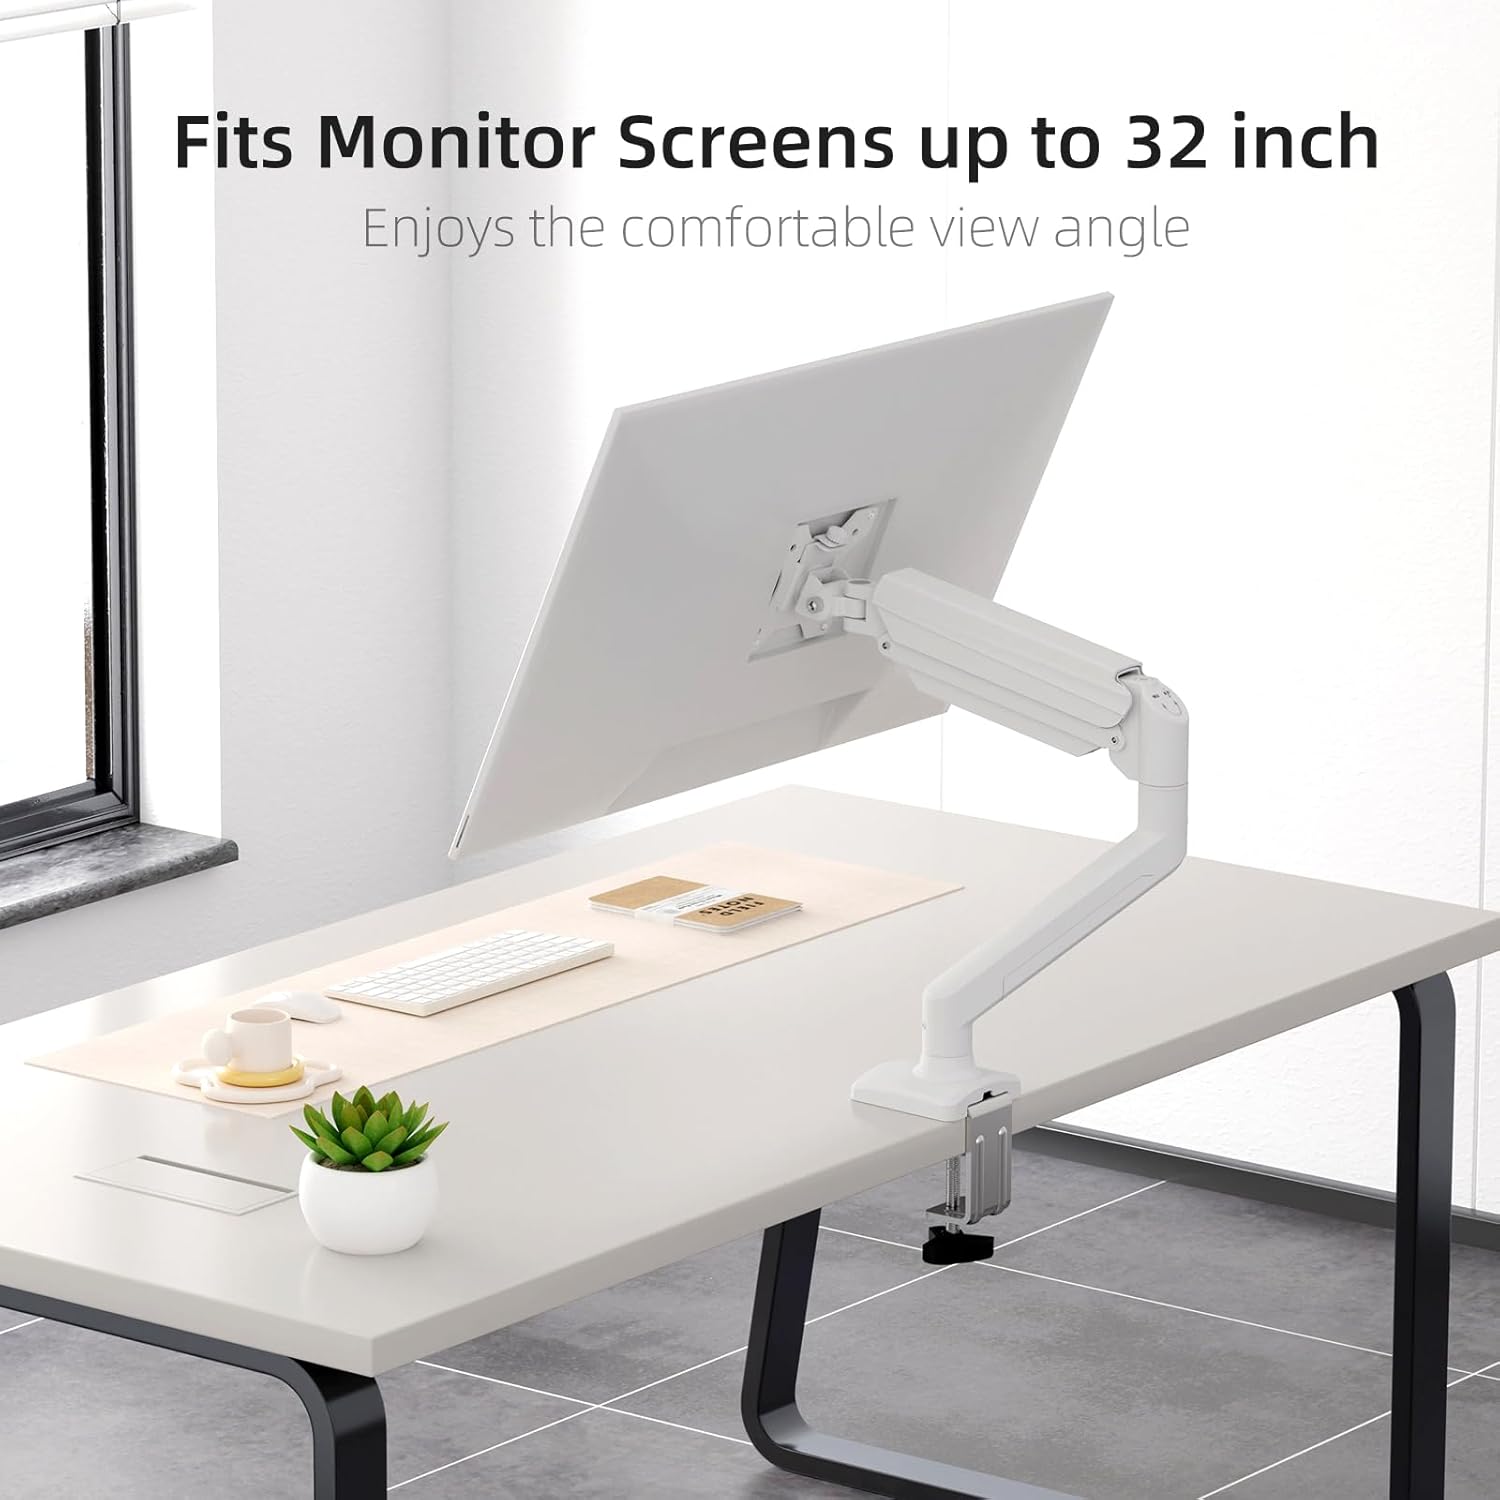
Figure 3: Monitor attached to the suptek monitor arm. This image demonstrates how the mount accommodates monitor screens up to 32 inches, providing a comfortable viewángulo de ing.
5. Operación y ajustes
The gas spring arm allows for flexible and smooth adjustments to achieve your desired monitor position.

Figure 4: Full adjustability of the monitor arm. The arm allows for tilt (±90°), swivel (±90°), and 360° rotation for optimal viewEn.
5.1 Ajuste de la tensión del resorte de gas
The gas spring tension needs to be adjusted according to the weight of your monitor. Use the provided Allen key to adjust the tension screw located on the arm.
- If the monitor falls down, turn the screw en sentido horario (+) para aumentar la tensión.
- If the monitor rises up too easily, turn the screw en sentido antihorario (-) para reducir la tensión.

Figure 5: Easy gas spring adjustment. Turn the screw clockwise (+) to increase tension if the equipment falls down, or counter-clockwise (-) to reduce tension if the equipment raises up too easily.
5.2 Height, Tilt, Swivel, and Rotation
- Ajuste de altura: Gently push or pull the monitor to the desired height. The gas spring will hold it in place once tension is correctly set.
- Inclinación: Tilt the monitor screen up or down (±80°) to reduce glare and optimize viewángulo de ing.
- Girar: Swivel the monitor left or right (±90°) to share your screen or adjust your viewposición de ing.
- Rotación: Gire el monitor 360° entre orientaciones horizontal y vertical.
5.3 Gestión de cables
Route your monitor cables through the integrated cable management clips on the arm to maintain a tidy workspace.

Figure 6: Integrated cable management. Cables can be routed along the arm to keep the workspace neat and prevent wire entanglement.
6. Mantenimiento
El mantenimiento regular garantiza la longevidad y el funcionamiento seguro de su soporte para monitor.
- Limpieza: Limpie el soporte con un paño suave.amp Paño. Evite limpiadores abrasivos o disolventes.
- Comprobar conexiones: Periodically check all screws and bolts, especially those securing the mount to the desk and the monitor to the VESA plate, to ensure they are tight.
- Resorte de gas: If the gas spring tension feels off, re-adjust it according to Section 5.1.
7. Solución de problemas
If you encounter issues with your monitor mount, refer to the following common problems and solutions.
| Problema | Posible causa | Solución |
|---|---|---|
| Monitor sags or falls down | La tensión del resorte de gas es demasiado baja para el peso del monitor. | Increase gas spring tension by turning the adjustment screw clockwise (+). Refer to Section 5.1. |
| Monitor floats up or is hard to push down | La tensión del resorte de gas es demasiado alta para el peso del monitor. | Decrease gas spring tension by turning the adjustment screw counter-clockwise (-). Refer to Section 5.1. |
| Mount is wobbly or unstable | Escritorio clamp/grommet mount is not tightened sufficiently. | Asegúrese de que el escritorio esté limpioamp or grommet mount is securely fastened to the desk. Check all connection points. |
| Monitor does not attach to VESA plate | Incorrect VESA screws or plate orientation. | Ensure you are using the correct VESA screws for your monitor and that the VESA plate is oriented correctly. |
8. Especificaciones
- Marca: Suptek
- Modelo: MD01AW
- Material: Acero aleado
- Color: Blanco
- Tipo de montaje: Montaje de sobremesa (C-clamp o ojal)
- Tipo de movimiento: Rotate, Tilt, Swivel, Height Adjustment
- Dispositivos compatibles: Monitores de 13 a 32 pulgadas
- Capacidad de peso: 4.4 - 19.8 libras (2 - 9 kg)
- Compatibilidad VESA: 75 x 75 mm, 100 x 100 mm
- Ángulo de inclinación máximo: 80 grados
- Grosor del escritorio (C-clamp): 10-70 mm
- Grosor del escritorio (ojal): 10-70 mm
- Diámetro del orificio del ojal: 10-60 mm
- Peso del artículo: Aproximadamente 4.76 libras (2.16 kg)
- Dimensiones del paquete: Aproximadamente 15.12 x 7.99 x 4.25 pulgadas
9. Garantía y soporte
suptek products are manufactured with quality and care. For warranty information or technical support, please refer to the contact details provided with your purchase or visit the official suptek website. Please have your model number (MD01AW) and purchase date available when contacting support.


