1. Introducción
Thank you for choosing the Lepro 1500LM Battery Powered LED Camping Lantern. This manual provides essential information for the safe and efficient operation, maintenance, and troubleshooting of your lantern. Please read this manual thoroughly before use and retain it for future reference.
2. Información importante de seguridad
- No mezcle pilas viejas y nuevas.
- No mezcle pilas alcalinas, estándar (carbono-zinc) o recargables (níquel-cadmio).
- Inserte siempre las pilas correctamente respetando la polaridad (+ y -).
- Remove batteries if the lantern will not be used for an extended period.
- Mantener fuera del alcance de los niños.
- Do not stare directly into the LED light source to avoid eye strain.
- This product is IPX4 water-resistant, meaning it is protected against splashing water from all angles. It is not designed for submersion.
3. Contenido del paquete
Al abrir el paquete, verifique que estén presentes todos los elementos:
- Lepro 1500LM LED a batería Camping Lantern (1 unit)
- Manual de usuario (este documento)
Note: 3 D-cell batteries are required and are not included in the package.
4. Producto terminadoview
Familiarize yourself with the main components of your Lepro CampLinterna gigante:
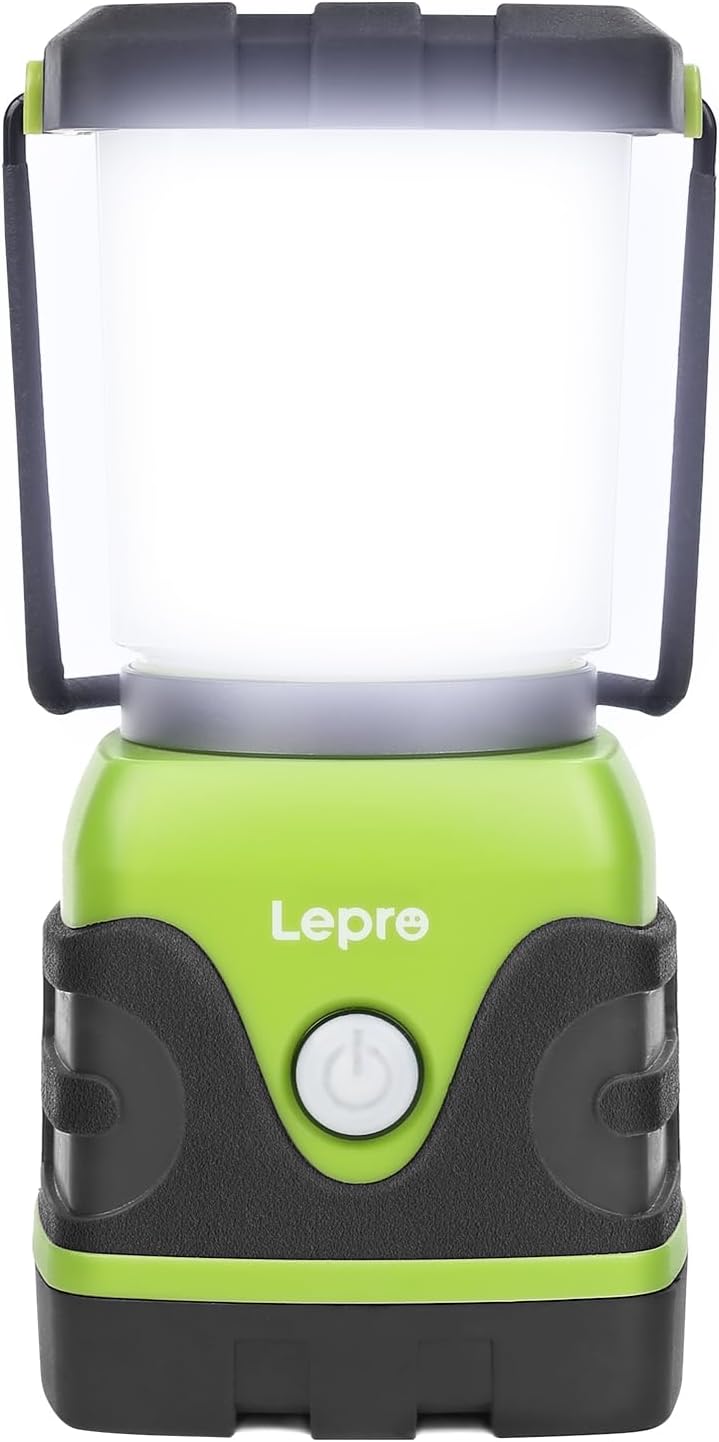
Figura 4.1: Frente view of the Lepro 1500LM LED Camping Lantern. The power button is visible on the front, and a metal handle is at the top.
- Botón de encendido: Controls power on/off, light modes, and dimming.
- Mango de metal: For carrying or hanging the lantern upright.
- Bottom Hook: Located at the base, allows for inverted hanging.
- Compartimento de la batería: Located at the base, secured by a twist-lock mechanism.
5. Configuración: Instalación de la batería
The Lepro 1500LM Camping Lantern requires 3 D-cell alkaline batteries (not included).
- Twist the bottom cap of the lantern counter-clockwise to unlock and remove it.
- Insert three D-cell batteries into the battery compartment, ensuring correct polarity (+ and -) as indicated inside the compartment.
- Align the protruding pole on the bottom cap with the corresponding hole in the battery compartment.
- Place the bottom cap back onto the lantern and twist it clockwise to securely lock it in place.

Figure 5.1: Illustration of battery installation, showing the battery compartment, protruding pole, and counter-clockwise motion for opening.
6. Operación
The lantern features a single power button for all lighting controls.
6.1 Modos de encendido/apagado y luz
Short press the power button to cycle through the following light modes:
- Luz blanca diurna
- Blanco cálido
- Combined (Full Brightness)
- Flashing Red (Emergency Signal)
- Apagado
6.2 Ajuste de brillo (atenuación continua)
When the lantern is in any of the white light modes (Daylight White, Warm White, or Combined), press and hold the power button to activate stepless dimming. The brightness will gradually increase or decrease. Release the button when the desired brightness level is reached.

Figure 6.1: Visual representation of the lantern's four light modes and the stepless dimming function.
6.3 Opciones para colgar
The lantern offers versatile hanging options:
- Upright Hanging: Use the metal handle at the top to hang the lantern from a hook or branch.
- Inverted Hanging: The bottom cap features a retractable hook. Remove the top diffuser by twisting it counter-clockwise, then use the bottom hook to hang the lantern upside down for broader downward illumination.

Figura 6.2: Primer plano views of the lantern's bottom hook and top handle, illustrating its hanging capabilities.
7. Mantenimiento
7.1 Limpieza
- Limpie el exterior de la linterna con un paño suave yamp paño.
- No utilice limpiadores abrasivos ni disolventes, ya que pueden dañar la superficie.
- Ensure the battery compartment is clean and dry before installing batteries.
7.2 Almacenamiento
- Guarde la linterna en un lugar fresco y seco cuando no esté en uso.
- Remove batteries if storing for an extended period to prevent leakage and damage.
8. Solución de problemas
If you encounter issues with your lantern, refer to the table below for common problems and solutions:
| Problema | Posible causa | Solución |
|---|---|---|
| La linterna no enciende. | Las baterías están agotadas o instaladas incorrectamente. | Replace with new D-cell batteries, ensuring correct polarity. Check that the bottom cap is securely locked. |
| La luz es tenue o parpadea. | Batería baja. | Replace all three D-cell batteries. |
| Cannot change light modes or dim. | Mal funcionamiento del botón o batería baja. | Asegúrese de que las pilas estén nuevas. Si el problema persiste, contacte con atención al cliente. |
| Entrada de agua después de la exposición a la lluvia. | Lantern was submerged or exposed to heavy jets of water beyond IPX4 rating. Bottom cap not securely fastened. | Ensure the bottom cap is always securely fastened. The lantern is water-resistant, not waterproof for submersion. Dry the lantern thoroughly and remove batteries if water is suspected inside. |
9. Especificaciones
| Característica | Especificación |
|---|---|
| Número de modelo | PR330042-US |
| Fuente de luz | CONDUJO |
| Brillo | Hasta 1500 lúmenes |
| Modos de luz | Daylight White, Warm White, Combined (Full Brightness), Flashing Red |
| Atenuación | Stepless Dimming (long press) |
| Fuente de poder | 3 x D-cell Alkaline Batteries (not included) |
| Duración de la batería | Approx. 12 hours at 1500 lumens (up to 16 hours generally) |
| Resistencia al agua | IPX4 (Protected against splashing water from all angles) |
| Material | Plástico |
| Dimensiones (L x An x Al) | 3.74 x 3.46 x 7.24 pulgadas (9.5 x 8.8 x 18.4 cm) |
| Peso (sin pilas) | 1.06 libras (0.48 kg) |
| Volumentage | 4.5 voltios |
| Quétage | 15 vatios |
10. Garantía y soporte
Para obtener información sobre la garantía o asistencia técnica, consulte la documentación incluida con su compra o visite el sitio web oficial de Lepro. website. If you have any questions or require assistance, please contact Lepro customer service.


