1. Producto terminadoview
The FireAngel SW1-R is a mains-powered optical smoke alarm designed to provide early warning of fire. It features a 9V backup battery to ensure continuous protection during power outages. The alarm emits a loud 85dB sound at 3 meters and includes LED visual indicators for clear alerts.
This optical smoke alarm is particularly effective at detecting slow-burning fires that produce thick white smoke, making it suitable for general living areas.
Características principales:
- Mains Powered with 9V Battery Backup: Garantiza un funcionamiento continuo incluso durante cortes de energía.
- Optical Smoke Sensor: Detects slow-burning fires and reduces false alarms.
- Interlink Capability: Can be hardwired and interconnected with up to 12 compatible FireAngel smoke (SW1), heat (HW1), or carbon monoxide (CW1) alarms.
- Botón de prueba/silencio: Allows for easy testing of the alarm and temporary silencing of false alarms.
- Alarma fuerte de 85 dB: Provides clear audible warning.
- Indicadores LED: Visual alerts for alarm status.
- Función dormir tranquilo: Temporarily silences low battery chirps for up to 8 hours.
- Certificado: Meets British Safety Standard EN 14604: 2005.

Figura 1: Frente view of the FireAngel SW1-R Mains Powered Optical Smoke Alarm.

Figure 2: FireAngel SW1-R Smoke Alarm highlighting its 9V backup battery, audible/visual alerts, and large test button.
2. Información importante de seguridad
Lea atentamente todas las instrucciones antes de la instalación y el uso. Conserve este manual para futuras consultas.
- Seguridad eléctrica: Installation must be carried out by a qualified electrician in accordance with local wiring regulations. Always disconnect the mains electricity supply before installation or maintenance.
- Colocación: Smoke alarms should be sited at least 300 mm (12 inches) from light fittings and walls.
- Avoidance Areas: This smoke alarm is no apto for installation in kitchens, bathrooms, garages, or areas with high humidity, dust, or extreme temperatures, as these conditions can lead to false alarms.
- No pintar: Never paint the smoke alarm. Paint can block the smoke entry points and interfere with the sensor's operation.
- No Cleaners: Do not use cleaning agents or solvents on the device. Wipe with a dry cloth only.
- Obstrucción: Ensure the alarm is not obstructed by furniture, curtains, or other objects that could prevent smoke from reaching the sensor.
- Pruebas periódicas: Test the alarm monthly to ensure proper function.

Figure 3: Illustration of recommended placement guidelines for the smoke alarm, showing distance from walls and light fittings, and unsuitable locations.
3. Contenido del paquete
Verifique que todos los artículos estén presentes y sin daños al abrir el paquete:
- 1x FireAngel SW1-R Smoke Alarm Unit
- 1x placa base
- 1x 9V Battery (for backup)
- 2x tornillos
- 2x Rawl Plugs
- 1x Manual de instrucciones (este documento)
4. Guía de instalación
Importante: Installation should only be performed by a competent person or qualified electrician. Ensure the mains power supply is switched off at the consumer unit before commencing installation.
4.1. Pasos previos a la instalación:
- Seleccionar ubicación: Choose a suitable location on the ceiling, adhering to the placement guidelines (refer to Section 2).
- Desconectar la energía: Turn off the mains electricity supply to the circuit where the alarm will be installed.
- Instalar batería de respaldo: Open the battery compartment on the alarm unit and insert the supplied 9V battery, observing polarity. Close the compartment securely.
4.2. Mounting the Alarm:
- Puntos de perforación de marcado: Hold the base plate against the ceiling at your chosen location and mark the two drilling points.
- Perforar agujeros: Drill holes at the marked points and insert the rawl plugs.
- Placa base de montaje: Secure the base plate to the ceiling using the provided screws.
- Conectar el cableado: Connect the mains wiring (Live, Neutral, Earth, and Interlink if applicable) to the terminal block provided. Ensure connections are secure and correct. The alarm unit connects to this terminal block.
- Conecte la unidad de alarma: Align the smoke alarm unit with the base plate and twist clockwise until it clicks securely into place.

Figure 4: Visual guide for easy installation, showing steps like installing the backup battery, mounting the bracket, attaching the alarm, and connecting to mains power.
4.3. Interlinking Multiple Alarms:
The SW1-R can be hardwired and interconnected with up to 12 compatible FireAngel mains-powered smoke (SW1), heat (HW1), or carbon monoxide (CW1) alarms. To interlink, connect the interlink wire between the designated terminals on each alarm's base plate. When one interlinked alarm detects a hazard, all connected alarms will sound simultaneously.
4.4. Comprobación posterior a la instalación:
- Restaurar energía: Turn the mains electricity supply back on.
- Alarma de prueba: Press and hold the Test/Silence button for 5 seconds to confirm the alarm is functioning correctly. A loud, high-pitched sound indicates proper operation.
5. Instrucciones de funcionamiento
5.1. Funcionamiento normal:
Under normal conditions, the alarm will periodically flash its LED indicator to show it is powered and monitoring for smoke. If smoke is detected, the alarm will sound a loud siren and the LED will flash rapidly.
5.2. Test/Silence Button:
- Pruebas: Press and hold the large central Test/Silence button for approximately 5 seconds. The alarm will sound a loud siren, confirming its functionality. Release the button to stop the test. Perform this test monthly.
- Silencing False Alarms: In the event of a nuisance alarm (e.g., from cooking fumes), press and hold the Test/Silence button. This will temporarily silence the alarm for approximately 8 minutes. The alarm will automatically reset after this period. If the smoke source persists, the alarm will reactivate.
5.3. Sleep Easy Function:
If the 9V backup battery is low, the alarm will emit a regular "chirp" sound. To temporarily silence these low battery chirps for up to 8 hours, press the Test/Silence button. This allows for an uninterrupted night's sleep while still maintaining protection. Replace the battery as soon as possible after using this function.
6. Mantenimiento
Regular maintenance ensures the continued reliability and effectiveness of your smoke alarm.
- Prueba mensual: Press the Test/Silence button monthly to ensure the alarm is functioning correctly.
- Limpieza trimestral: Vacuum the alarm gently every 3 months using a soft brush attachment to remove dust and debris from the sensing chamber. This helps prevent false alarms and maintains sensor sensitivity.
- Reemplazo de batería: Replace the 9V backup battery immediately when the alarm emits low battery chirps that cannot be silenced or if the Sleep Easy function is used.
- Evite los productos químicos: NO use cleaners, solvents, or paint on the alarm.
- Cover During DIY: Cover the alarm when performing dusty DIY tasks nearby to prevent dust ingress, then uncover and vacuum thoroughly afterwards.

Figure 5: Visual summary of key maintenance recommendations for the smoke alarm, including monthly testing and quarterly vacuuming.
7. Solución de problemas
If your smoke alarm is not operating as expected, refer to the following table for common issues and solutions:
| Problema | Posible causa | Solución |
|---|---|---|
| Alarm chirps intermittently | Low 9V backup battery. | Replace the 9V battery immediately. Use the Sleep Easy function if needed for temporary silence. |
| Alarm sounds without visible smoke (false alarm) | Polvo o residuos en la cámara de detección; alta humedad; humos de cocina; vapor. | Press the Test/Silence button to temporarily silence. Vacuum the alarm thoroughly. Relocate the alarm if it's consistently affected by cooking fumes or steam. |
| La alarma no suena durante la prueba | No mains power; flat 9V backup battery; faulty unit. | Check mains power supply. Replace 9V battery. If problem persists, contact customer support. |
| Interlinked alarms do not all sound | Faulty interlink wiring; incompatible alarms; too many alarms interlinked. | Check interlink wiring connections. Ensure all interlinked alarms are compatible FireAngel models. Do not exceed 12 interlinked alarms. |
8. Especificaciones técnicas
| Número de modelo | SW1-R |
| Tipo de sensor | Optical (Photoelectric) |
| Fuente de poder | Mains Powered (230V AC) with 9V DC Battery Backup |
| Volumen de alarma | 85dB a 3 metros |
| Interlink Capability | Up to 12 compatible FireAngel mains-powered alarms |
| Dimensiones del producto (Pr. x An. x Al.) | 4.2D x 12.6W x 12.6H Centímetros |
| Peso del artículo | 220 gramos |
| Temperatura de funcionamiento | Consulte el embalaje del producto para conocer el rango específico. |
| Rango de humedad | Consulte el embalaje del producto para conocer el rango específico. |
| Normas | EN 14604: 2005 |
| Código Postal | 816317004422 |
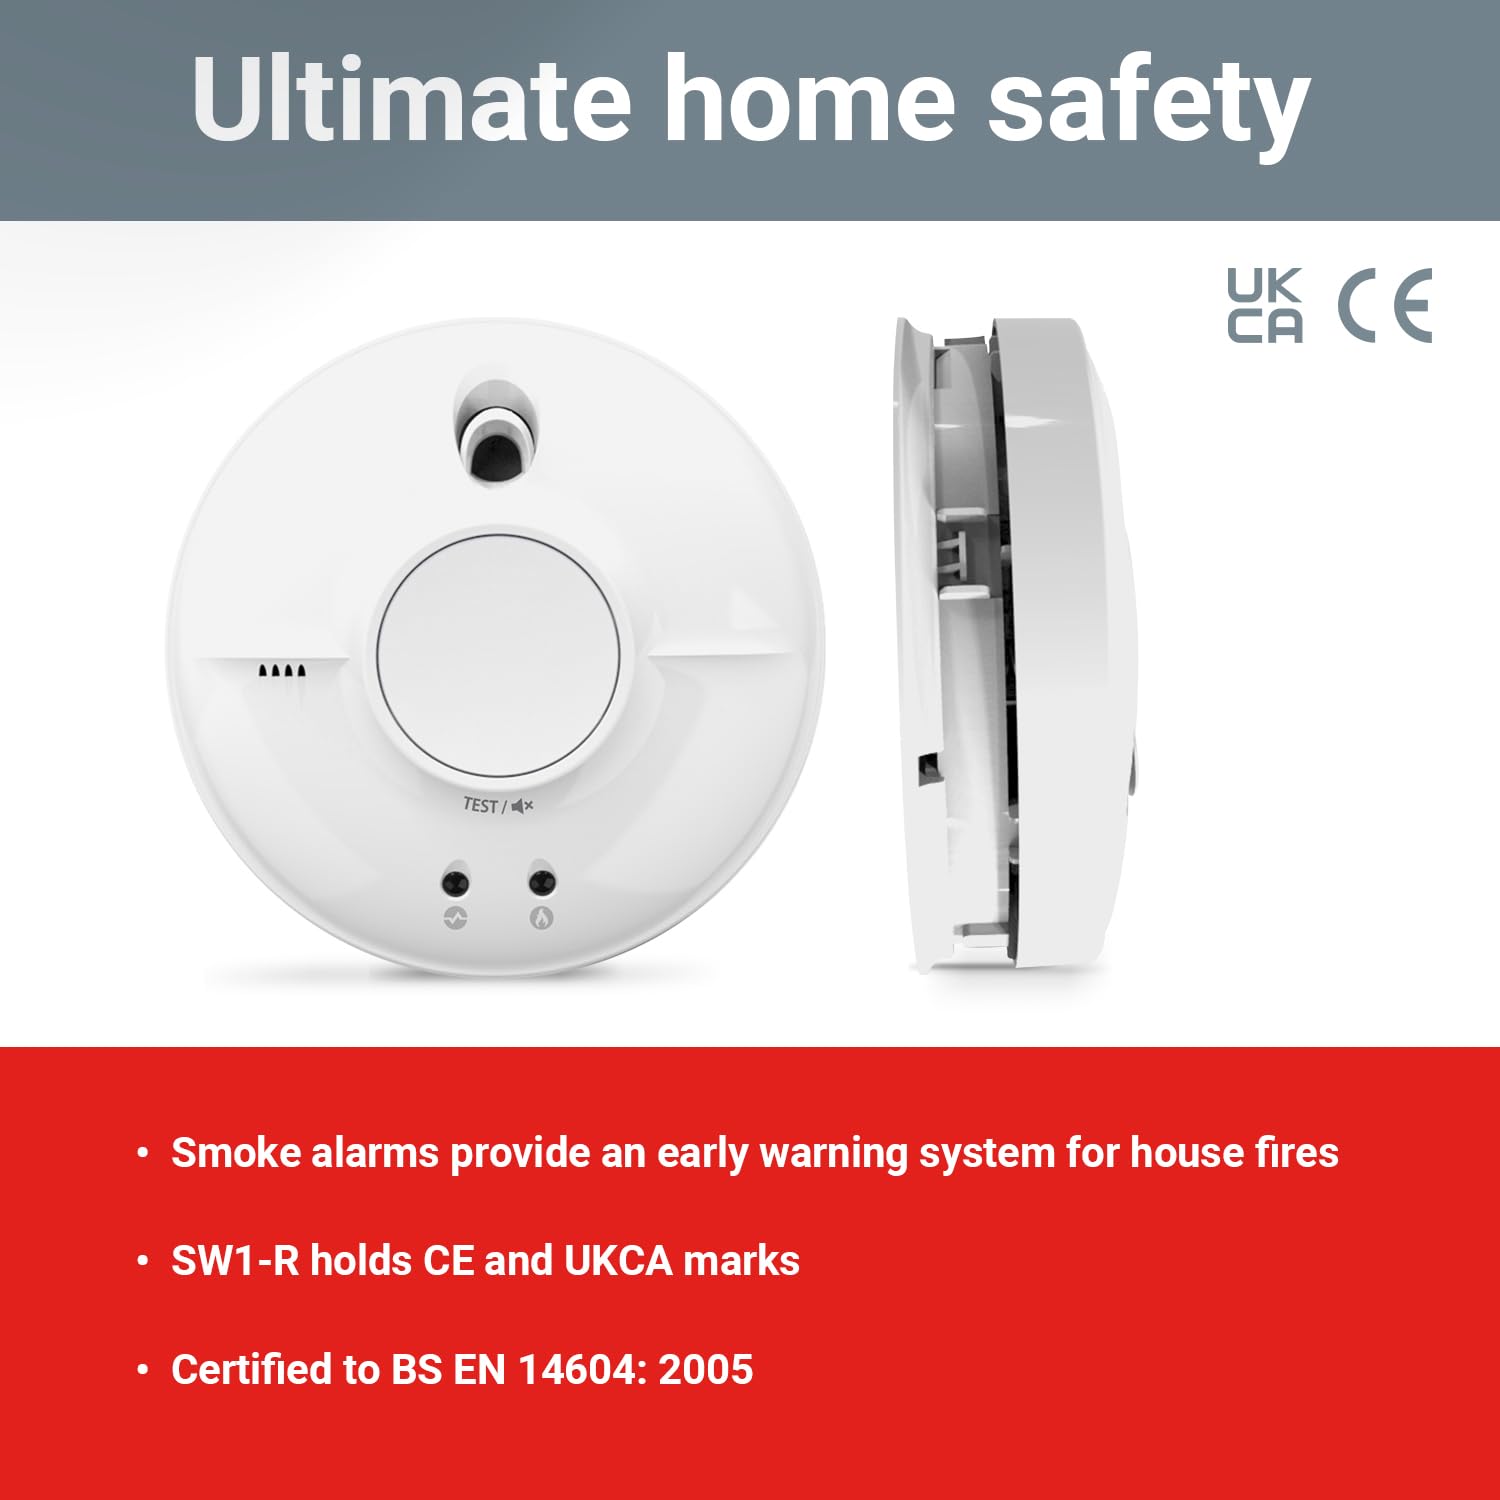
Figure 6: The FireAngel SW1-R Smoke Alarm displaying its UKCA and CE certifications, indicating compliance with safety standards.
9. Garantía y atención al cliente
9.1. Información de garantía:
The FireAngel SW1-R Mains Smoke Alarm comes with a 5 año de garantía A partir de la fecha de compra. Esta garantía cubre defectos de materiales y mano de obra en condiciones normales de uso. Conserve su comprobante de compra para reclamaciones de garantía.
The warranty does not cover damage caused by misuse, accidental damage, unauthorized modifications, or failure to follow the instructions in this manual.
9.2. Atención al cliente:
For technical assistance, warranty claims, or further information regarding your FireAngel SW1-R smoke alarm, please contact FireAngel customer support. Refer to the FireAngel official websitio o embalaje del producto para obtener los datos de contacto más actualizados.
Websitio: www.fireangel.es (Examp(el enlace real puede variar según la región)


