1. Introducción
Thank you for choosing the Ledvion Outdoor LED Wall LampEste manual proporciona información esencial para la instalación, el funcionamiento y el mantenimiento seguros de su nueva luminaria. Lea atentamente estas instrucciones antes de la instalación y consérvelas para futuras consultas.
Información de seguridad
- Desconecte siempre la fuente de alimentación antes de realizar la instalación, el mantenimiento o el reemplazo de la bombilla.
- La instalación debe ser realizada por un electricista calificado de acuerdo con las regulaciones de cableado locales.
- Ensure the product is suitable for the intended outdoor environment (IP54 rated).
- No exceda el máximo de agua.tage for GU10 bulbs (Max. 35W per bulb).
- Keep children away from packaging materials and small parts.
2. What's in the Box (Per Lamp)
Each Ledvion Outdoor LED Wall Lamp El paquete incluye los siguientes componentes:
- 1x Ledvion Outdoor LED Wall Lamp con sensor de movimiento
- 2x tacos de pared para tornillos
- 2x tornillos
- 1x Manual de instrucciones
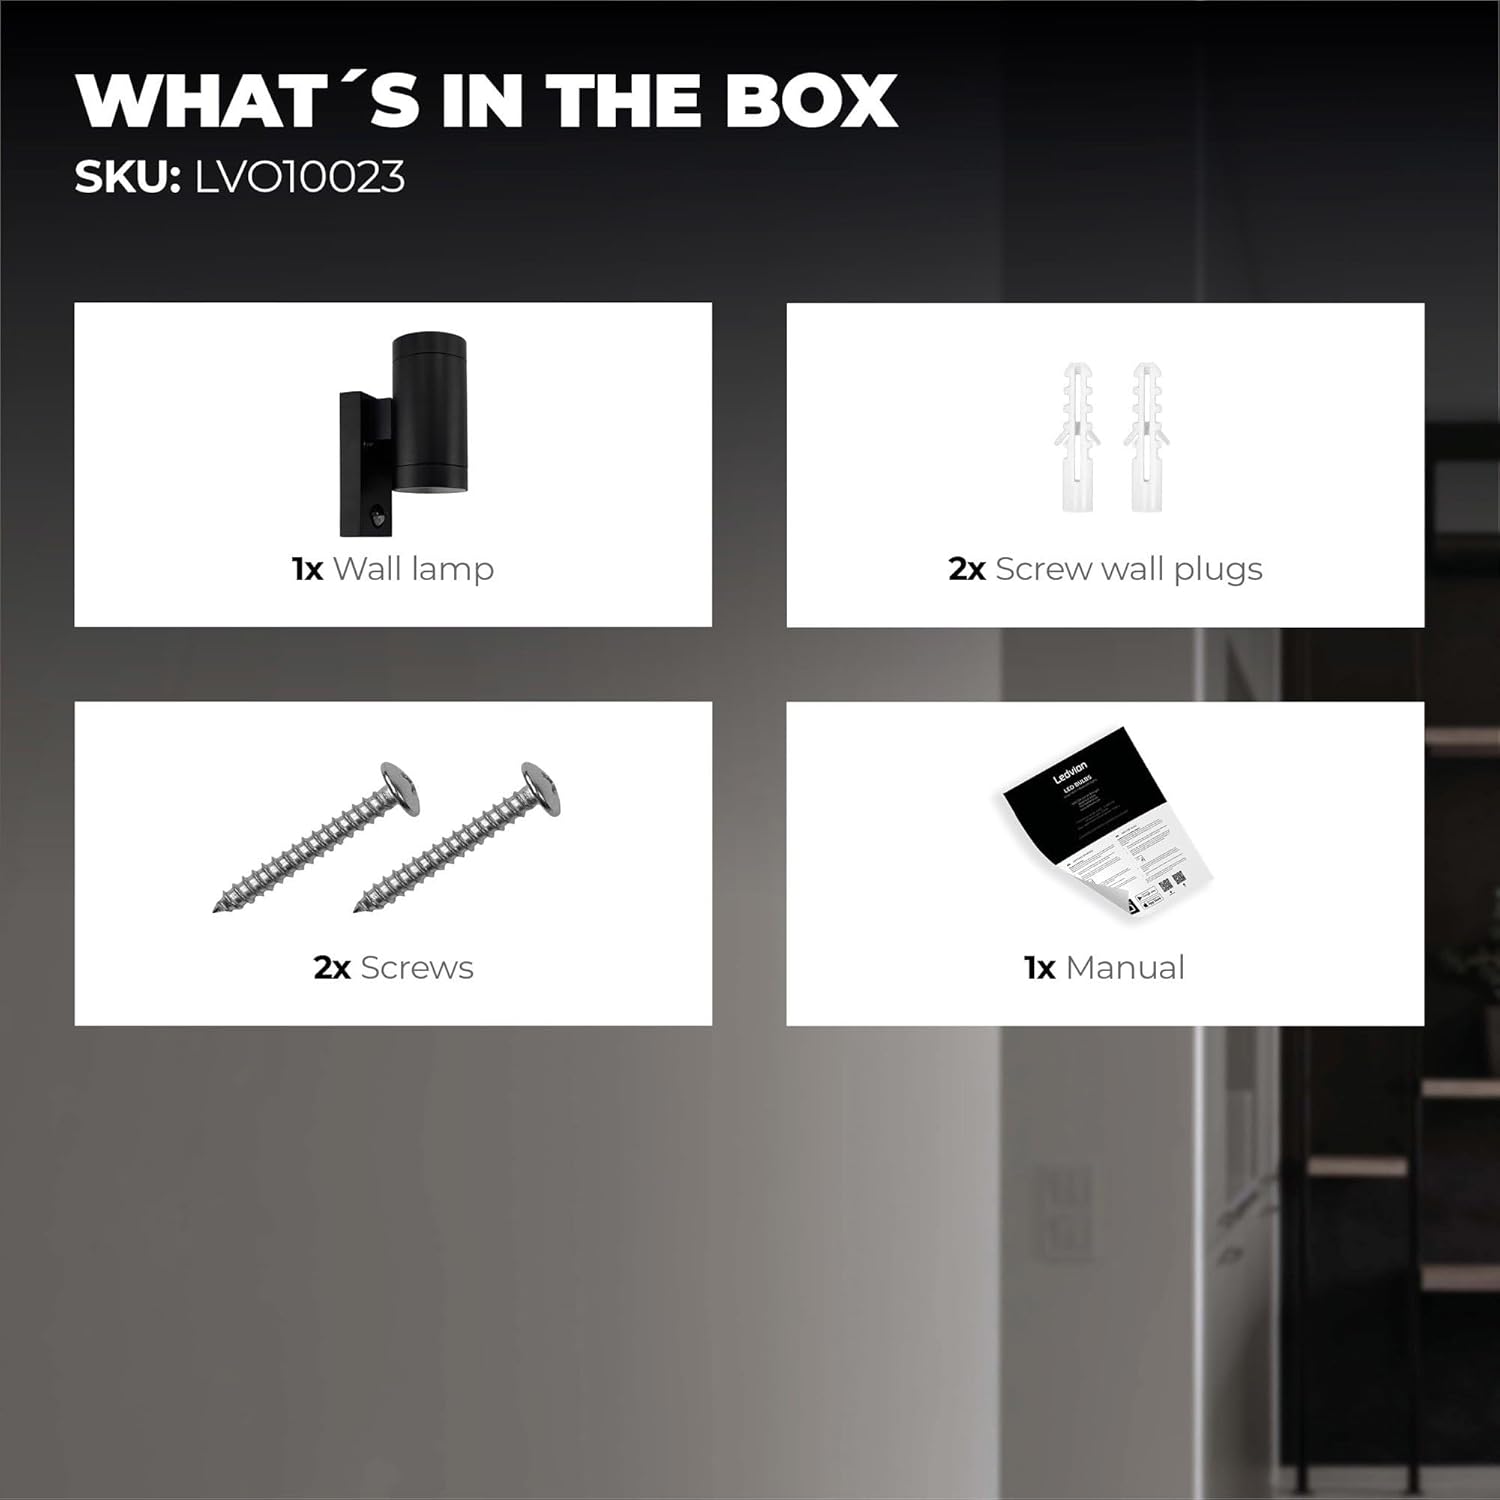
Image: Components included in the product packaging for one Ledvion wall lamp.
3. Especificaciones
| Característica | Detalle |
|---|---|
| Número de modelo | LVO10023-4pack |
| Dimensiones (L x An x Al) | 26 x 8 x 46 cm (aprox. 10.2 x 3.1 x 18.1 pulgadas) |
| Peso | 2.6 kg (for the 4-pack) |
| Material | High-quality Aluminum, 5mm thick glass |
| Color | Negro |
| Clasificación de protección de entrada (IP) | IP54 (resistente al polvo y a salpicaduras) |
| Tipo de casquillo para bombilla | GU10 (2 sockets per lamp) |
| máx. Wattage por bombilla | 35 W |
| Volumentage | 230 voltios |
| Tipo de sensor | Sensor de movimiento de microondas |
| Uso recomendado | Outdoor (Balcony, Garden, Patio, Facade) |

Image: Detailed dimensions of the Ledvion Outdoor LED Wall Lamp.
4. Configuración (Instalación)
Follow these steps for proper installation. If you are unsure, consult a qualified electrician.
- Preparación: Disconnect the main power supply at the circuit breaker before starting any electrical work.
- Ubicación de montaje: Choose a suitable outdoor wall location, ensuring it is within reach of the electrical supply and provides optimal coverage for the motion sensor.
- Marcado y perforación: Mantenga la lamp's mounting bracket against the wall at the desired height. Mark the positions for the two mounting holes. Drill holes and insert the provided wall plugs.
- Alambrado: Connect the live (L), neutral (N), and earth (E) wires from your electrical supply to the corresponding terminals on the lamp's internal wiring block. Ensure all connections are secure.
- Montaje de la Lamp: Asegurar el lamp to the wall using the provided screws. Ensure it is firmly attached.
- Inserting GU10 Bulbs: Gently insert two GU10 LED bulbs (not included, max 35W each) into the lampZócalos de 's. Gírelos para asegurarlos en su lugar.
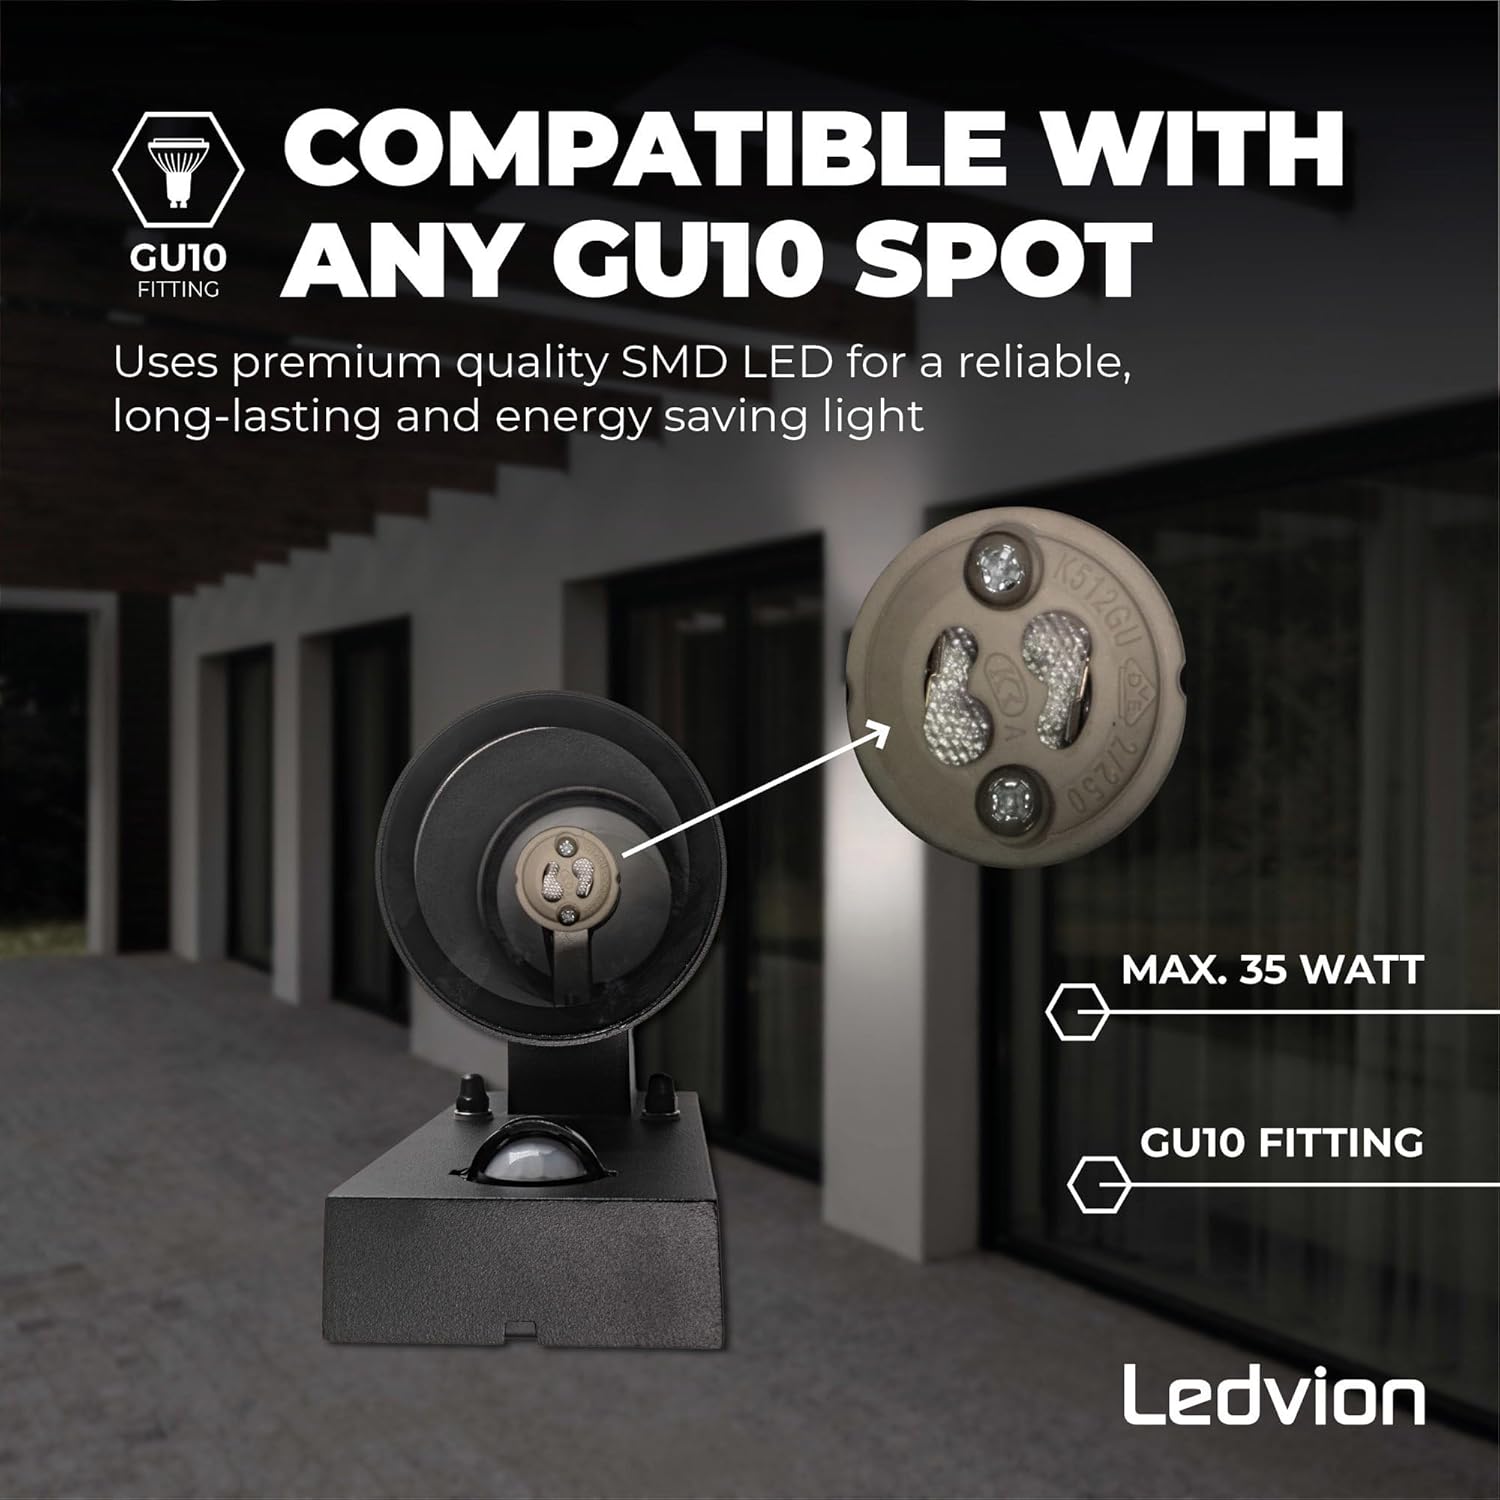
Image: Illustration of GU10 bulb insertion into the lamp's fitting.
Ajuste del sensor de movimiento
The integrated microwave motion sensor detects movement to automatically switch the light on. The sensor's sensitivity and duration settings may be adjustable via small dials or switches located on the sensor module, typically found at the bottom of the lamp. Refer to the specific markings on your device for adjustment options.
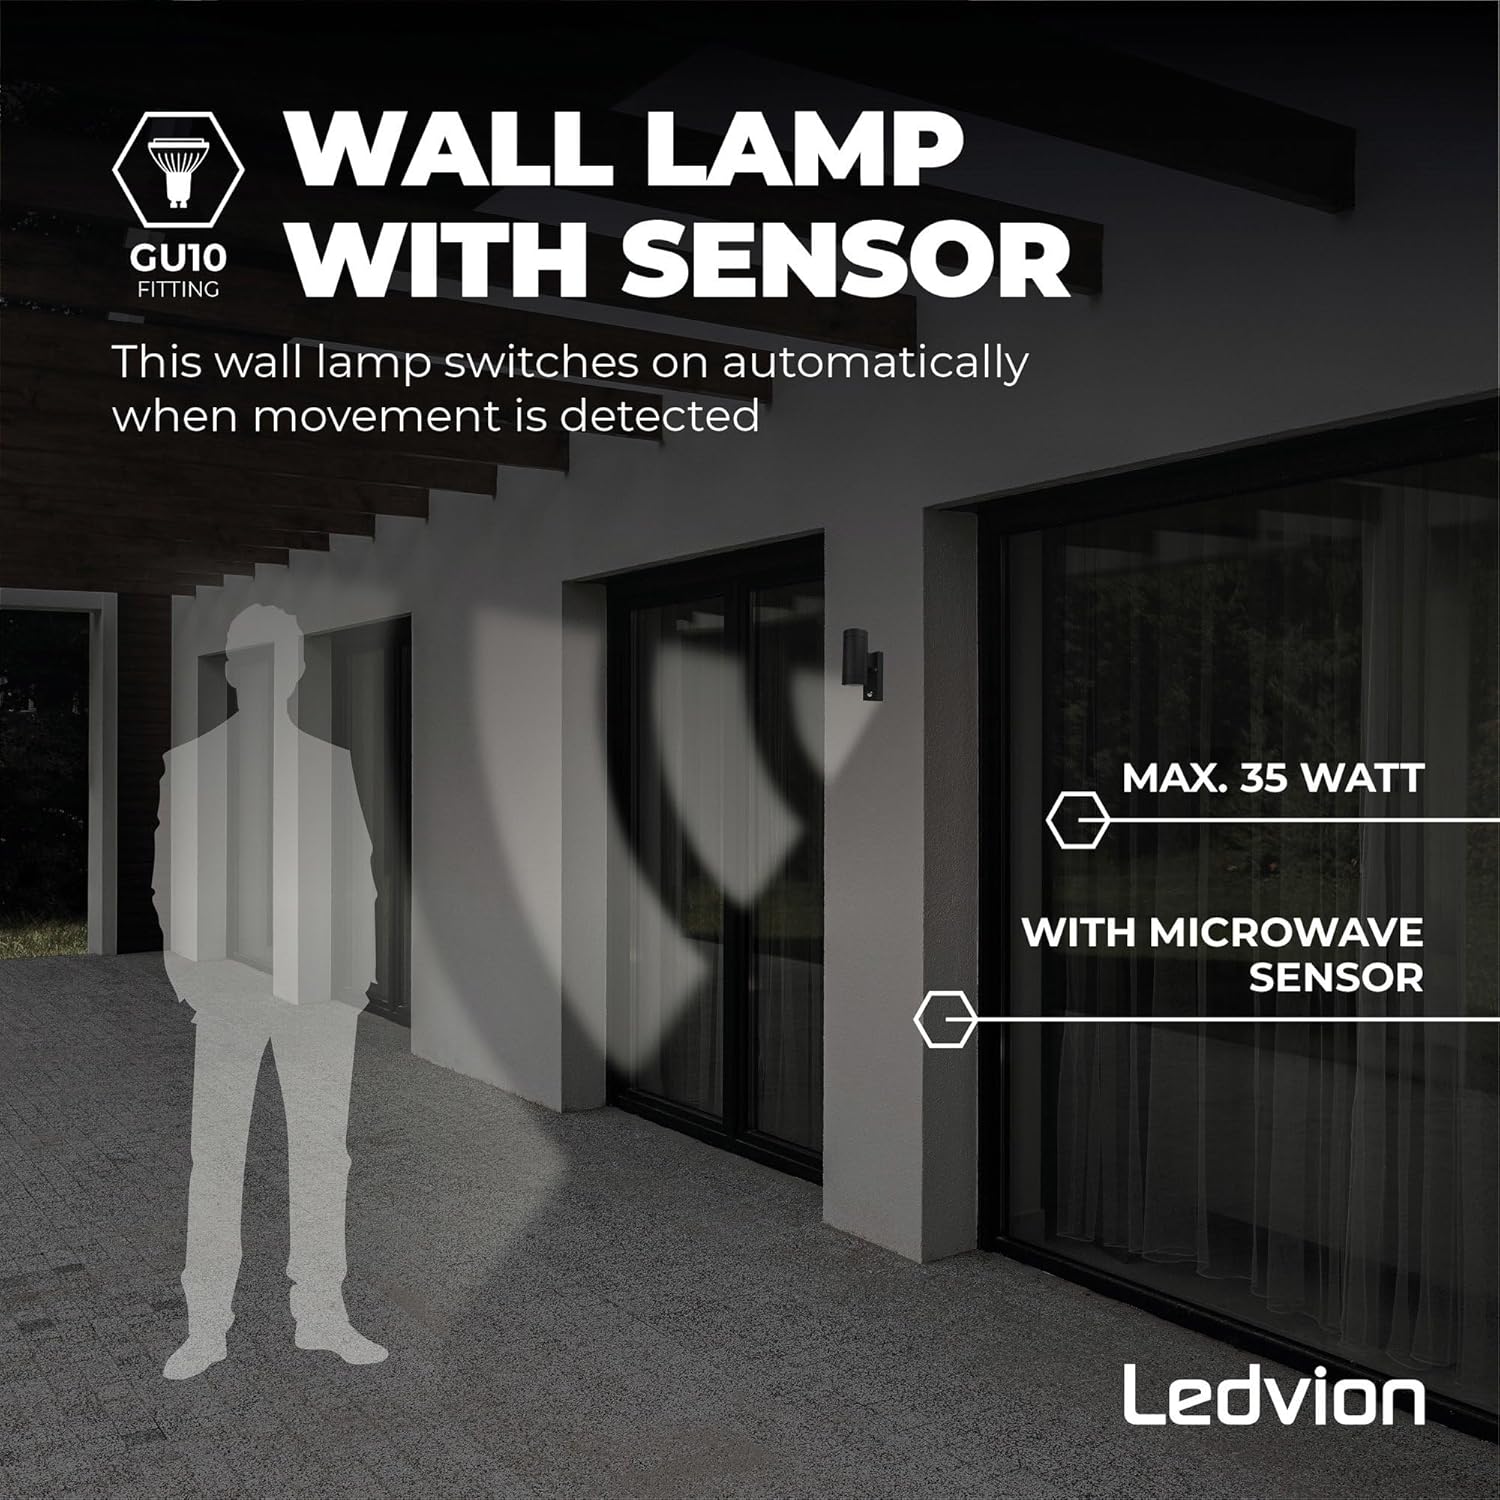
Image: The wall lamp featuring its microwave motion sensor.
5. Operando
Once installed and power is restored, the Ledvion Outdoor LED Wall Lamp will operate automatically based on its motion sensor settings.
- Activación automática: El lamp will turn on when the motion sensor detects movement within its detection range and ambient light conditions meet the set threshold (if adjustable).
- Timed Illumination: The light will remain on for the duration set on the sensor and then turn off automatically if no further movement is detected.
- Iluminación arriba/abajo: The design ensures light is diffused both upwards and downwards, creating an aesthetic and functional illumination pattern on your wall.
6. Mantenimiento
Regular maintenance ensures optimal performance and longevity of your Ledvion wall lamp.
- Limpieza: Limpiar el lamp regularmente con un suave, damp Paño. No utilice limpiadores abrasivos ni disolventes, ya que pueden dañar el acabado o el cristal. Asegúrese de que el aparato esté apagado antes de limpiarlo.
- Reemplazo de bombilla: To replace GU10 bulbs, ensure the power is off. Carefully twist and remove the old bulb, then insert and twist the new GU10 LED bulb into the socket.
- Clasificación IP54: El lamp is IP54 rated, meaning it is protected against dust ingress and splashing water from any direction. While robust, avoid directing high-pressure water jets directly at the fixture.

Image: Explanation of the IP54 Water & Dust Resistant rating.
7. Solución de problemas
Si tiene problemas con su lámpara de pared Ledvionamp, consulte los siguientes problemas y soluciones comunes:
- La luz no enciende:
- Compruebe si la fuente de alimentación está conectada y encendida.
- Ensure GU10 bulbs are correctly inserted and not faulty.
- Verify motion sensor settings (sensitivity, ambient light threshold).
- La luz permanece encendida constantemente:
- Check if the motion sensor is obstructed or if there is constant movement in its detection zone.
- Adjust the sensor's duration setting.
- La luz se enciende inesperadamente:
- Adjust the motion sensor's sensitivity to reduce false triggers (e.g., from small animals or moving foliage).
If problems persist, contact Ledvion customer support.
8. Garantía
The Ledvion Outdoor LED Wall Lamp está cubierto por una 3 año de garantía A partir de la fecha de compra. Esta garantía cubre defectos de materiales y mano de obra en condiciones normales de uso. Conserve su comprobante de compra para reclamaciones de garantía.
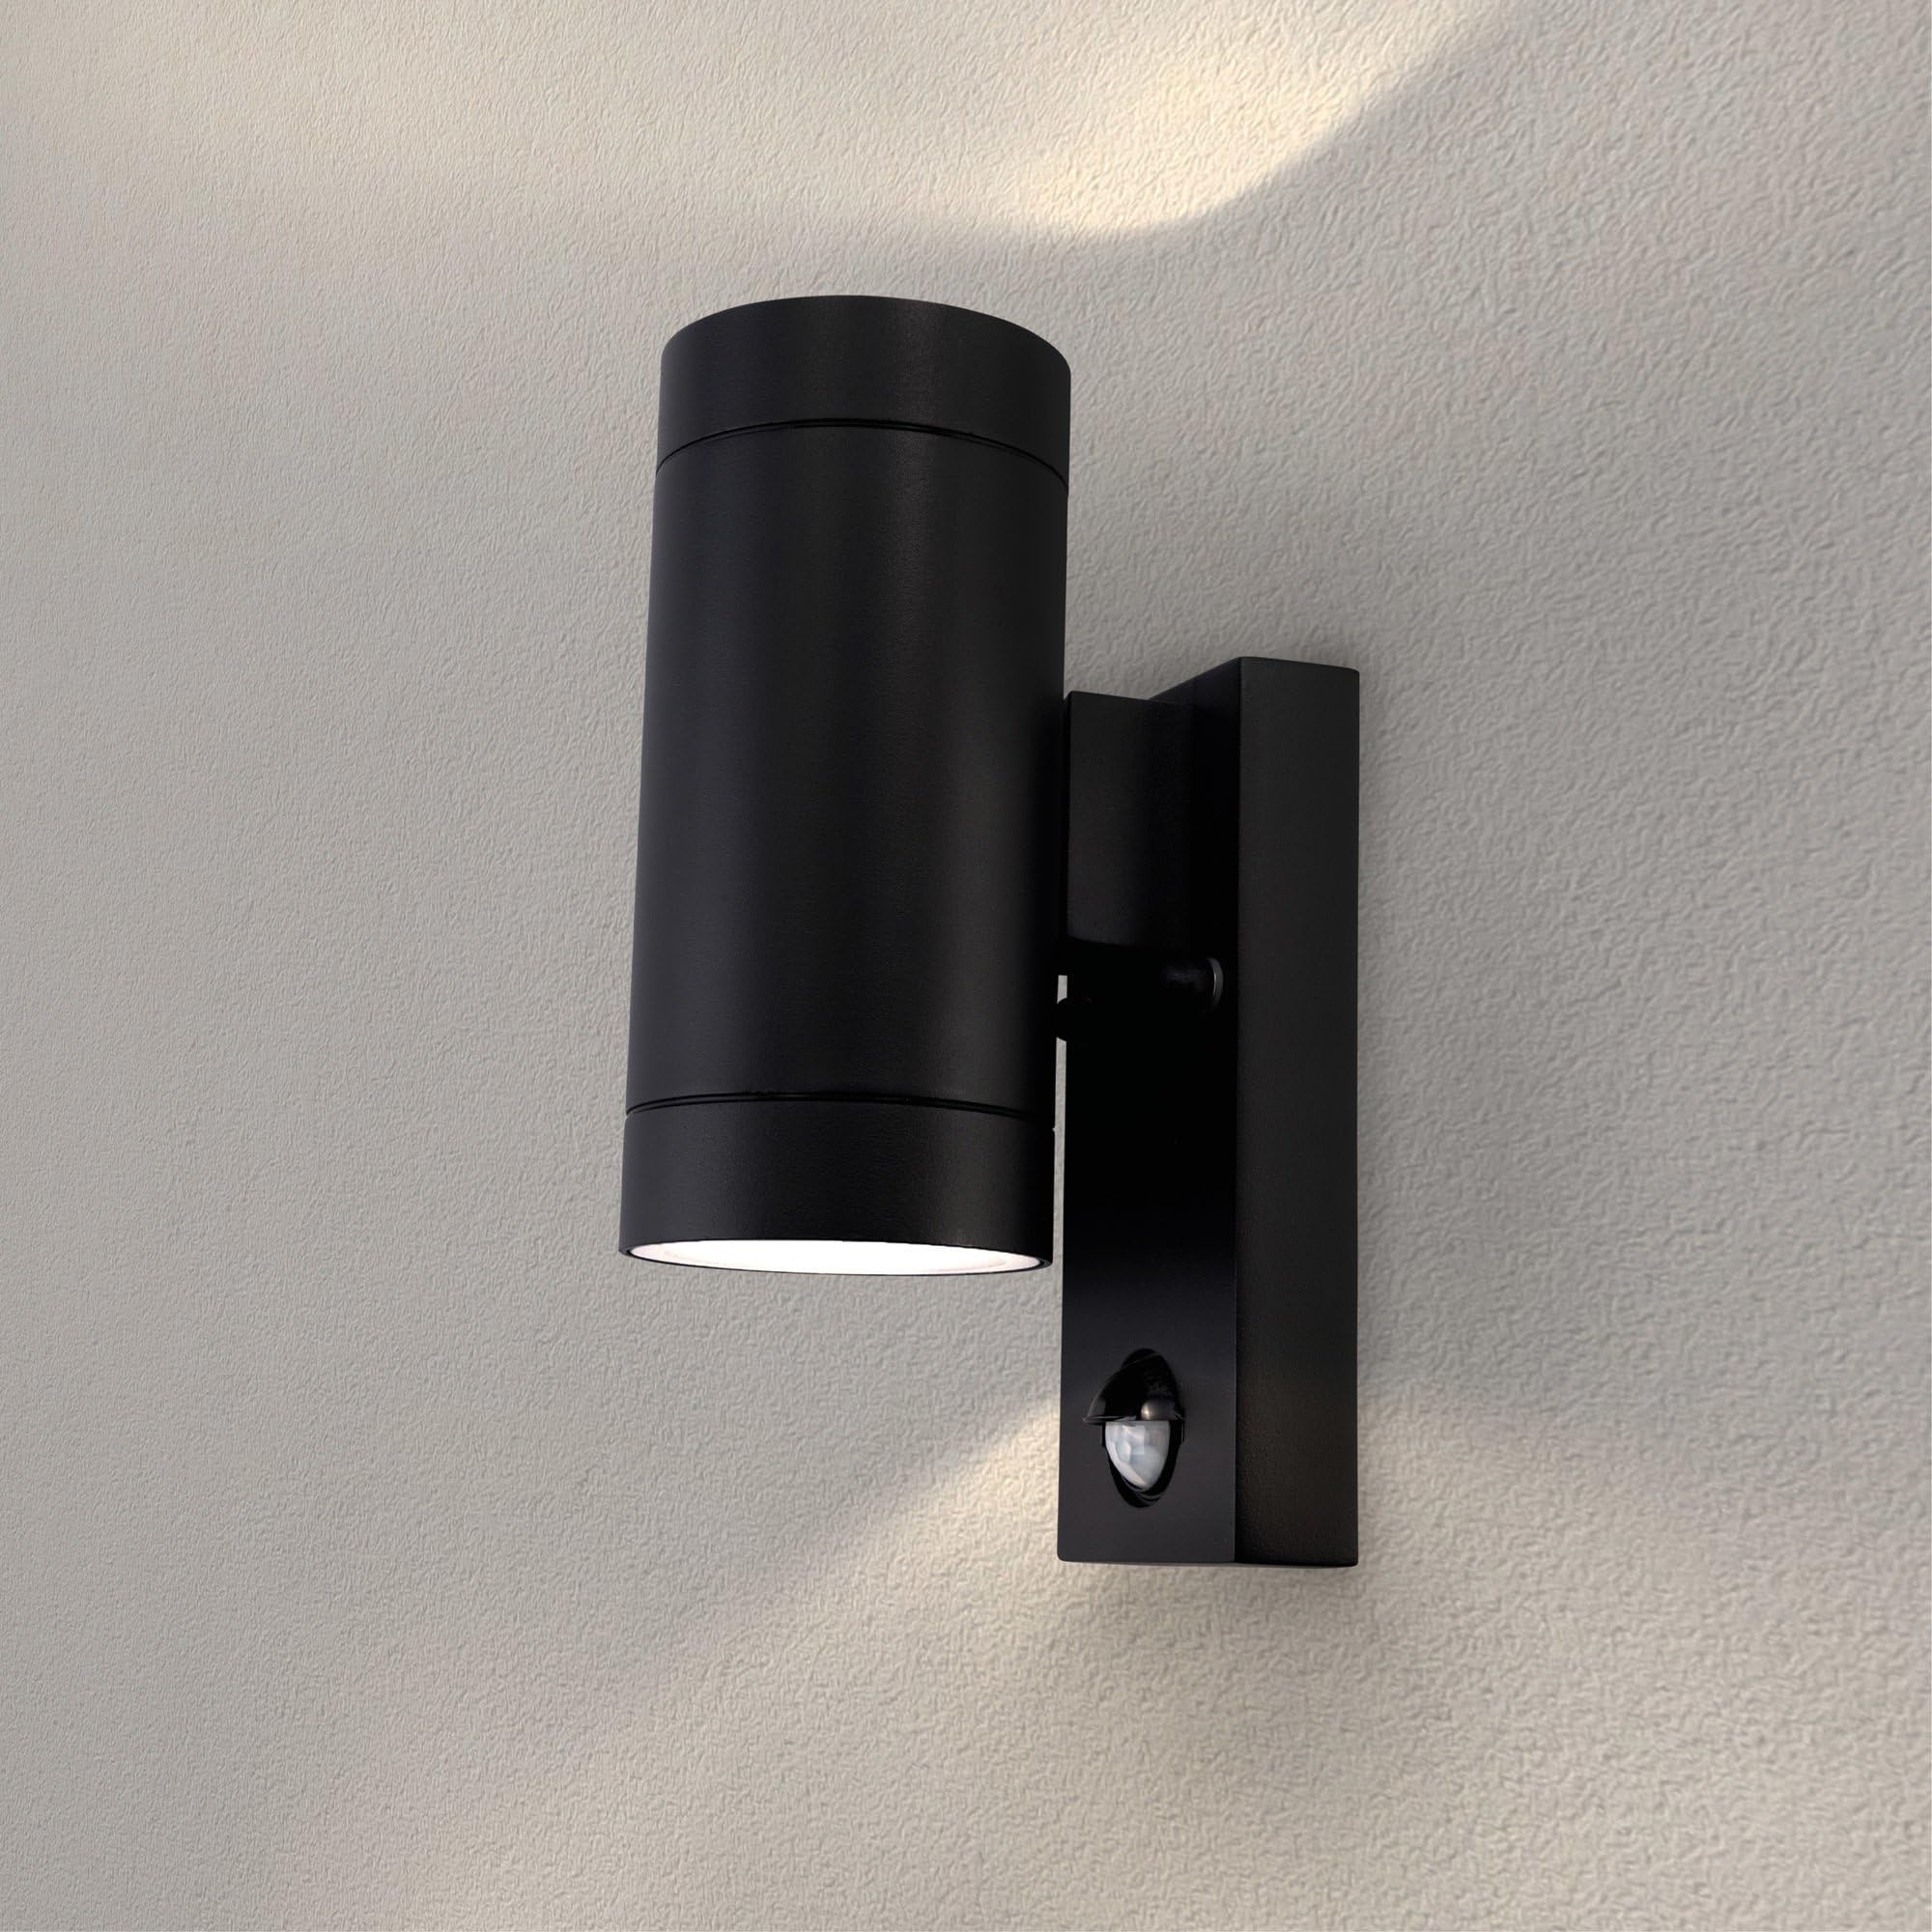
Image: Ledvion 3-Year Warranty information, highlighting durable aluminum construction.
9. Soporte
For further assistance, technical support, or warranty inquiries, please contact Ledvion customer service through your retailer or visit the official Ledvion websitio.
- Fabricante: Ledvión
- País natal: Porcelana


