1. Producto terminadoview
This manual provides instructions for the MARS HYDRO M6 Clip-On Grow Tent Fan and the iTime 2-in-1 Smart Timer Outlet. These products are designed to enhance environmental control for plant growth and offer versatile automation for various household appliances.
1.1 M6 Grow Tent Fan Features
- 10 niveles de velocidad: Adjustable airflow for various stages del crecimiento de las plantas.
- Alto flujo de aire: Delivers up to 350 CFM.
- Durable EC Motor: Engineered for an extended lifespan of 50,000 hours.
- Adjustable Oscillation: Offers 45° and 90° oscillation angles to cover different grow spaces.
- Five-Blade Design: Optimized for softer, quieter airflow, maintaining noise levels below 32dB.
- Instalación con clip: Easy attachment to grow tent poles or other suitable surfaces.
1.2 iTime Smart Timer Outlet Features
- Salidas duales: Two independent outlets for simultaneous or separate control of devices.
- Temporizador programable: Large LCD screen for easy programming of on/off schedules.
- Control remoto inteligente: Supports Bluetooth and WiFi connectivity for remote management via the MarsPro app.
- Uso versátil: Suitable for plant care, home appliances, and office equipment.
2. Instrucciones de configuración
2.1 M6 Grow Tent Fan Setup
- Desembalaje del ventilador: Carefully remove the M6 fan from its packaging.
- Elija la ubicación de montaje: Select a sturdy pole or surface within your grow tent or desired area. Ensure the location allows for optimal airflow distribution.
- Coloque el clip: Securely attach the fan's clip to the chosen pole. Ensure it is firmly clamped para evitar el movimiento.
- Ajustar el ángulo del ventilador: Position the fan head to direct airflow as needed. The fan can be manually tilted.
- Conecte la electricidad: Plug the fan's power cord into a standard 125V AC outlet or the iTime Smart Timer Outlet.

Image: The M6 Clip-On Fan mounted inside a grow tent, demonstrating its placement for air circulation.
2.2 iTime Smart Timer Outlet Setup
- Conecte el temporizador: Insert the iTime Smart Timer Outlet into a standard 125V AC wall outlet.
- Conectar dispositivos: Plug your appliances (e.g., M6 fan, grow lights) into the dual outlets on the iTime timer.
- Download MarsPro App: Scan the QR code in the product packaging or search for "MarsPro" in your device's app store (iOS/Android).
- Emparejar con la aplicación:
- Open the MarsPro app and create an account or log in.
- Follow the in-app instructions to add a new device. Ensure your phone's Bluetooth and WiFi are enabled.
- The app will guide you through connecting the iTime timer to your home WiFi network.
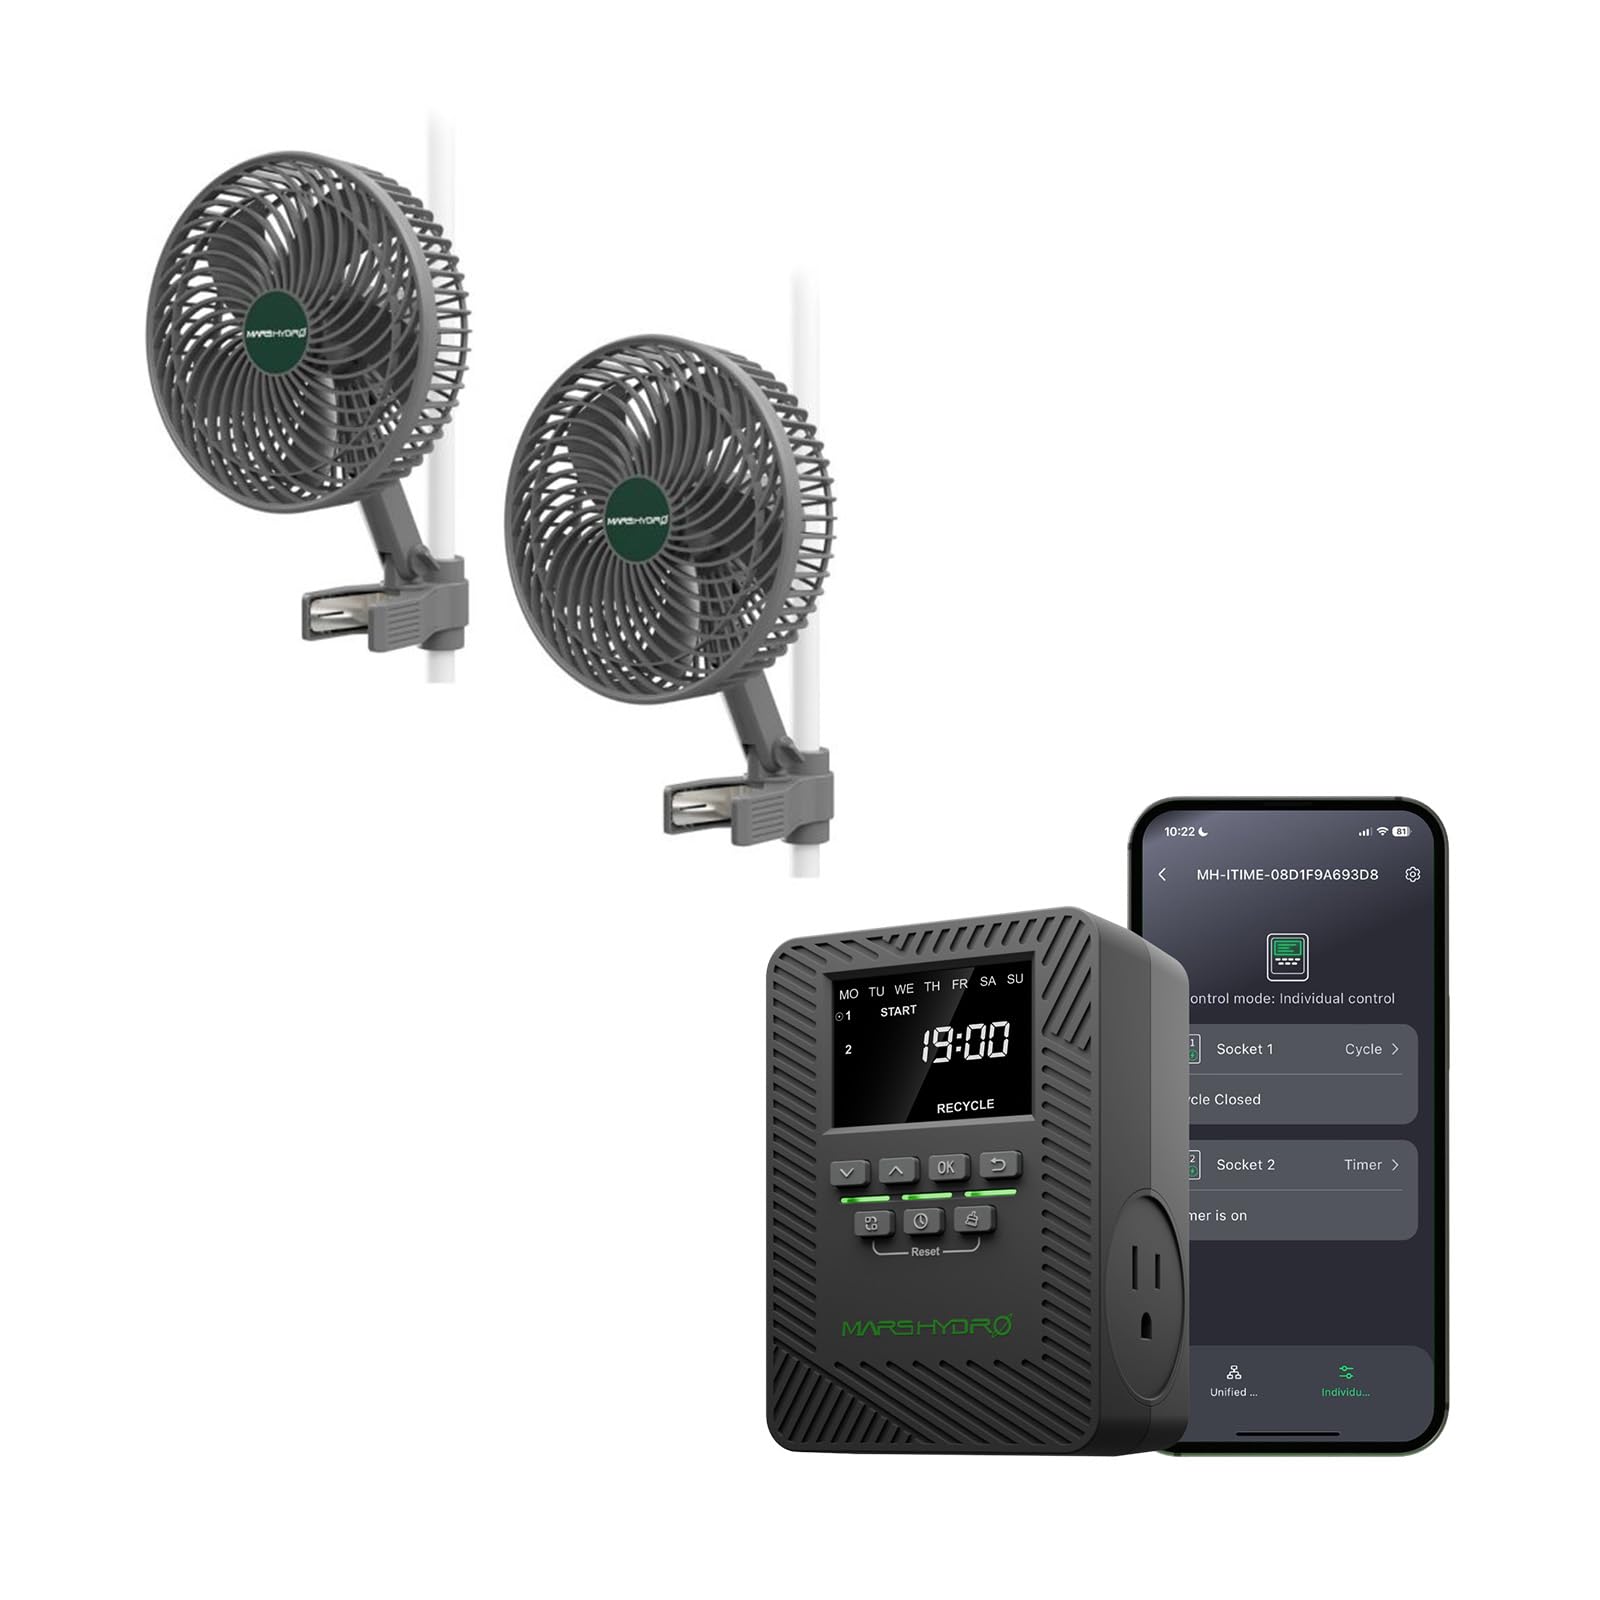
Image: The iTime Smart Timer Outlet, showing its digital display and dual outlets.
3. Instrucciones de funcionamiento
3.1 Operating the M6 Grow Tent Fan
- Encendido/apagado: Press the power button on the fan to turn it on or off.
- Ajustar velocidad: Use the speed control buttons (if available on the fan, or via the iTime timer/app) to cycle through the 10 speed levels.
- Control de oscilación: Press the oscillation button to activate or deactivate the oscillation feature. Cycle between 45° and 90° oscillation angles as desired.

Image: Visual representation of the M6 fan's airflow patterns and control button for oscillation.
3.2 Operating the iTime Smart Timer Outlet
The iTime timer can be operated directly via its buttons or remotely through the MarsPro app.
3.2.1 Manual Operation (On-Device)
- Establecer hora actual: Use the navigation buttons (Up/Down, OK) to set the current day and time on the LCD display.
- Program Schedules: Access the programming menu to set up to 12 on/off schedules for each outlet. You can choose specific days of the week and times for activation/deactivation.
- Independent/Simultaneous Control: The timer allows for independent programming of each outlet or simultaneous control for both.
3.2.2 App Control (MarsPro App)
- Encendido/apagado remoto: Control connected devices from anywhere using the MarsPro app on your smartphone.
- Programación avanzada: Create detailed custom schedules, cycles, and countdown timers for each outlet.
- Escucha: Monitor the status of your connected devices.
- Control de grupo: If you have multiple MARS HYDRO smart devices, you can group them for unified control.

Image: The MarsPro app interface demonstrating remote control capabilities for the iTime Smart Timer Outlet.
4. Mantenimiento
- Limpieza del ventilador: Periodically wipe the fan blades and housing with a soft, dry cloth to remove dust and debris. Ensure the fan is unplugged before cleaning. Do not use harsh chemicals or abrasive materials.
- Cuidado del temporizador: Keep the iTime Smart Timer Outlet clean and dry. Avoid exposing it to moisture or extreme temperatures.
- Inspección de cables: Regularly inspect power cords for any signs of damage. If damaged, discontinue use and contact customer support.
5. Solución de problemas
| Problema | Posible causa | Solución |
|---|---|---|
| El ventilador no se enciende. | No power, loose connection, fan malfunction. | Check power cord connection. Ensure outlet has power. If connected to iTime, check iTime status. |
| iTime timer not responding. | No power, app connectivity issue, device freeze. | Ensure timer is plugged in. Check WiFi/Bluetooth connection. Unplug and replug the timer to reset. |
| App cannot connect to iTime. | Incorrect WiFi password, out of range, app glitch. | Verify WiFi password. Move closer to the router. Restart the app and your phone. Re-pair the device if necessary. |
| El ruido del ventilador es excesivo. | Obstruction, loose mounting, fan defect. | Check for any objects obstructing the blades. Ensure the fan is securely mounted. |
6. Especificaciones
| Característica | Especificación |
|---|---|
| Marca | MARTE HIDRO |
| Model Name (Fan) | M6 |
| Model Name (Timer) | iTiempo |
| Tipo de ventilador | Clip-On Exhaust Fan |
| Fuente de poder | Eléctrico con cable |
| Vol nominaltage | 125 Voltios AC |
| Maximum Current (iTime) | 13A |
| Maximum Power (iTime) | 1625W (two outlets total) |
| Air Flow Capacity (Fan) | 350 pies cúbicos por minuto (CFM) |
| Número de velocidades del ventilador | 10 |
| Fan Motor Lifespan | 50,000 horas |
| Nivel de ruido del ventilador | Por debajo de 32dB |
| Oscillation Angles (Fan) | 45°, 90° |
| Timer Outlets | 2 (Independent Control) |
| Connectivity (Timer) | Bluetooth, WiFi |
| Control de aplicaciones | MarsPro App |
| Uso en interiores y exteriores | Uso en interiores únicamente |
| Working Environment (iTime) | Rango de temperatura: -20°C a 40°C |
| iTime Dimensions | 4.47 x 3.21 x 3.06 pulgadas (11.35 x 8.16 x 7.76 cm) |
| iTime Weight | 0.57 libras (0.26 kg) |
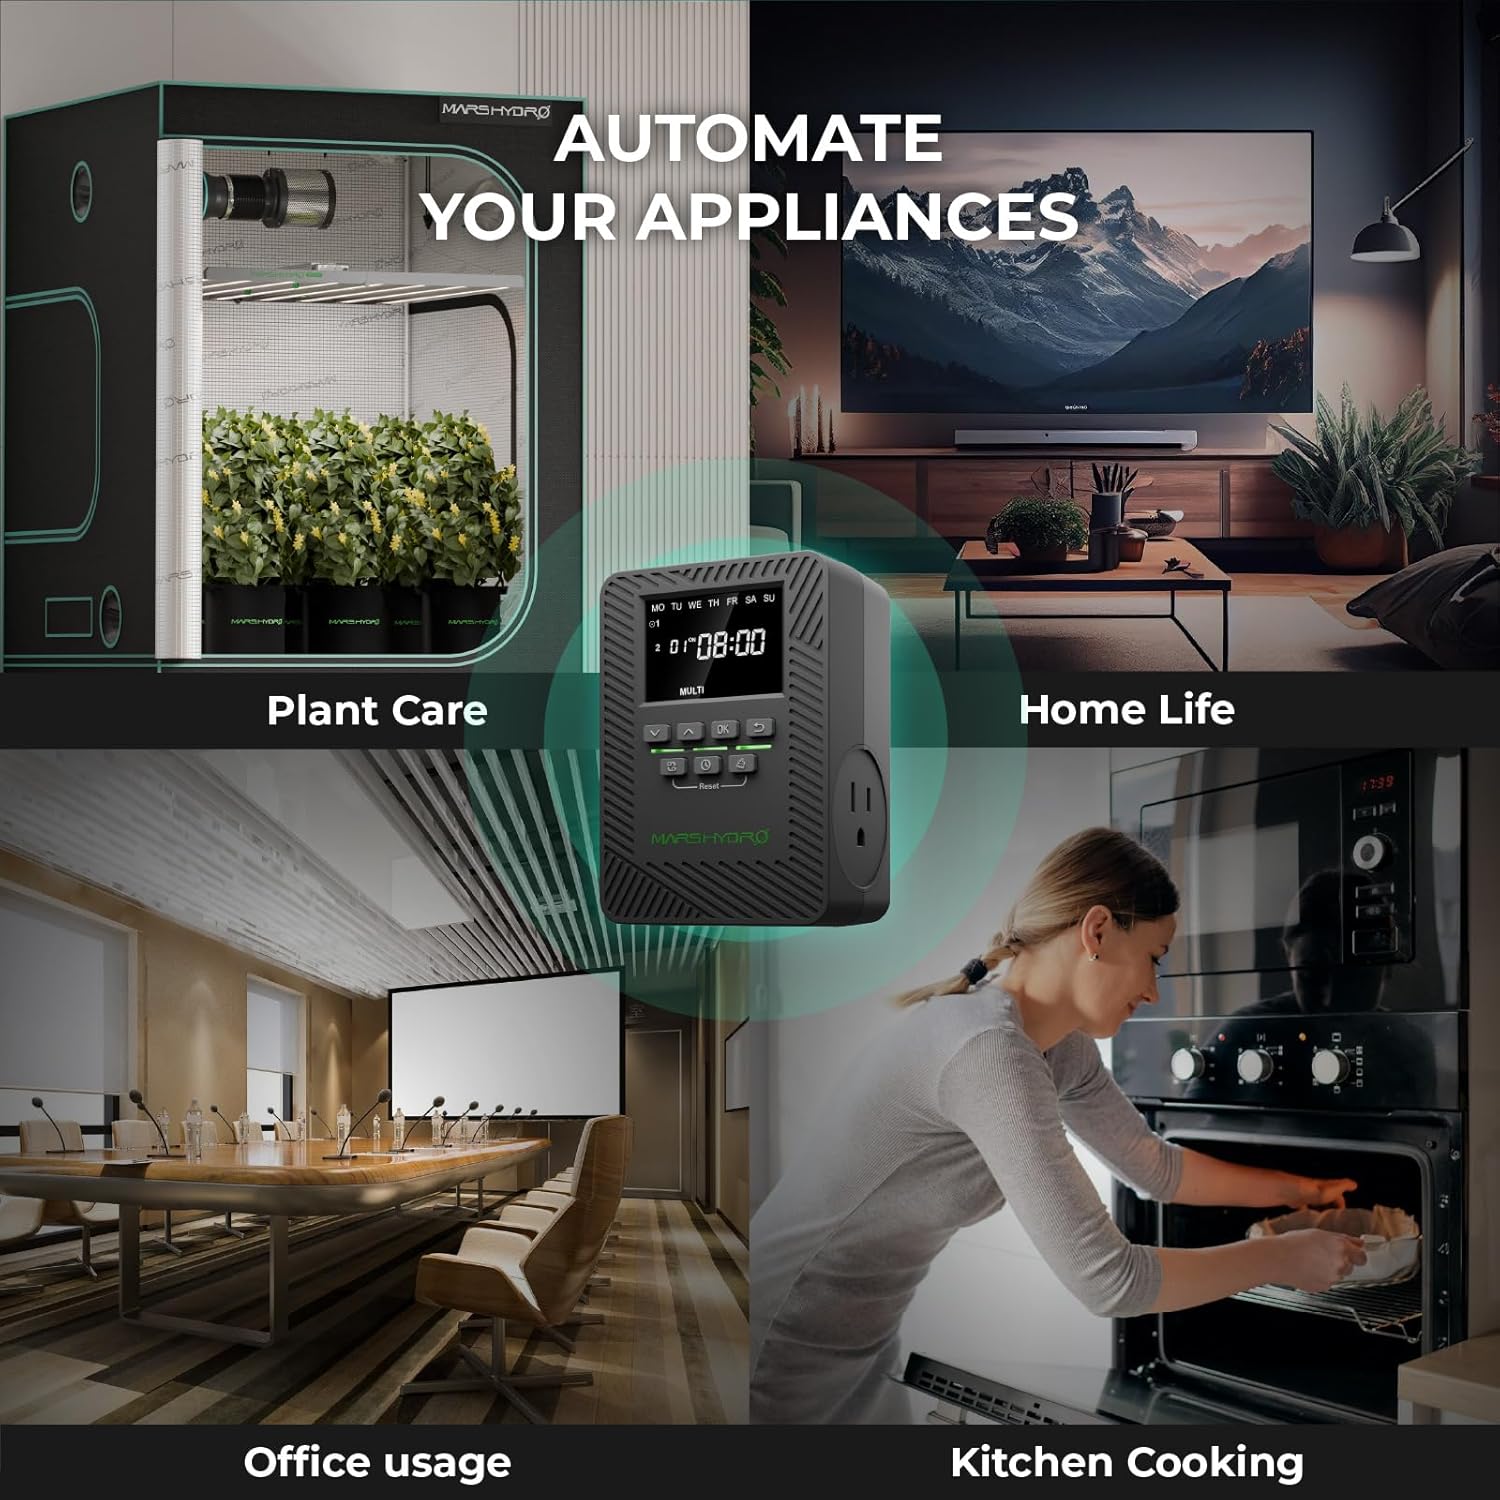
Image: A graphic detailing the physical dimensions and key electrical specifications of the iTime Smart Timer Outlet.
7. Garantía y soporte
The MARS HYDRO iTime Smart Timer Outlet comes with a 1 año de garantía from the date of purchase, as indicated in the product specifications.
For technical support, warranty claims, or any questions regarding your MARS HYDRO M6 Grow Tent Fan or iTime Smart Timer Outlet, please contact MARS HYDRO customer service through their official websitio o la información de contacto proporcionada con su compra.
You can visit the official MARS HYDRO store for more information and support: MARS HYDRO Official Store