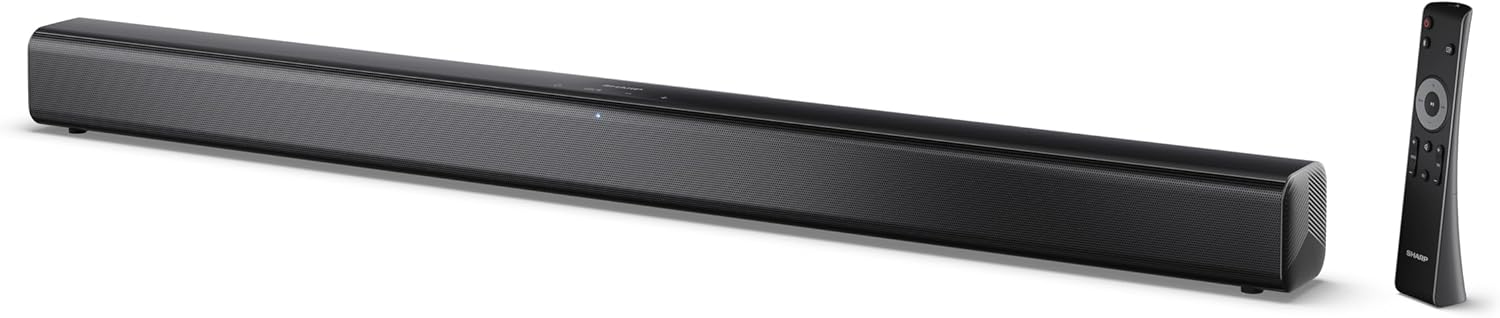
Image 0.1: The SHARP HT-SB145 2.0 Channel Soundbar shown alongside its remote control.
1. Introducción
This manual provides essential instructions for the safe and efficient operation of your SHARP HT-SB145 2.0 Channel Soundbar. Please read this manual thoroughly before use and retain it for future reference.
2. Información de seguridad
Observe las siguientes precauciones de seguridad para evitar descargas eléctricas, incendios o daños a la unidad:
- No exponga este aparato a goteos ni salpicaduras.
- No coloque objetos llenos de líquido, como jarrones, sobre el aparato.
- Asegúrese de que haya una ventilación adecuada. No bloquee las aberturas de ventilación.
- No lo instale cerca de fuentes de calor como radiadores, rejillas de calefacción, estufas u otros aparatos (incluidos ampificadores) que producen calor.
- Proteja el cable de alimentación para que no sea pisado ni aplastado.
- Utilice únicamente accesorios especificados por el fabricante.
- Desenchufe este aparato durante tormentas eléctricas o cuando no lo utilice durante períodos prolongados.
- Deje todo servicio a personal de servicio calificado.
3. Contenido del paquete
Verifique que todos los artículos enumerados a continuación estén incluidos en su paquete:
- Barra de sonido SHARP HT-SB145
- Mando a distancia
- Cable de alimentación
- Soportes de montaje en pared (2)
- Screws and Wall Plugs (for mounting)
- Pilas AAA (2)
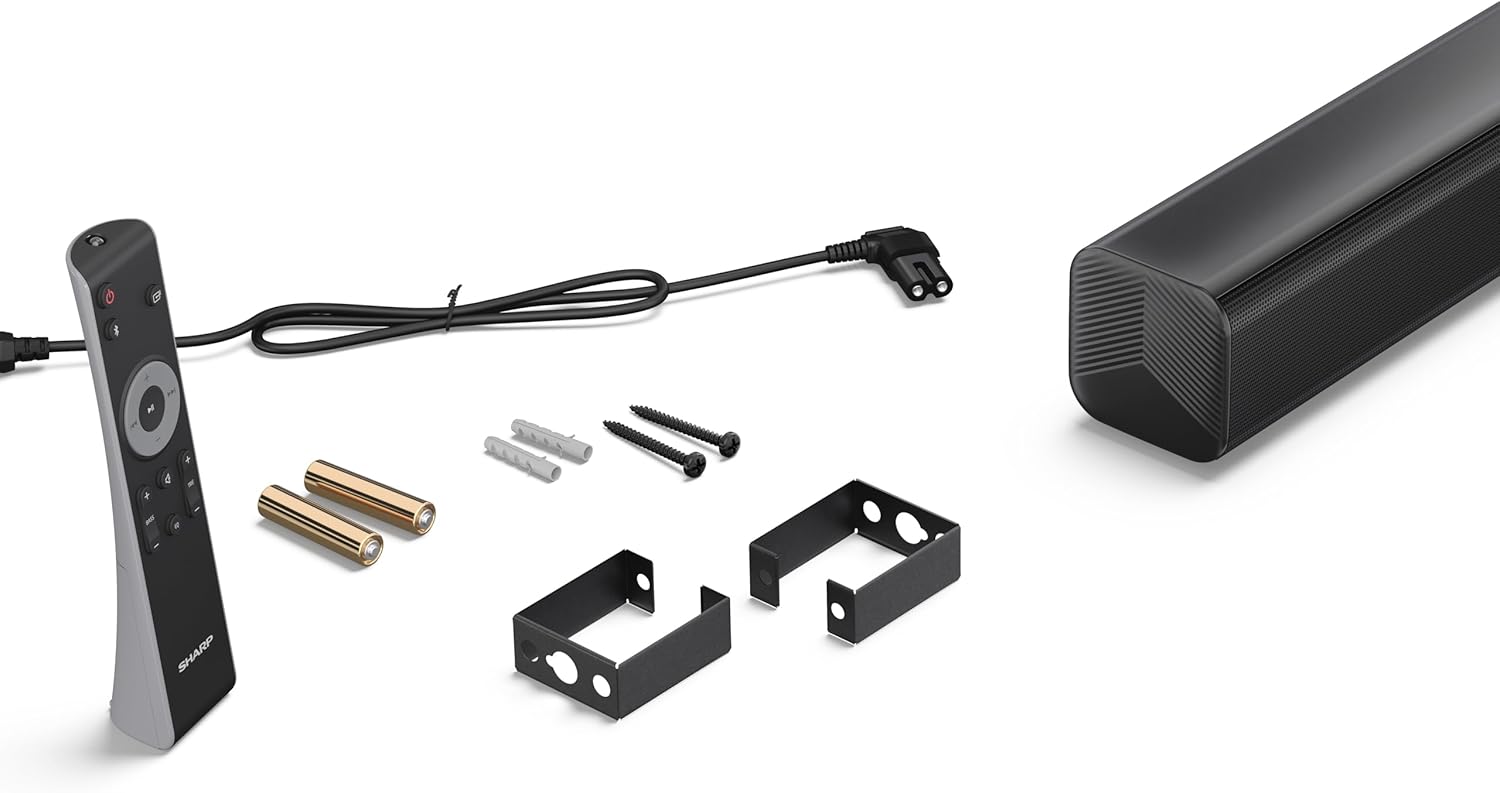
Image 3.1: Contents of the SHARP HT-SB145 Soundbar package, including the soundbar, remote control, power cable, wall mount brackets, screws, and two AAA batteries.
4. Producto terminadoview
4.1 Frente y parte superior View

Imagen 4.1: Frente view of the SHARP HT-SB145 Soundbar, showcasing the speaker grille and the central LED indicator.
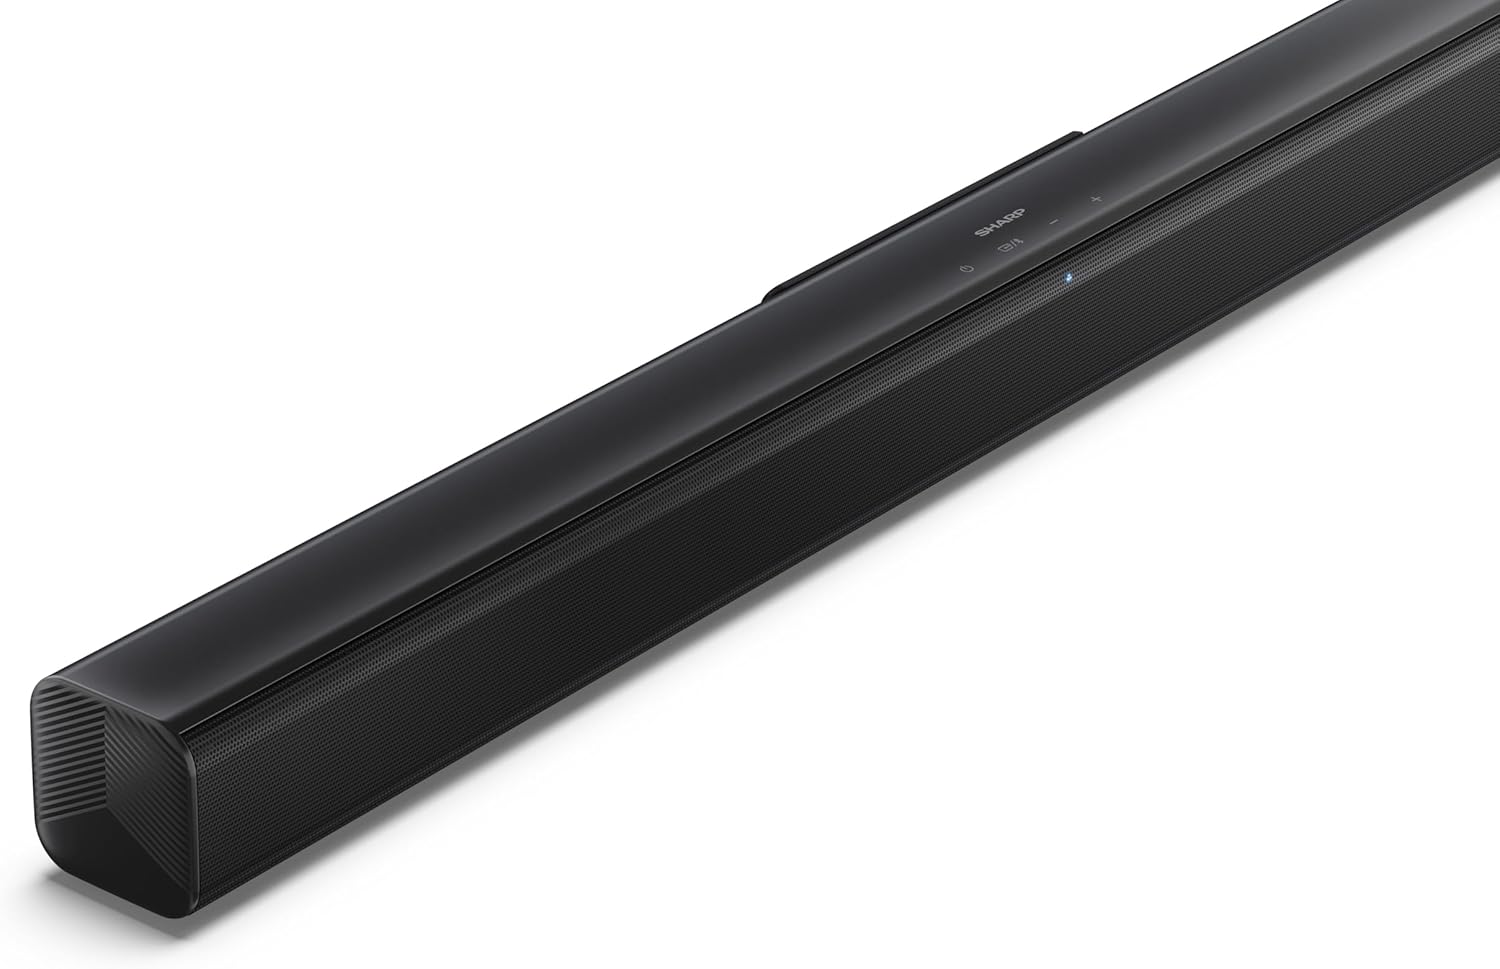
Imagen 4.2: Parte superior en ángulo view of the soundbar, highlighting the integrated control buttons for power, source selection, and volume adjustment, along with the SHARP logo.

Image 4.3: Close-up of the top-mounted control panel, showing the power button, source/Bluetooth button, and volume up/down buttons.
4.2 Conexiones del panel posterior

Imagen 4.4: Trasera view of the soundbar, displaying the various input ports and power connection.

Imagen 4.5: Detallada view of the rear panel connections, including OPTICAL input, USB port (5V 500mA), AUX input, and HDMI ARC (TV) port.
5. Configuración
5.1 Opciones de colocación
The SHARP HT-SB145 Soundbar offers flexible placement options:
- Colocación de la mesa: Place the soundbar on a stable, flat surface in front of your TV. Ensure it does not obstruct the TV's remote sensor.
- Montaje en pared: Use the provided wall mount brackets to attach the soundbar to a wall below your TV. Refer to section 5.4 for detailed wall mounting instructions.

Image 5.1: The soundbar positioned on a media console beneath a television, demonstrating a typical tabletop setup.
5.2 Conexión a la alimentación
- Connect the power cable to the AC IN port on the rear of the soundbar.
- Conecte el otro extremo del cable de alimentación a una toma de pared.
5.3 Conexiones de audio
Elija uno de los siguientes métodos para conectar la barra de sonido a su televisor u otra fuente de audio:
- HDMI ARC/CEC (Recommended):
Connect an HDMI cable (not included) from the HDMI ARC port on the soundbar to the HDMI ARC port on your TV. This connection allows for audio return and control via your TV remote.
- Óptico:
Connect an optical cable (not included) from the OPTICAL port on the soundbar to the optical digital output on your TV or audio source.
- Auxiliar:
Connect a 3.5mm audio cable (not included) from the AUX port on the soundbar to the headphone jack or audio output on your TV or audio source.
5.4 Montaje en pared
Follow these steps for secure wall mounting:
- Determine the desired mounting location on the wall, ensuring it is level and within reach of power and audio cables.
- Mark the positions for the two wall mount brackets using a pencil. The distance between the brackets should match the mounting points on the soundbar.
- Drill pilot holes at the marked positions. Insert the wall plugs if mounting into drywall or plaster.
- Fije los soportes de montaje en pared a la pared utilizando los tornillos provistos.
- Carefully attach the soundbar to the mounted brackets. Ensure it is securely seated.
6. Instrucciones de funcionamiento
6.1 Encendido y apagado
- Presione el Fuerza Botón en la barra de sonido o en el control remoto para encender o apagar la unidad.
6.2 Selección de fuente
Presione el Fuente button on the soundbar or remote control repeatedly to cycle through the available input sources:
- ARCO HDMI: For audio from a TV connected via HDMI ARC.
- ÓPTICO: For audio from a device connected via optical cable.
- Auxiliar: For audio from a device connected via 3.5mm audio cable.
- BLUETOOTH: Para transmisión de audio inalámbrica.
- USB: For audio playback from a USB drive.
6.3 Control de volumen
- Presione el Volumen + botón para aumentar el volumen.
- Presione el Volumen para bajar el volumen.
6.4 Emparejamiento Bluetooth
- Turn on the soundbar and select the Bluetooth source. The LED indicator will flash, indicating pairing mode.
- Habilite Bluetooth en su teléfono inteligente, tableta u otro dispositivo.
- Buscar "SHARP HT-SB145" in your device's Bluetooth list and select it to pair.
- Once paired, the LED indicator on the soundbar will glow steadily. You can now stream audio wirelessly.
Reproducción USB 6.5
The soundbar supports MP3/WAV audio playback from a USB drive.
- Insert a USB drive containing MP3/WAV audio files into the USB port on the rear of the soundbar.
- Seleccione la fuente USB utilizando el botón Fuente.
- Playback will begin automatically. Use the remote control to navigate tracks (if supported).
The USB port also provides 5V 500mA for charging compatible devices.
7. Mantenimiento
- Limpieza: Utilice un paño suave y seco para limpiar la superficie de la barra de sonido. No utilice limpiadores líquidos ni productos abrasivos.
- Almacenamiento: Si va a almacenar la unidad durante un período prolongado, desconéctela del tomacorriente y guárdela en un lugar fresco y seco.
8. Solución de problemas
| Problema | Posible causa | Solución |
|---|---|---|
| Sin poder | Cable de alimentación no conectado o toma de corriente no activa. | Asegúrese de que el cable de alimentación esté conectado de forma segura y que la toma de corriente funcione. |
| Sin sonido | Fuente de entrada incorrecta seleccionada, volumen demasiado bajo o problema de conexión del cable. | Seleccione la fuente de entrada correcta. Suba el volumen. Compruebe las conexiones del cable de audio. |
| El emparejamiento de Bluetooth falla | La barra de sonido no está en modo de emparejamiento o el dispositivo está demasiado lejos. | Ensure soundbar is in Bluetooth pairing mode (flashing LED). Move device closer. Try re-pairing. |
| El control remoto no funciona | Baterías agotadas o señal obstruida. | Reemplace las baterías. Asegúrese de que no haya obstrucciones entre el control remoto y la barra de sonido. |
9. Especificaciones
| Característica | Detalle |
|---|---|
| Nombre del modelo | HT-SB145 |
| Tipo de altavoz | Barra de sonido |
| Canales | Canal 2.0 |
| Potencia máxima de salida | 150 vatios |
| Versión de Bluetooth | 5.3 |
| Conectividad | HDMI ARC/CEC, Optical, AUX, Bluetooth, USB |
| Reproducción USB | MP3 / WAV |
| Salida de carga USB | 5 V 500 mA |
| Dimensiones del producto (L x An x Al) | 80 cm x 6.2 cm x 6.3 cm (31.5 pulgadas x 2.4 pulgadas x 2.5 pulgadas) |
| Peso del artículo | 1.4 kilogramos (3.1 libras) |
| Componentes incluidos | Remote Control, Power Cable, Wall Mount Brackets, AAA Batteries |

Image 9.1: Diagram illustrating the dimensions of the SHARP HT-SB145 Soundbar: 800mm length, 63mm height, and 63mm depth.
10. Garantía y soporte
Para obtener información sobre la garantía y soporte técnico, consulte la tarjeta de garantía incluida con su producto o visite el sitio web oficial de Sharp. webSitio. Conserve su comprobante de compra para reclamaciones de garantía.
For further assistance, contact Sharp customer service.


