1. Introducción
This manual provides detailed instructions for the installation, operation, and maintenance of your PHORUS 48-inch Tropical Palm Leaf Ceiling Fan. Please read this manual thoroughly before installation and retain it for future reference. This ceiling fan is designed for both indoor and outdoor covered areas, offering a unique tropical aesthetic with modern functionality.
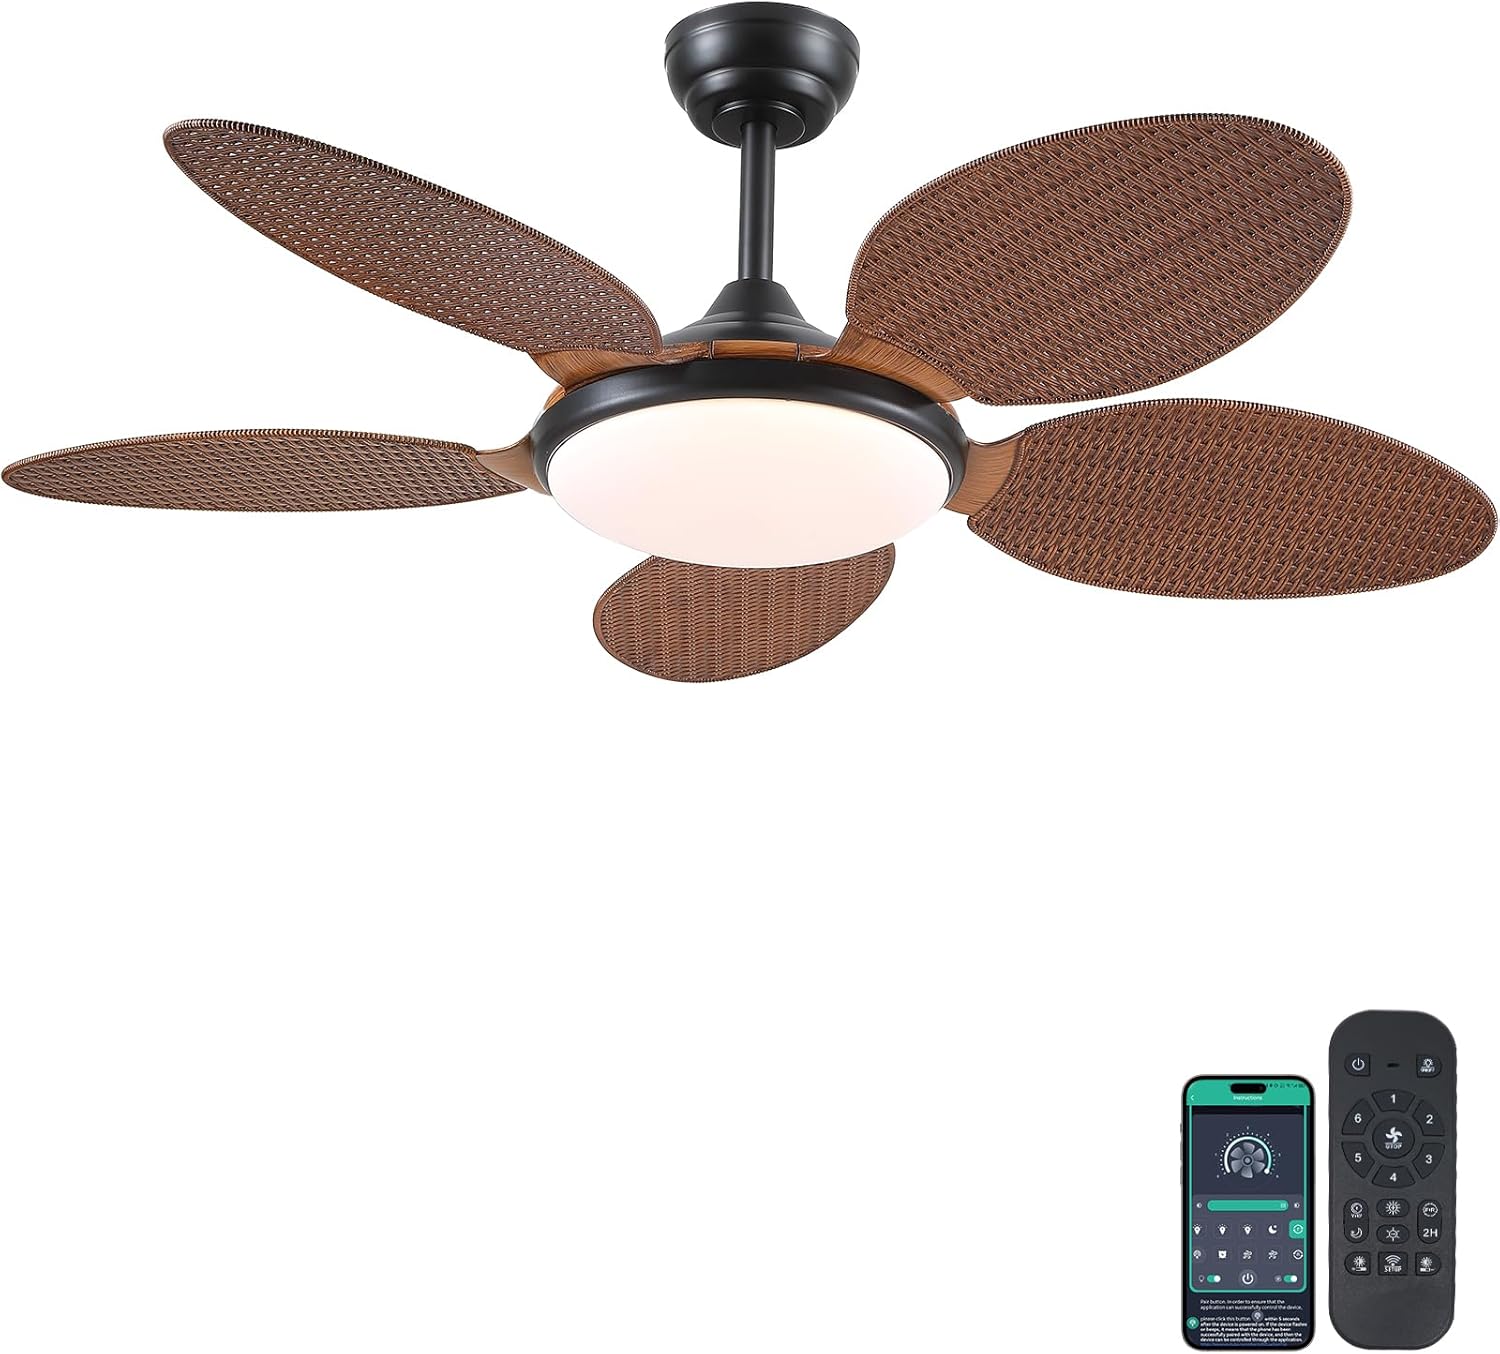
Image 1.1: PHORUS 48-inch Tropical Palm Leaf Ceiling Fan.
2. Información de seguridad
- Asegúrese de que la fuente de alimentación principal esté desconectada antes de realizar la instalación, el mantenimiento o la limpieza.
- All electrical connections must comply with local codes and ordinances, as well as national electrical codes. If you are unfamiliar with electrical wiring, consult a qualified electrician.
- La estructura de montaje debe ser capaz de soportar el peso del ventilador (aproximadamente 12.58 libras) más la carga dinámica durante el funcionamiento.
- No doble los portacuchillas durante la instalación o la limpieza.
- Asegúrese de que haya suficiente espacio libre entre las aspas del ventilador y cualquier obstáculo.
- This fan is suitable for use in damp lugares pero no deben exponerse directamente al agua.
3. Contenido del paquete
Verifique que todos los componentes enumerados a continuación estén incluidos en su paquete. Si falta alguna pieza o está dañada, comuníquese con atención al cliente.

Imagen 3.1: Másview of included components and fan dimensions.
- Conjunto del cuerpo del ventilador
- 5 Palm Leaf Blades
- Pabellón
- Varillas de bajada (opciones de 4 y 8 pulgadas)
- Lamp Sombra
- Mando a distancia
- Receptor remoto
- Soporte de montaje
- Paquete de hardware (tornillos, tuercas para cables, etc.)
- Manual de instrucciones
4. Configuración e instalación
Follow these steps carefully for proper installation. For a visual guide, please refer to the installation video provided below.
4.1. Guía de instalación en vídeo
Video 4.1: Detailed installation guide for the PHORUS 48-inch Palm Leaf Ceiling Fan with lights.
4.2. Instalación paso a paso
- Prepare the Fan Body: Attach the LED light board to the fan body assembly using the provided screws.
- Coloque las aspas del ventilador: Secure each of the five palm leaf blades to the fan body. Ensure the correct side of the blade is facing upwards as indicated in the video.
- Ensamblar la varilla bajante: Insert the downrod through the canopy and secure it to the fan body. Feed the electrical wires through the downrod.
- Instale el soporte de montaje: Secure the mounting bracket to your ceiling junction box. Ensure it is firmly attached and can support the fan's weight.
- Conexiones de cableado: Connect the fan's electrical wires to your household wiring. Typically, this involves connecting the black live wire, white neutral wire, and yellow ground wire. Refer to the wiring diagram in the installation video for precise connections.
- Cuelga el ventilador: Levante con cuidado el conjunto del ventilador y cuélguelo en el soporte de montaje.
- Instalar el receptor remoto: Place the remote receiver within the canopy, ensuring wires are not pinched. Connect the receiver to the fan and household wiring as per the diagram.
- Toldo seguro: Slide the canopy up to the ceiling and secure it to the mounting bracket with screws.
- Instalar Lamp Sombra: Adjuntar el lamp shade to the bottom of the fan body.
The fan is equipped with 4-inch and 8-inch downrods to accommodate various ceiling heights. It can also be used with sloped ceilings up to 15 degrees.
5. Instrucciones de funcionamiento
Your PHORUS ceiling fan can be controlled via the included remote control or a smart application on your mobile device.
5.1. Operación de control remoto

Image 5.1: Remote control layout with function descriptions.
The remote control allows you to adjust the following settings:
- Encendido/apagado: Enciende o apaga el ventilador y la luz.
- Velocidad del ventilador: Seleccione entre 6 velocidades del viento (1-6).
- Luz encendida / apagada: Control the integrated LED light independently.
- Temperatura de color: Adjust between 3 light colors: 3000K (Warm Light), 4500K (Natural Light), and 6000K (White Light).
- Ajuste de brillo: Atenúe o aumente la luz del 10% al 100%.
- Función inversa: Change the direction of the fan blades for summer (downdraft) or winter (updraft) modes. Press the F\R key and wait 5-8 seconds for the fan to stop completely and then automatically reverse.
- Minutero: Set a 2-hour timer for automatic shutdown.
Remote Code Pairing:
If your remote control is not responding, you may need to pair it with the fan. Follow these steps:
- Turn off the main power supply to the fan for one minute.
- Turn on the main power supply and simultaneously long-press the code key on the remote control for 3-5 seconds.
- The fan light will blink 2-3 times to indicate successful code matching.
Video 5.2: Instructions for remote code pairing.
5.2. Control inteligente de aplicaciones
The fan supports control via a smart application. Scan the QR code in Image 5.1 or visit https://www.jasonghost.com/fanlamppro/ to download the "Fan Lamp Aplicación "Pro".
Video 5.3: Guide for setting up and using the smart app control.
The app provides comprehensive control over fan speeds, light settings (color temperature and brightness), and the reverse function, similar to the remote control. All settings will be remembered after power cycling.

Image 5.4: Customizable light effects and dimming range.

Image 5.5: Fan airflow modes (summer/winter) and 6-speed settings.
6. Mantenimiento
El mantenimiento regular garantiza un rendimiento óptimo y la longevidad de su ventilador de techo.
- Limpieza: Periodically clean the fan blades and light cover with a soft, damp Paño. No utilice limpiadores abrasivos ni disolventes que puedan dañar el acabado.
- Apretar los sujetadores: Check all screws and fasteners on the fan body and mounting bracket annually. Tighten any loose connections to prevent wobbling or noise.
- Limpiar el polvo: Dust the fan motor housing and canopy regularly to prevent dust buildup, which can affect performance.
7. Solución de problemas
Si tiene problemas con su ventilador, consulte los siguientes problemas y soluciones comunes:
| Problema | Posible causa | Solución |
|---|---|---|
| El ventilador no arranca | No power supply; Loose wire connections; Remote not paired. | Check circuit breaker/wall switch; Verify all wire connections are secure; Perform remote code pairing (refer to Section 5.1). |
| La luz no funciona | Conexión de cable suelta; problema con el controlador LED. | Verifique las conexiones del cableado de la luz; comuníquese con el servicio de atención al cliente si sospecha que el controlador LED está dañado. |
| El ventilador se bambolea | Cuchillas o herrajes de montaje sueltos; Cuchillas desequilibradas. | Ensure all blade screws and mounting bracket screws are tight; Use a balancing kit (not included) if necessary. |
| El control remoto no responde | Batería baja; control remoto no emparejado. | Replace AAA batteries (2 required, included); Perform remote code pairing (refer to Section 5.1). |
| Ruido excesivo | Tornillos flojos; Problema con el motor. | Check and tighten all screws; Ensure blades are securely attached. If noise persists, contact customer support. |
8. Especificaciones
- Marca: FORO
- Modelo: B0FC1SY1B2
- Color: 48" Dark Brown
- Material: Acrílico, Plástico
- Estilo: Tropical
- Tipo de habitación: Bedroom, Dining Room, Garage, Kids Room, Kitchen
- Uso en interiores y exteriores: Interior (apto para damp ubicaciones)
- Fuente de energía: DC
- Características especiales: Controlable mediante aplicación, luz LED, funcionamiento silencioso, control remoto, temporizador
- Método de control: Aplicación, remoto
- Número de fuentes de luz: 1
- Componentes incluidos: Light Kit, Remote Control
- Peso del artículo: 12.58 libras
- Número de artículos: 1
- Quétage: 60 vatios
- Tipo de controlador: Control de aplicaciones, control remoto
- Cantidad de unidades: 1.0 Conteo
- Tipo de montaje: Montaje en el techo
- Requiere ensamblaje: Sí
- Tamaño: Medium (48 inches)
- Usos recomendados del producto: Circulación de aire
- Dimensiones del producto: 48 x 48 x 15.15 pulgadas
- Baterías: Se requieren 2 pilas AAA (incluidas)
9. Garantía y soporte
PHORUS provides a one-year quality warranty for this product. We also offer free replacement service for any damage and quality problems encountered during the warranty period. If you have any questions or require assistance, please contact PHORUS customer support for a satisfactory answer within 24 hours.