Introducción
Thank you for choosing the suptek Single Monitor Wall Mount. This manual provides detailed instructions for the safe and efficient installation, operation, and maintenance of your new monitor arm. Please read this manual thoroughly before installation and keep it for future reference.
This wall mount is designed to securely hold a single monitor, freeing up desk space and allowing for ergonomic adjustments to enhance your viewcomodidad y productividad.
Información de seguridad
ADVERTENCIA: Improper installation may result in property damage or personal injury. If you do not understand these instructions, or have doubts about the safety of the installation, please contact a qualified installer.
- No exceda la capacidad de carga máxima de 19.8 libras (9 kg).
- Asegúrese de que la superficie de montaje (pared) pueda soportar de forma segura el peso combinado del soporte y el monitor.
- Always use a stud finder to locate wood studs for secure mounting. For concrete or brick walls, use appropriate anchors (included). Do not mount into drywall alone.
- Mantenga a los niños alejados de las piezas móviles.
- Check all connections regularly to ensure they remain secure.
- Este producto está destinado únicamente para uso en interiores.
Contenido del paquete
Please verify that all components are present and undamaged before installation. If any parts are missing or defective, contact customer support.
- Conjunto del brazo del monitor
- Placa de pared
- Placa VESA
- Hardware Kit (screws, washers, spacers, wall anchors)
- Llaves hexagonales
- Manual de instrucciones
Presupuesto
| Característica | Detalle |
|---|---|
| Marca | Suptek |
| Modelo | B0FHVH6PLY |
| Tamaño de pantalla compatible | 17 a 32 pulgadas |
| Capacidad de peso | 4.4 - 19.8 libras (2 - 9 kg) |
| Compatibilidad VESA | 75 x 75 mm, 100 x 100 mm |
| Ángulo de inclinación | ±80° |
| Ángulo de giro | ±90° |
| Rotación | 360° |
| Extensión máxima | 20.47 pulgadas (52 cm) |
| Rango de ajuste de altura | 12.59 pulgadas (32 cm) |
| Material | Acero aleado |
| Color | Blanco |

Image: Compatibility details including VESA 75x75mm and 100x100mm, max load 19.8 lbs, monitor size 13-32 inches, and compatible wall types (Wood Stud, Concrete Wall, Brick Wall).
Configuración e instalación
Follow these steps carefully to install your monitor wall mount.
Step 1: Choose Mounting Location and Wall Type
Select a location on your wall that is structurally sound and can support the weight of the mount and your monitor. Use a stud finder to locate a wood stud for optimal security. For concrete or brick walls, ensure you use the appropriate wall anchors provided.

Image: Wall mount installation compatibility with Wood Stud (requires specific method), Concrete Wall, and Brick Wall.
Paso 2: Conecte la placa VESA al monitor
- Coloque cuidadosamente el monitor boca abajo sobre una superficie suave y limpia para evitar rayones.
- Identify the VESA mounting holes on the back of your monitor (75x75mm or 100x100mm).
- Select the correct screws (M4 or M5) and washers from the hardware kit that fit your monitor's VESA holes. If the screws are too long, use the provided spacers.
- Attach the VESA plate to the back of your monitor using the selected screws and washers. Do not overtighten.
Paso 3: Monte la placa de pared en la pared
- Hold the wall plate against the wall at your desired mounting height. Use a level to ensure it is straight.
- Marque las ubicaciones de perforación a través de los orificios en la placa de pared.
- Para montantes de madera: Drill pilot holes (recommended size in manual) into the center of the stud. Secure the wall plate using the lag bolts provided.
- Para paredes de hormigón/ladrillo: Drill pilot holes (recommended size in manual) and insert the plastic wall anchors. Then secure the wall plate using the lag bolts.
- Asegúrese de que la placa de pared esté fijada de forma firme y segura a la pared.
Step 4: Attach Monitor Arm to Wall Plate
Slide the monitor arm assembly onto the wall plate. Ensure it clicks securely into place. There may be a locking screw or mechanism to further secure it; refer to the detailed diagram in the included printed manual.
Paso 5: Conecte el monitor al brazo
Carefully slide the monitor (with the attached VESA plate) onto the VESA head of the monitor arm. Secure it with the locking screw or mechanism, typically located on the top or side of the VESA head.
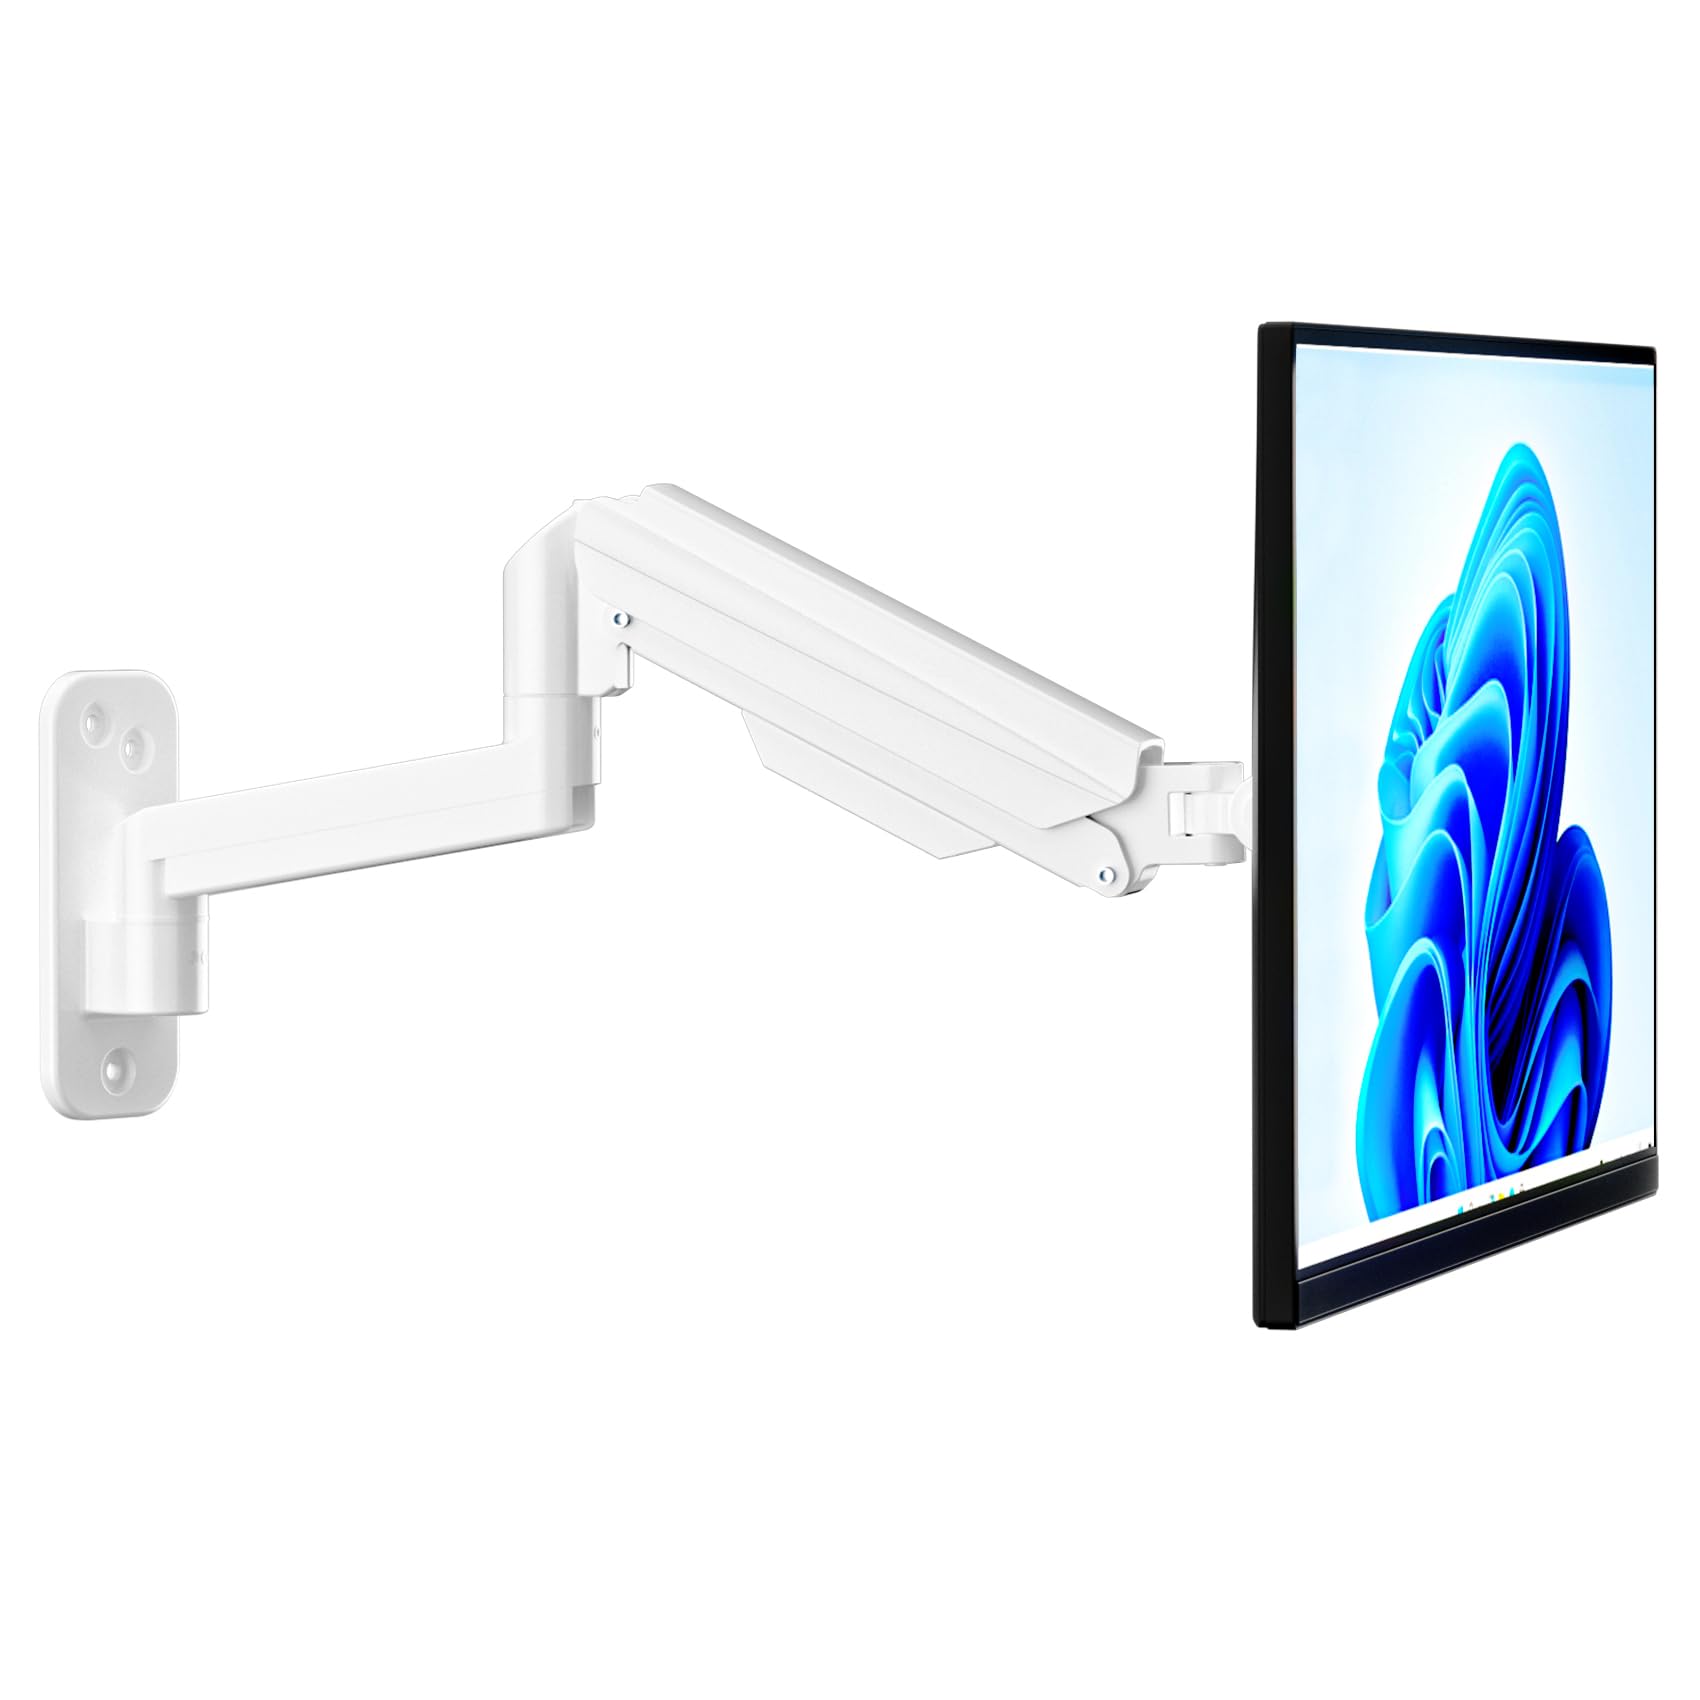
Image: Fully installed suptek Single Monitor Wall Mount with a monitor attached.
Instrucciones de funcionamiento
Ajuste de la tensión del resorte de gas
The gas spring mechanism allows for smooth height adjustment. The tension needs to be adjusted to match your monitor's weight for optimal performance. Use the provided hex key to adjust the tension screw located on the arm.
- Turn Clockwise (+): For lighter monitors, to increase tension and prevent the monitor from dropping.
- Turn Counter-Clockwise (-): For heavier monitors, to decrease tension and allow the monitor to move down easily.
Adjust until the monitor stays at any desired height when released.

Image: Gas spring tension adjustment points and directions for lighter/heavier monitors.
Full Motion Adjustments
The monitor arm offers a wide range of motion for ergonomic positioning:
- Inclinación: Adjust the monitor screen ±80° up or down to reduce glare and optimize viewángulos de ing.
- Girar: Rotate the monitor ±90° left or right to share your screen or change viewdirección de avance.
- Rotación: Gire el monitor 360° desde orientación horizontal a vertical.
- Extensión/Retracción: The arm extends up to 20.47 inches (52 cm) and retracts to save space.
- Ajuste de altura: The gas spring allows for smooth vertical movement within a 12.59-inch (32 cm) range.
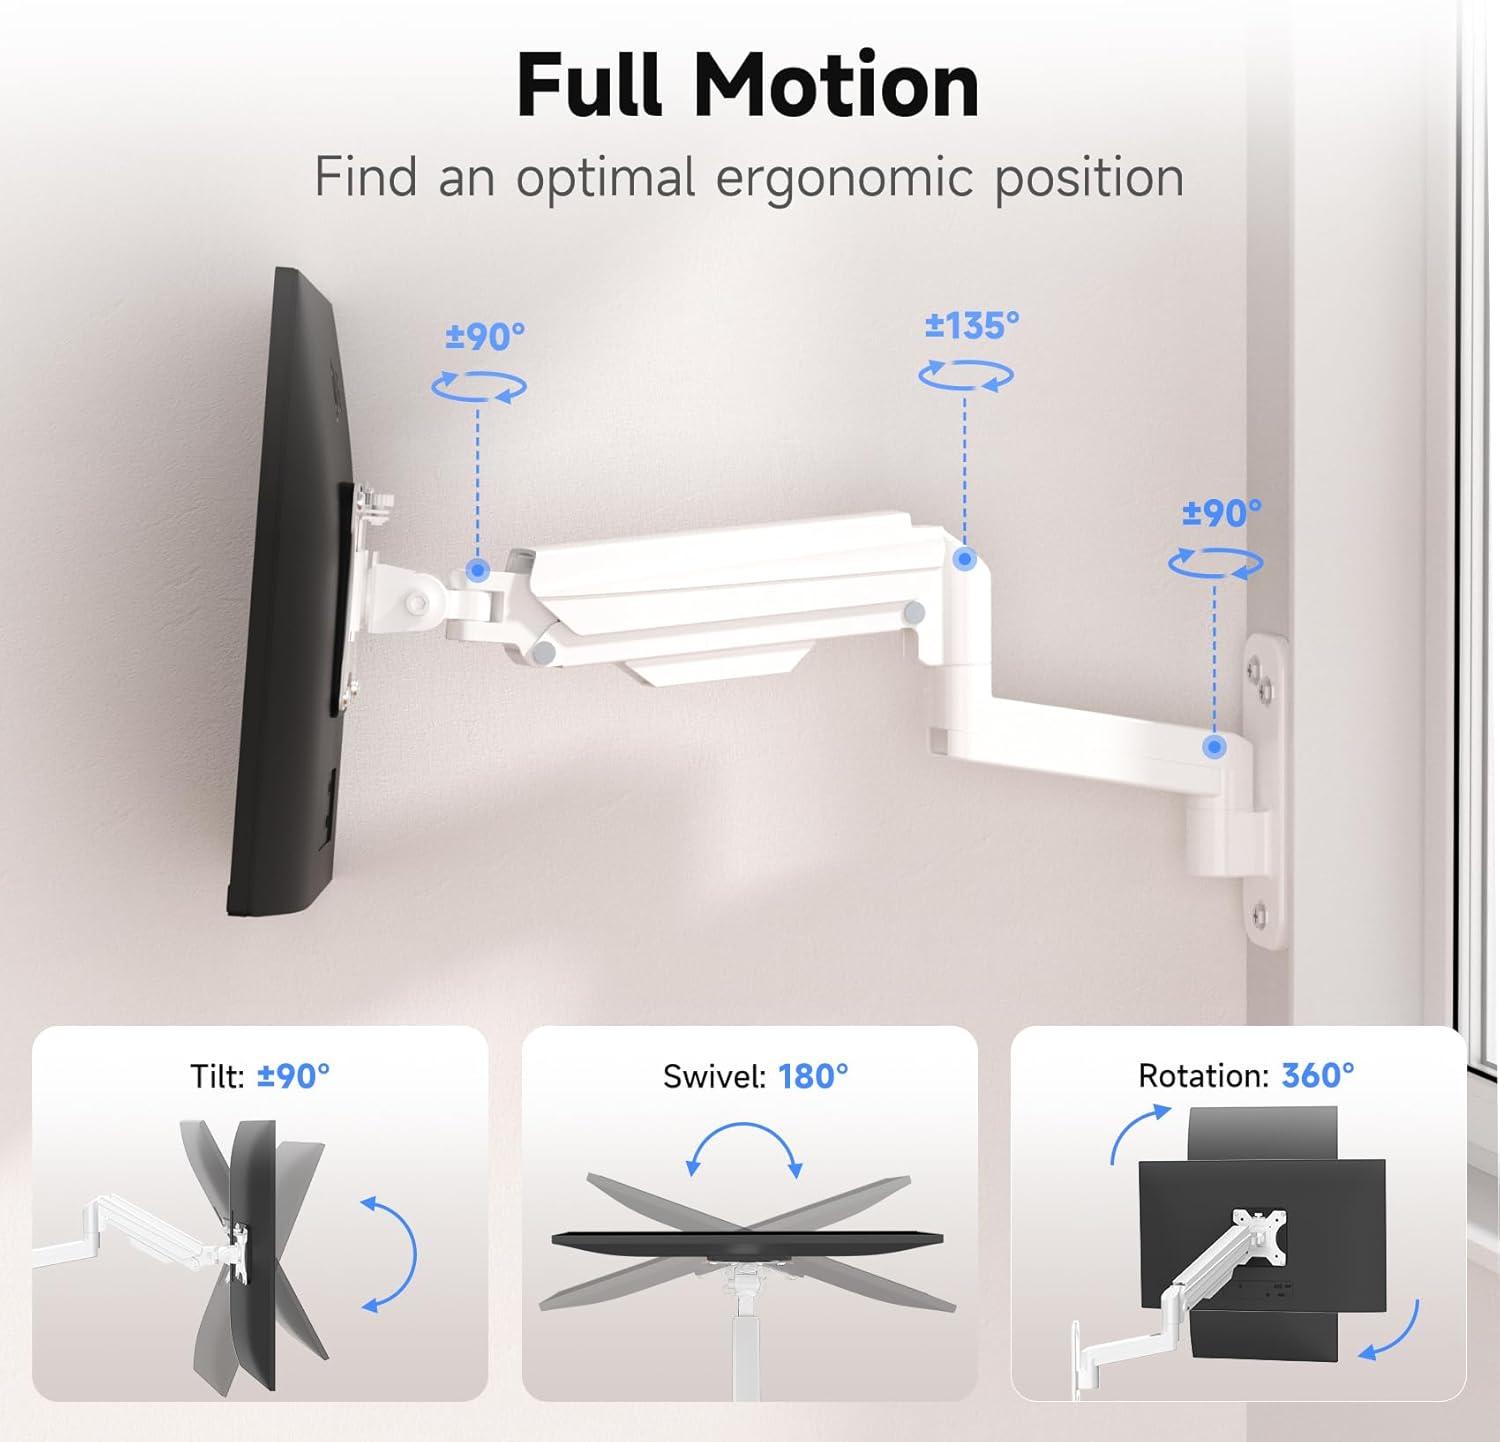
Image: Full motion capabilities including tilt, swivel, and 360° rotation.
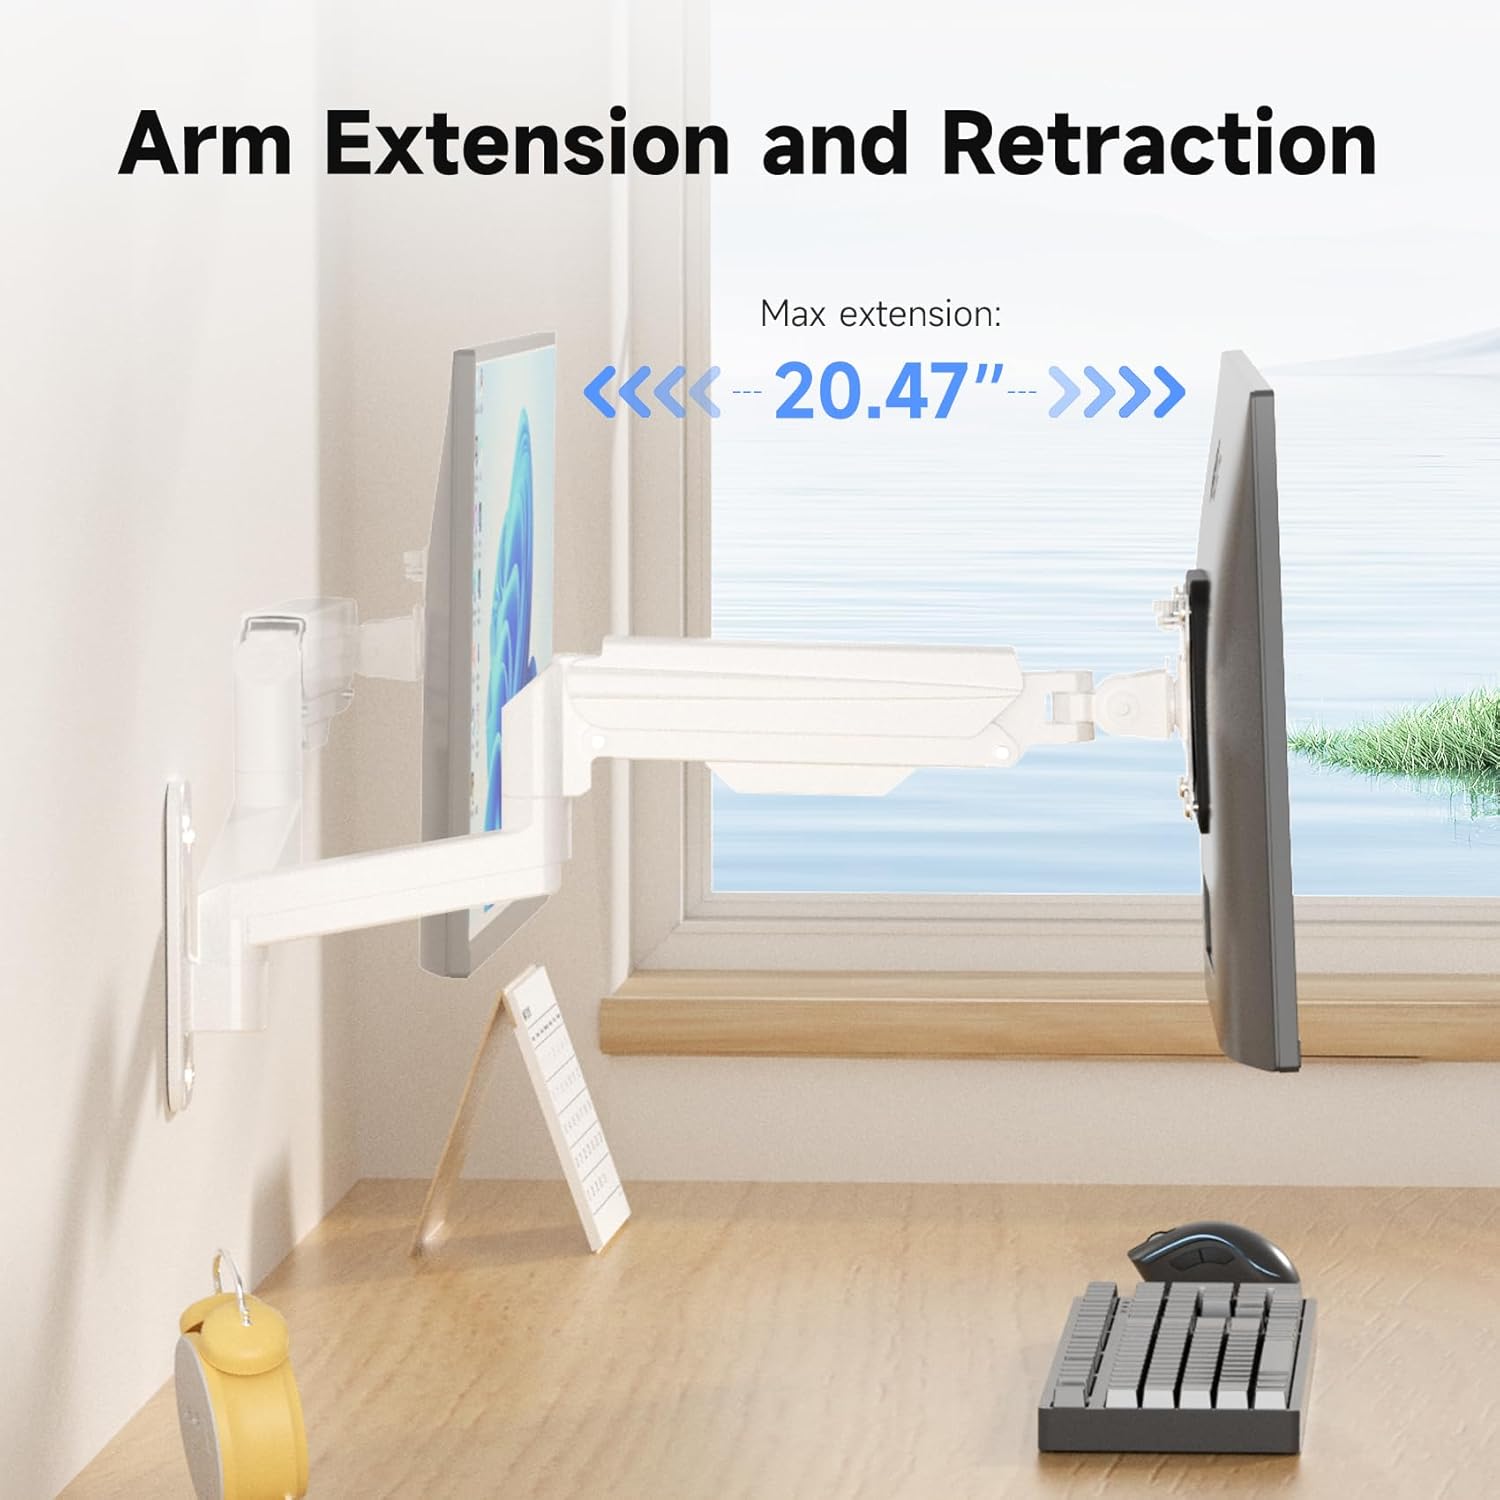
Image: Arm extension and retraction, showing a maximum extension of 20.47 inches.

Image: Height adjustment range of 12.59 inches for eye-level comfort.
Gestión de cables
The monitor arm features integrated cable management clips or channels to keep your cables organized and out of sight. Route your monitor's power and video cables through these channels for a clean and tidy workspace.
Mantenimiento
- Revise periódicamente todos los tornillos y conexiones para asegurarse de que estén bien apretados y seguros.
- Limpie el soporte con un paño suave.amp Paño. Evite limpiadores abrasivos o disolventes.
- No intente desmontar el mecanismo del resorte de gas.
Solución de problemas
| Problema | Posible causa | Solución |
|---|---|---|
| Monitorear caídas o hundimientos | La tensión del resorte de gas es demasiado baja para el peso del monitor. | Aumente la tensión del resorte de gas girando el tornillo de ajuste en el sentido de las agujas del reloj. |
| Monitor is difficult to push down or stays too high | La tensión del resorte de gas es demasiado alta para el peso del monitor. | Disminuya la tensión del resorte de gas girando el tornillo de ajuste en sentido antihorario. |
| El monte se siente inestable | Wall plate not securely fastened; screws loose. | Re-check all mounting screws on the wall plate and tighten them. Ensure proper wall type and anchors were used. |
| Monitor does not fit VESA plate | Incorrect VESA pattern or screw size. | Verify your monitor's VESA pattern (75x75mm or 100x100mm). Ensure you are using the correct M4 or M5 screws and spacers. |
Garantía y soporte
For warranty information or technical support, please refer to the warranty card included with your product or visit the official suptek website. If you have any questions or require assistance, do not hesitate to contact suptek customer service.
Información del contacto: Please refer to the packaging or suptek's official webSitio para obtener los datos de contacto más actualizados.


