1. Instrucciones de seguridad importantes
Lea atentamente todas las instrucciones antes de utilizar el aparato. Conserve este manual para futuras consultas.
- Asegúrese de que la unidad esté colocada sobre una superficie nivelada y estable.
- No opere la unidad con un cable de alimentación o enchufe dañado.
- Mantenga el aparato alejado de la luz solar directa y de fuentes de calor.
- No sumerja el aparato, el cable o el enchufe en agua u otros líquidos.
- Supervise a los niños para asegurarse de que no jueguen con el aparato.
- The hot water dispenser features a child safety lock. Always engage this lock when not in use.
- Only use bottled water with the dispenser.
2. Producto terminadoview
The VECYS LYCZ629 is a versatile bottom-loading water dispenser that provides hot, cold, and room temperature water, along with an integrated ice maker. It is designed for ease of use and convenience.

Figura 1: Frente view of the VECYS LYCZ629 water dispenser.
Características principales:
- 3-in-1 Dispensing: Delivers hot, cold, and room temperature water.
- Máquina de hielo integrada: Produce cubitos de hielo en forma de bala.
- Bottom Loading Design: Simplifies water bottle replacement (compatible with 3-5 gallon bottles).
- Bloqueo de seguridad para niños: Evita la dispensación accidental de agua caliente.
- Función de autolimpieza: Facilitates easy maintenance.
- Pantalla LED: Indicates operational status and settings.
3. Configuración e instalación
3.1 Desembalaje
- Retire con cuidado el aparato de su embalaje.
- Retire todos los materiales de embalaje, incluidas las cintas o etiquetas.
- Inspeccione la unidad para detectar posibles daños. Si está dañada, no la utilice y contacte con atención al cliente.
3.2 Colocación
Choose a suitable location for your water dispenser:
- Place the unit on a hard, level surface capable of supporting its weight when full.
- Ensure adequate ventilation around the unit. Maintain at least 4 inches (10 cm) of space from walls.
- Evite la luz solar directa o la proximidad a aparatos que generen calor.
- The unit dimensions are approximately 17.7"D x 14.4"W x 44.1"H.

Figure 2: Recommended placement and dimensions for the water dispenser.
3.3 Instalación de la botella de agua
- Abra la puerta del gabinete inferior del dispensador.
- Retire la tapa de una botella de agua nueva de 3 o 5 galones.
- Insert the probe assembly into the water bottle. Ensure the probe is fully submerged.
- Deslice la botella de agua en el gabinete inferior.
- Close the cabinet door. The internal pump will begin drawing water into the reservoirs.

Figure 3: Illustration of bottom-loading water bottle installation.
3.4 Limpieza inicial y conexión eléctrica
- Before first use, perform a self-clean cycle (refer to Section 5.1).
- Enchufe el cable de alimentación a una toma eléctrica con conexión a tierra.
- Allow the unit to sit for at least 15 minutes before dispensing water to allow the water to cool/heat.
4. Instrucciones de funcionamiento
The control panel features touch-sensitive buttons and LED indicators for various functions.

Figure 4: Close-up of the LED display and control panel.
4.1 Water Dispensing (Hot, Cold, Room Temperature)
The unit features a single nozzle for all water temperatures.
- Place your cup or container on the drip tray beneath the dispensing nozzle.
- For Cold Water: Presione el Agua fría button. Press again to stop dispensing.
- Para agua a temperatura ambiente: Presione el Agua dulce button. Press again to stop dispensing.
- Para agua caliente: Primero, presione el Bloqueo para niños button to unlock. Then, press the Agua caliente button. Press again to stop dispensing. The child lock will re-engage automatically after a short period of inactivity.
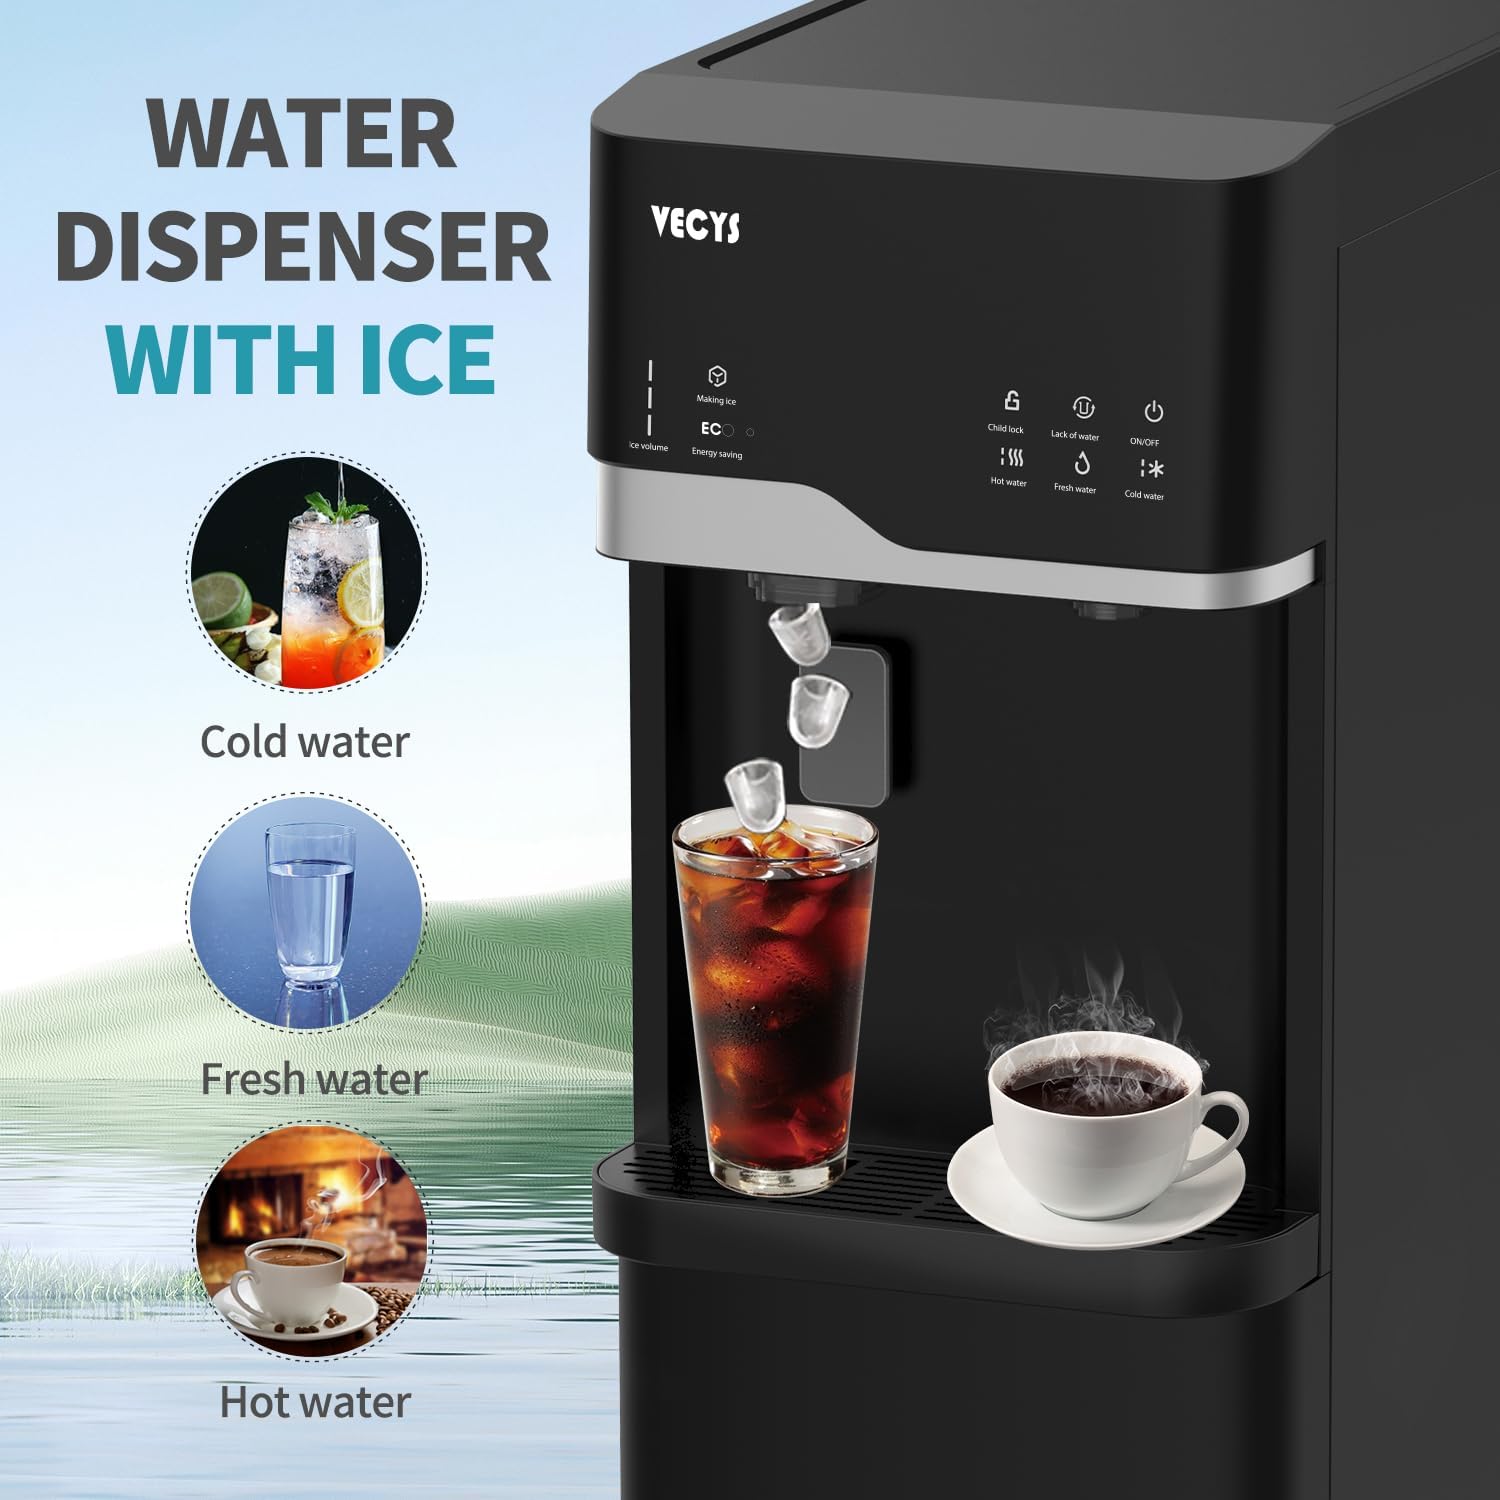
Figure 5: Dispensing various water temperatures.

Figure 6: Child safety lock feature for hot water.
4.2 Fabricación de hielo
The integrated ice maker produces bullet-shaped ice cubes.
- Ensure the unit is powered on and has sufficient water in the bottle.
- El Haciendo hielo indicator on the LED display will illuminate when ice production is active.
- Ice production typically takes 6-8 minutes per cycle.
- To dispense ice, place your cup under the ice chute and press the ice dispensing lever/button.

Figure 7: Ice making capabilities and bullet-shaped ice.
5. Mantenimiento
5.1 Función de autolimpieza
The self-clean function helps maintain the hygiene of the water tanks and lines.
- Asegúrese de que se instale una botella de agua llena.
- Refer to the control panel for the specific self-clean activation procedure (usually a dedicated button or a combination of buttons).
- Follow the on-screen indicators or manual instructions for the duration of the cycle.
- After the cycle, dispense and discard a few cups of water from each tap to flush the system.
5.2 Limpieza de la bandeja de goteo
The removable drip tray should be cleaned regularly to prevent water overflow and maintain hygiene.
- Gently pull the drip tray forward to remove it from the unit.
- Vacíe el agua acumulada.
- Lave la bandeja de goteo con jabón suave y agua tibia. Enjuáguela bien.
- Dry completely before reinserting into the dispenser.
Figure 8: Drip tray for easy cleaning.
5.3 Limpieza exterior
Limpie las superficies exteriores del dispensador con un paño suave y húmedo.amp Paño. Evite limpiadores abrasivos o disolventes.
6. Solución de problemas
| Problema | Posible causa | Solución |
|---|---|---|
| No hay dispensación de agua | Water bottle empty or not properly installed; unit unplugged; pump issue. | Replace water bottle; ensure proper installation; check power connection; contact support if pump issue persists. |
| No hay producción de hielo | Water bottle empty; ice maker function not activated; ambient temperature too high. | Replace water bottle; ensure 'Making Ice' indicator is on; ensure proper ventilation. |
| El agua no está lo suficientemente caliente/fría | Heating/cooling function not activated; insufficient time for heating/cooling. | Ensure hot/cold water functions are enabled; allow 15-30 minutes for water to reach desired temperature. |
| Child lock engaged for hot water | Safety feature is active. | Press the Child Lock button first, then the Hot Water button. |
| "Lack of Water" indicator illuminated | Water bottle is empty or probe is not correctly positioned. | Replace water bottle and ensure probe is fully submerged. |
7. Especificaciones
| Característica | Detalle |
|---|---|
| Marca | VECYS |
| Número de modelo | LYCZ629 |
| Color | Negro |
| Material | Plástico |
| Capacidad (Botella de agua) | 3-5 galones |
| Dimensiones del producto (Pr. x An. x Al.) | 17.7" x 14.4" x 44.1" |
| Quétage | 450 vatios |
| Tipo de instalación | Freestanding |
| Ubicación de acceso | Abajo |
| Upper Temperature Rating (Hot Water) | Hasta 190 grados Fahrenheit |
| Capacidad de fabricación de hielo | 22 libras/24 horas |
| Capacidad de almacenamiento de hielo | 1.1 libras |
| Ice Making Time (per cycle) | 6-8 minutos |
| Peso del artículo | 46 libras |
8. Garantía y soporte
For warranty information and customer support, please contact VECYS directly. Details regarding your product's warranty period and terms can typically be found on the manufacturer's websitio o poniéndose en contacto con su departamento de atención al cliente.
When contacting support, please have your model number (LYCZ629) and purchase date available.


