Introducción
Thank you for choosing the VONROC CH516AC 2500W WiFi Electric Convector Heater. This manual provides essential information for the safe and efficient operation, installation, and maintenance of your new heater. Please read these instructions carefully before use and retain them for future reference.
Instrucciones de seguridad importantes
Always observe basic safety precautions when using electrical appliances to reduce the risk of fire, electric shock, and injury to persons. This includes:
- Lea todas las instrucciones antes de utilizar este calentador.
- No utilice este calentador cerca de una bañera, una ducha o una piscina.
- Do not cover the heater. A warning label "DO NOT COVER" is present on the appliance.
- Asegúrese del volumentagEl voltaje indicado en la etiqueta de clasificación corresponde al voltaje de la red.tagy en tu casa.
- Mantenga a los niños y las mascotas alejados del calentador.
- No introduzca ningún objeto en las aberturas del calentador.
- Desenchufe el calentador cuando no esté en uso.
- Si el cable de alimentación está dañado, deberá ser reemplazado por el fabricante, su agente de servicio o persona igualmente calificada para evitar un peligro.

Características del producto
- 2500W heating power.
- Integrated WiFi for smart control via Tuya App.
- Adjustable thermostat (5-50 °C).
- Función de temporizador.
- Multiple operating modes: Eco, Comfort, Anti-freeze.
- IP24 splash-proof rating.
- Suitable for wall mounting or floor standing.
- Heats areas up to 30 m².
Contenido del paquete
Verifique que todos los componentes estén presentes y sin daños al desembalarlo:
- Calentador de convección VONROC CH516AC
- Feet for floor standing (if applicable)
- Wall mounting kit (screws, anchors)
- Manual de usuario
Configuración e instalación
1. Floor Standing Installation
- Desembale con cuidado el calentador y todos los accesorios.
- Attach the provided feet to the bottom of the heater using the screws. Ensure they are securely fastened.
- Place the heater on a flat, stable surface, away from flammable materials and at least 1 meter from furniture or curtains.

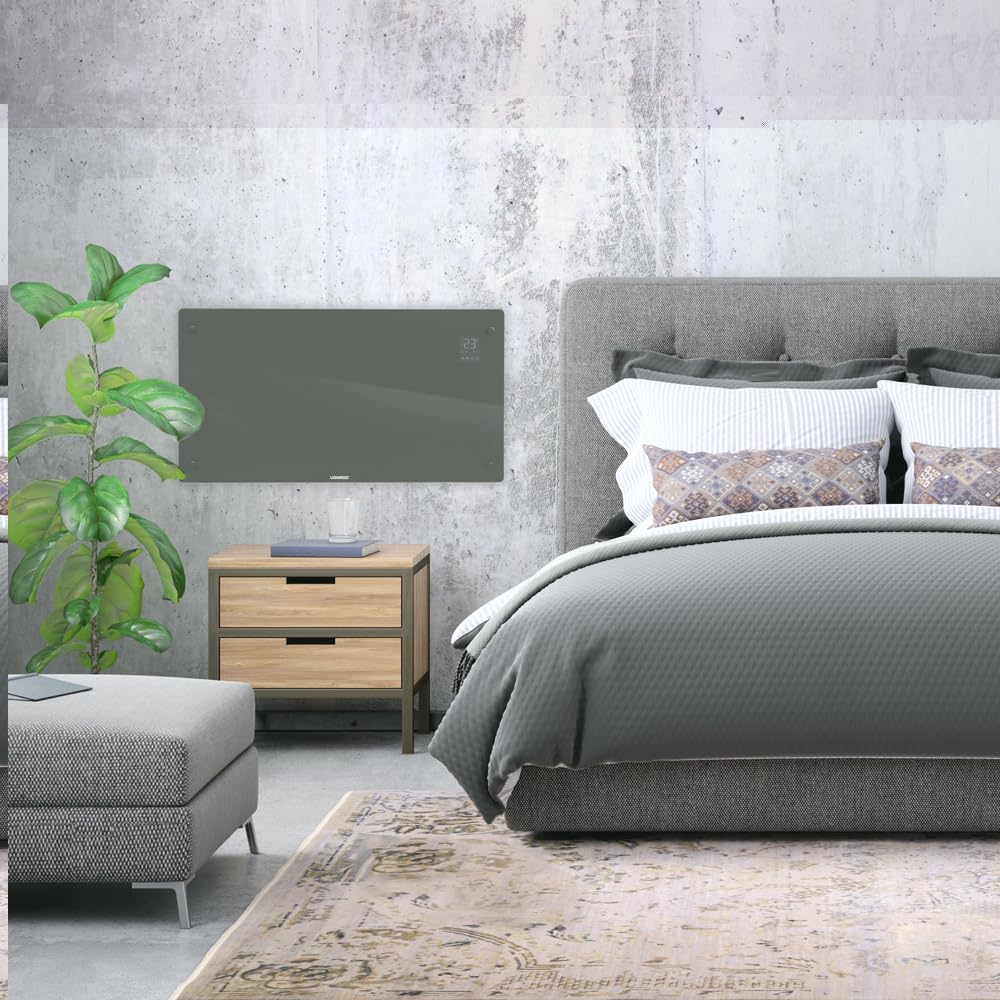
2. Instalación en pared
- Choose a suitable wall location, ensuring sufficient clearance around the heater (at least 15 cm from the floor and ceiling, and 30 cm from side walls).
- Marque los puntos de perforación en la pared utilizando la plantilla provista o midiendo los soportes de montaje en la parte posterior del calentador.
- Taladre agujeros e inserte anclajes de pared.
- Fije los soportes de montaje en pared a la pared con tornillos.
- Cuelgue con cuidado el calentador en los soportes de pared, asegurándose de que esté bien colocado.

Instrucciones de funcionamiento
1. Encendido inicial
Plug the heater into a suitable electrical outlet. The digital display will illuminate.

2. Control manual
- Botón de encendido: Presione para encender/apagar el calentador.
- Ajuste de temperatura: Use the '+' and '-' buttons on the control panel or app to set the desired temperature between 5°C and 50°C.
- Selección de modo: Cycle through Eco, Comfort, and Anti-freeze modes using the mode button.
- Minutero: Configure un temporizador para el apagado automático.
3. WiFi and App Control (Tuya App)
- Descargue la aplicación "Tuya Smart" desde la tienda de aplicaciones de su teléfono inteligente.
- Regístrese o inicie sesión en su cuenta Tuya.
- Ensure your heater is powered on and the WiFi indicator on the display is blinking (if not, press and hold the WiFi button on the heater for 5 seconds to enter pairing mode).
- In the Tuya app, tap '+' to add a device. Select "Heater" or "Convector Heater" from the list.
- Follow the on-screen instructions to connect the heater to your home WiFi network.
- Once connected, you can control the heater remotely, set schedules, and monitor its status via the app.
Mantenimiento
El mantenimiento regular garantiza un rendimiento óptimo y la longevidad de su calentador.
- Limpieza: Desconecte el calentador de la fuente de alimentación antes de limpiarlo. Limpie el exterior con un paño suave.amp Paño. No utilice limpiadores abrasivos ni disolventes.
- Almacenamiento: If storing the heater for an extended period, unplug it, allow it to cool completely, and store it in a dry, dust-free location.
- Inspección: Revise periódicamente el cable de alimentación y el enchufe para detectar cualquier daño. Si están dañados, contacte con personal cualificado para su reparación.

Solución de problemas
| Problema | Posible causa | Solución |
|---|---|---|
| El calentador no enciende. | No hay fuente de alimentación; botón de encendido no presionado; protección contra sobrecalentamiento activada. | Verifique la conexión eléctrica; presione el botón de encendido; desenchufe y deje enfriar durante 30 minutos. |
| El calentador no calienta eficazmente. | Temperature setting too low; Room size too large; Obstruction of air vents. | Increase temperature setting; Ensure heater is appropriate for room size; Clear any obstructions. |
| Problemas de conexión WiFi. | Incorrect WiFi password; Heater too far from router; Router issues; Heater not in pairing mode. | Verify WiFi password; Move heater closer to router; Restart router; Put heater in pairing mode (long press WiFi button). |
| Ruidos o olores inusuales. | Dust accumulation; Internal fault. | Unplug and clean the heater; If problem persists, discontinue use and contact customer support. |
Presupuesto
| Característica | Detalle |
|---|---|
| Marca | VONROC |
| Número de modelo | CH516AC |
| Potencia de calefacción | 2500 vatios |
| Volumentage | 230 voltios |
| Rango de temperatura del termostato | 5 - 50 °C |
| Ajuste de temperatura máxima | 35 °C |
| Clasificación IP | IP24 (a prueba de salpicaduras) |
| Control | Digital display, Buttons, Tuya App (WiFi) |
| Opciones de montaje | Wall-mounted or Floor standing |
| Tamaño de habitación recomendado | Hasta 30 m² |
Garantía y soporte
VONROC products are manufactured to high quality standards. In the unlikely event of a defect, please contact your retailer or VONROC customer service for assistance. Keep your proof of purchase for warranty claims.
For further support, visit the official VONROC websitio o comuníquese con su departamento de servicio al cliente.