Introducción
This manual provides detailed instructions for the proper use and maintenance of your OWLNV N9 3-10.5X Digital Night Vision Scope. Please read this manual thoroughly before operating the device to ensure optimal performance and safety.

Image: The OWLNV N9 3-10.5X Digital Night Vision Scope, a versatile device for day and night observation.
Información de seguridad
- Do not look directly into the sun through the device.
- Avoid direct exposure of the infrared illuminator to human or animal eyes.
- Mantenga el dispositivo alejado de temperaturas y humedad extremas.
- Guarde el dispositivo en un lugar fresco y seco cuando no esté en uso.
- Utilice únicamente baterías y accesorios de carga aprobados.
Contenido del paquete
- OWLNV N9 Digital Night Vision Scope
- Cable de carga USB
- Mounting Accessories (plastic rings, connection sleeve)
- Manual de usuario
- Batería recargable (preinstalada o separada)
Producto terminadoview

Image: Detailed diagram illustrating the various components of the OWLNV N9 Digital Night Vision Scope.
- Eyepiece Connection Sleeve
- Eyepiece Focus Adjustment Ring
- Logo
- Red Dot Adjustment Holes
- Puerto de carga de tipo C
- Ranura para tarjetas TF
- Stretchable IR Illuminator
- anillo de plástico
- Punto rojo
- Compartimento de la batería
- Lente
- Visualización en pantalla
- Fastening Buckle
- Power / Sleep Key
- Luz indicadora
- Menu / Playback Key
- WiFi / Zoom Key
- Red Dot Key
- OK / Record / Photo Key
- B&W / IR Illuminator Key
Configuración
1. Instalación de la batería y carga inicial
Ensure the battery is correctly installed and fully charged before first use. If the device does not power on, check for a protective adhesive strip on the battery contacts and remove it.
- Open the battery compartment (refer to Product Overview, artículo 10).
- Inserte la batería recargable de 3200 mAh proporcionada, asegurándose de la polaridad correcta.
- If a protective adhesive strip is present on the battery's contact point, remove it before insertion.
- Cierre el compartimento de la batería.
- Connect the device to a power source using the Type-C charging cable (refer to Product Overview, item 5). The indicator light (item 15) will show charging status.
2. Mounting to a Rifle Scope
The N9 Digital Night Vision Scope is designed to attach to the eyepiece of your existing rifle scope.
- Wrap the eyepiece of your rifle scope with a PVC tape for a secure fit.
- Select a plastic ring of appropriate thickness to ensure a snug fit between the rifle scope's inner wall and the sleeve's outer wall (gap less than 0.1mm).
- Insert the eyepiece of your rifle scope into the connection sleeve (item 1) of the N9 unit. Ensure the reticle of your rifle scope is upright.
- Fasten the buckle (item 13) upward to secure the connection.
Video: Official OWLNV N9 Screen Vision instruction video demonstrating installation, reticle adjustment, and focus adjustment.
3. Eyepiece Focus Adjustment
Rotate the Eyepiece Dioptric Adjustment Ring (item 2) until you achieve a clear view of your rifle scope's reticle icon on the N9 screen.
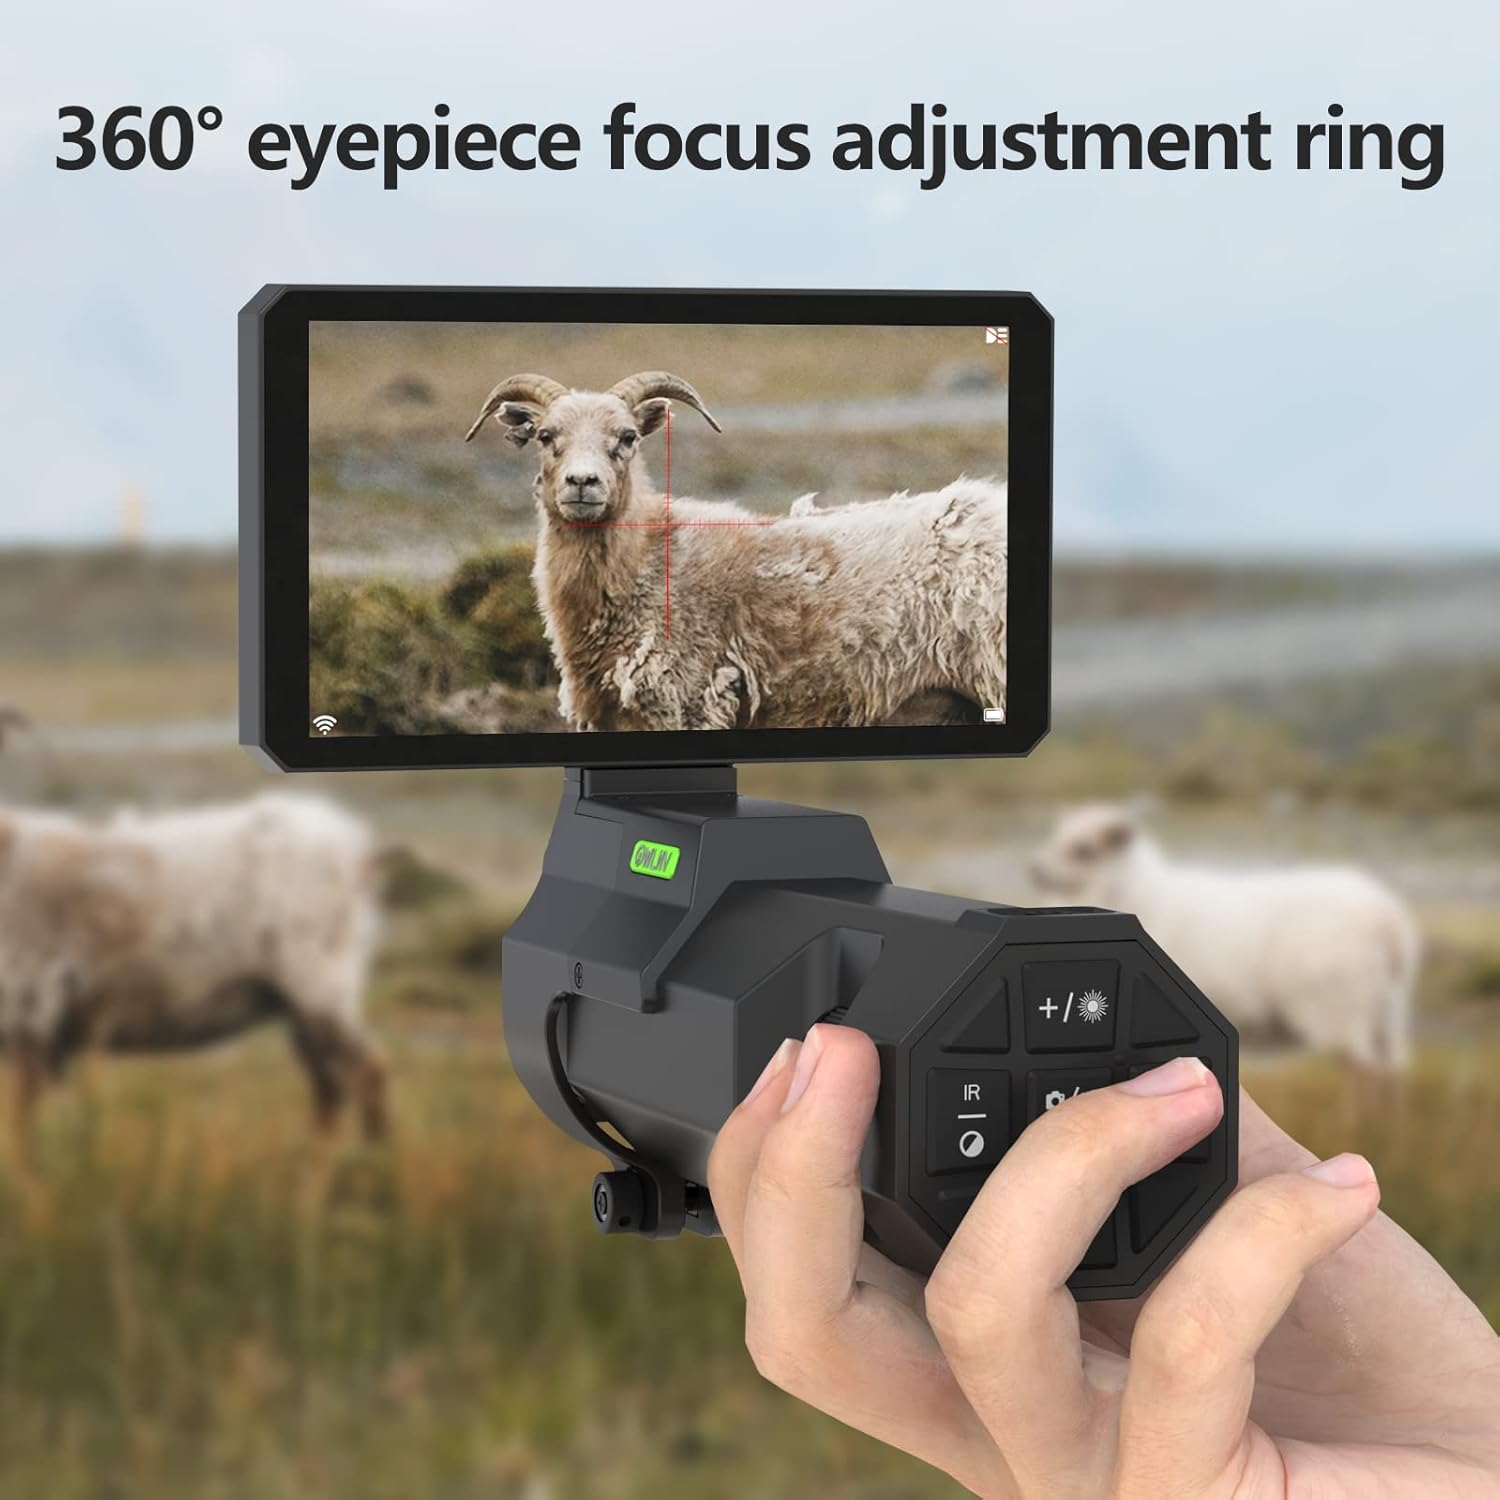
Image: A hand rotating the 360-degree eyepiece focus adjustment ring for clear reticle visibility.
4. Ajuste del enfoque de la lente del objetivo
Rotate the Objective Lens Ring (item 11) on the N9 unit until you obtain a clear and well-focused image of your target.
5. Reticle Adjustment (Zeroing)
To align the N9's display with your rifle scope's reticle:
- Go to the Menu (item 16).
- Select and enter "Reticle Adjustment".
- Adjust the x-axis and y-axis by pressing the Up/Down and Left/Right buttons (part of item 19, OK/Record/Photo Key cluster).
- Press OK (item 19) to save after the cross-hair of your rifle scope is center-aligned on the N9 screen.
Instrucciones de funcionamiento
1. Encendido y apagado
- To power on, press the Power/Sleep Key (item 14) once.
- To power off, press and hold the Power/Sleep Key (item 14) for a few seconds.
2. Modos de visión diurna y nocturna
The device supports both day and night vision modes.
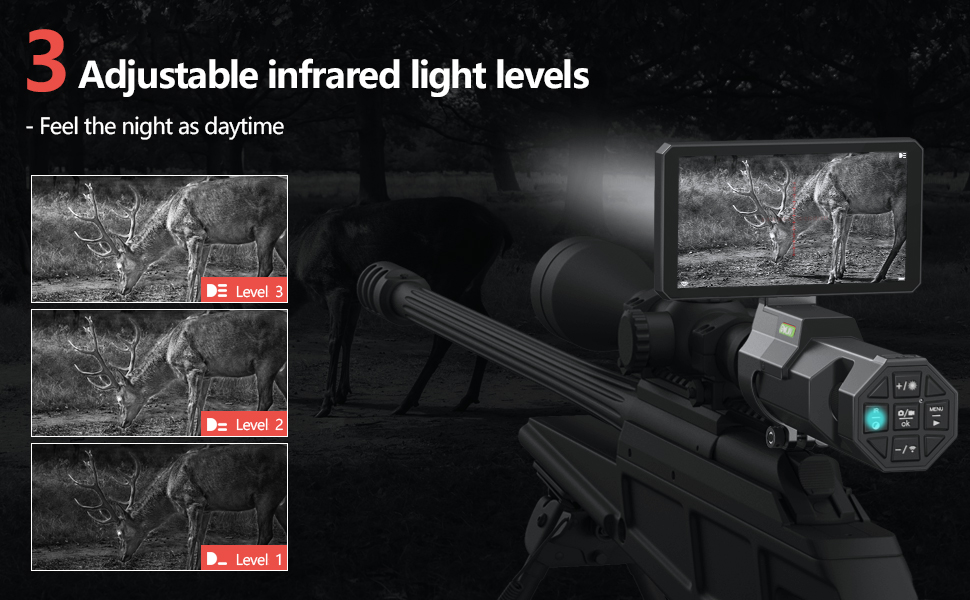
Image: Visual comparison of the OWLNV N9's performance in daytime and nighttime conditions.
- The device automatically switches between day (color) and night (black and white) modes based on ambient light.
- You can manually toggle between B&W (Night) and Color (Day) modes using the B&W / IR Illuminator Key (item 20).
3. IR Illuminator Adjustment
The integrated 850nm IR illuminator (item 7) enhances visibility in low-light conditions.

Image: Demonstrates three adjustable levels of infrared illumination for varying distances and conditions.
- Press the B&W / IR Illuminator Key (item 20) to cycle through three brightness levels of the IR illuminator.
- Adjust the beam of the stretchable IR illuminator (item 7) by extending or retracting it.
4. Grabación de vídeo y toma de fotografías
The N9 supports HD 1080P photo and video recording.

Image: Visual guide on how to capture photos and record videos using the device.
- Insert a TF card (Max 128GB) into the TF Card Slot (item 6) before recording.
- Press the OK / Record / Photo Key (item 19) once to take a photo.
- Press and hold the OK / Record / Photo Key (item 19) to start video recording. Press again to stop.
5. WiFi Connectivity and Digital Zoom
- The device features built-in WiFi for transferring videos and images to your smartphone. Refer to the specific app instructions for connection.
- Use the WiFi / Zoom Key (item 17) to activate the 3x-10.5x digital zoom function, allowing for closer observation of distant targets.
6. Grabación en bucle
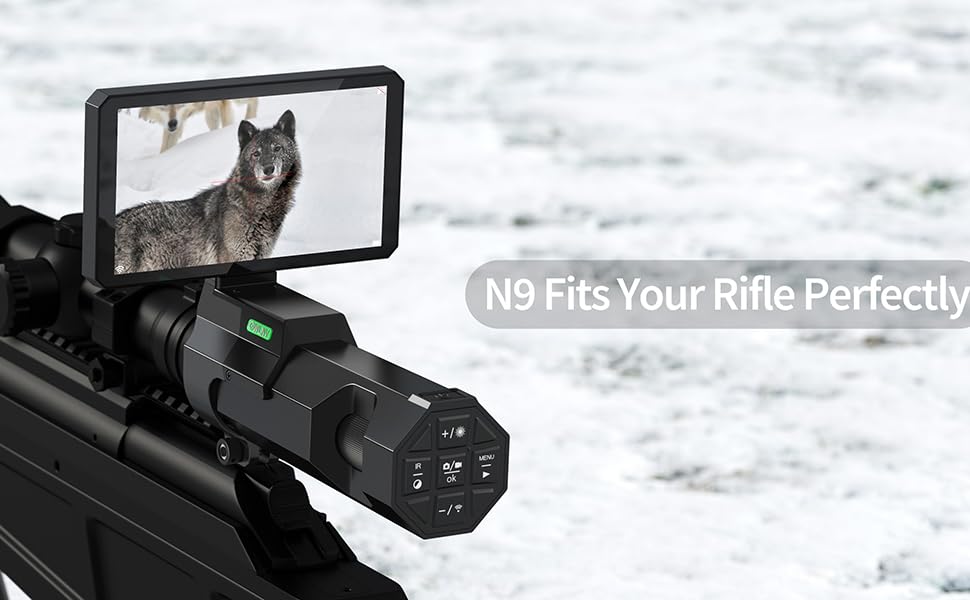
Image: Explains the automatic loop recording feature, allowing settings for 1, 3, or 5-minute segments.
- The device supports automatic loop recording, which can be set for 1, 3, or 5-minute intervals via the menu.
- When the TF card is full, older recordings will be overwritten. Back up important content regularly.
Mantenimiento
- Limpieza de lentes: Utilice un paño suave y sin pelusa, especialmente diseñado para lentes ópticas. No utilice materiales abrasivos ni productos químicos agresivos.
- Limpieza corporal: Limpie el cuerpo del dispositivo con un paño suave y húmedo.amp Paño. Evite que la humedad entre en los componentes electrónicos.
- Almacenamiento: Store the device in its original packaging or a protective case in a cool, dry environment. Remove the battery if storing for extended periods.
- Cuidado de la batería: Recargue la batería periódicamente, incluso si no está en uso, para mantener su vida útil.
Solución de problemas
| Problema | Posible causa | Solución |
|---|---|---|
| El dispositivo no se enciende. | Battery not charged or improperly installed. Protective adhesive strip on battery contacts. | Ensure battery is fully charged and correctly inserted. Check for and remove any protective adhesive strip on the battery's contact points. |
| La imagen está borrosa o desenfocada. | Eyepiece or objective lens not properly focused. | Adjust the Eyepiece Dioptric Adjustment Ring and the Objective Lens Ring until the image is clear. |
| La imagen de visión nocturna es demasiado oscura. | IR illuminator is off or set to low brightness. | Activate the IR illuminator and cycle through its brightness levels using the B&W / IR Illuminator Key. |
| No se pueden grabar vídeos ni tomar fotografías. | No hay una tarjeta TF insertada o la tarjeta está llena o dañada. | Insert a compatible TF card. Format the card if necessary (this will erase all data). Ensure sufficient storage space. |
| Problemas de conexión WiFi. | Incorrect app usage or device not in WiFi mode. | Refer to the dedicated app instructions for WiFi connection. Ensure the device's WiFi function is activated. |
Presupuesto
| Característica | Especificación |
|---|---|
| Marca | BÚHOV |
| Modelo | N9 |
| Pantalla | 5" IPS Screen (1280*720 HD) |
| Record/Photo Resolution | HD 1080P |
| Iluminador de infrarrojos | 5W 850nm Infrared Light, 3 levels brightness |
| ViewRango de vuelo (Noche) | Up to 300 meters (328 yards) in complete darkness |
| Zoom digital | 3x-10.5x |
| Conectividad | WiFi incorporado |
| Almacenamiento | Supports TF card (Max 128GB) |
| Material | Aluminio |
| Peso del artículo | 1.1 libras |
| Resistencia al retroceso | 6000J |
Garantía y soporte
The OWLNV N9 Digital Night Vision Scope comes with a 2 año de garantía. For technical support, warranty claims, or any inquiries, please contact OWLNV customer service through the official channels provided at the point of purchase or on the OWLNV brand store.
OWLNV is committed to providing professional night vision products and offers return and exchange services within the warranty period.


